In this guide, we will show you various methods that shall help you fix the issue of macOS Ventura second monitor or external display not working. The latest OS build is currently in the beta stage, so a few bugs and issues are along the expected lines. However, what isn’t within the acceptable limits is the fact that an issue is present since the first beta of macOS 13 and has continued till the latest Beta 9 update.
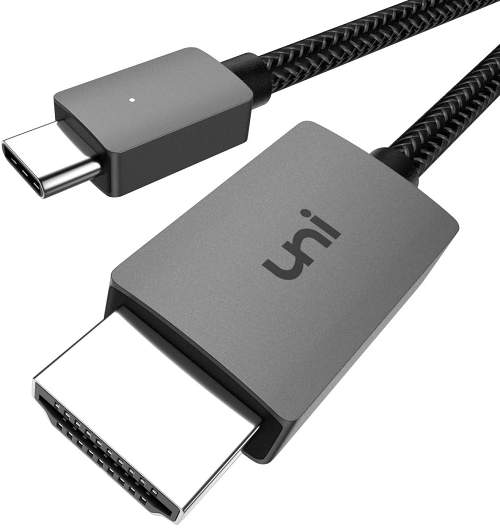
The issue that we are talking about is the inability of the Mac running on macOS Ventura to detect a second monitor or external display. Users are trying to connect the display via a thunderbolt USB-C dongle but their display isn’t being recognized. While the HDMI works fine but USB-C isn’t working, at the very most it would only charge.
One intriguing thing to note is that this issue is not happening with Studio Displays. Well, well, we just hope that we are not forced into opting for another one of their products. But judging by the fact that the “issue” has managed to survive through the thicks and thins, your worst fear might come true. On an optimistic end though, there does exist a few nifty workarounds that might help you rectify this bug. So without further ado, let’s check them out.
Table of Contents
Fix macOS Ventura cannot detect Second Monitor/External Display
It is recommended that you try out each of the below-mentioned workarounds and then see which one spells out success for you. So with that in mind, let’s get started.
FIX 1: Close the Window Server Process
As of now, this fix is giving out the maximum success result, so let’s start off the guide with this workaround itself. We have listed two different methods in this regard, if the issue is only bugging the external display, then you could try out any of these two methods. However, if the issue is bugging your primary display Mac as well [apart from the external display] then you should try out the second method.
METHOD 1: When only the Second Monitor is bugged
- First and foremost, connect a second display to your Mac.
- You should now see the weird lines on your external display.
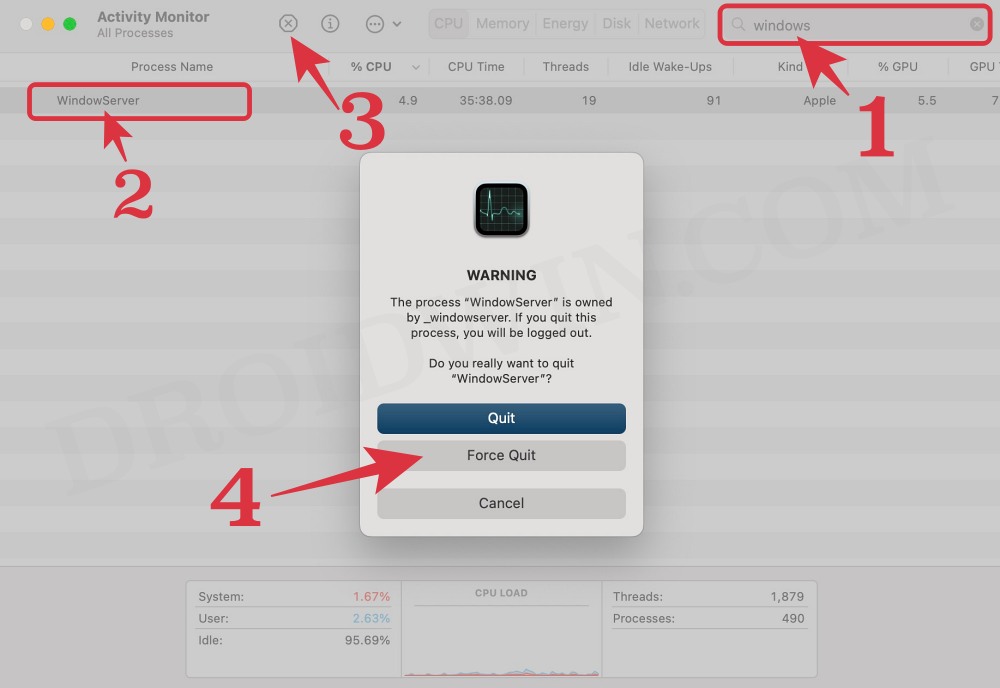
- When that happens, go to Launchpad > Others and launch Activity Monitor.
- Now search WindowServer, select it, and click on the cross icon. Then click on Force Quit.

- You will now be logged out. So log in back and the WindowsServer will restart itself within a few seconds.
- Now when the service restarts, it will notice that the external monitor is already connected and hence there will be no issues now.
The reason why you were getting bugged with this issue was the fact that the WindowsServer process was already running when you connected your second display. So what you needed to do was to connect the display first and then start up this process, and this is exactly what we did in the above instructions.
METHOD 2: When both Mac and Second Monitor are bugged
If your primary display is bugged as well, then you might not be able to carry out the steps listed in the first method above. In that case, you should try out the second method listed below. The underlying process will remain the service- we will be restarting WindowServer, but the steps to do so will be different.
- First and foremost, disconnect the second display from your Mac.
- With that, your Mac’s display will now work well and good.
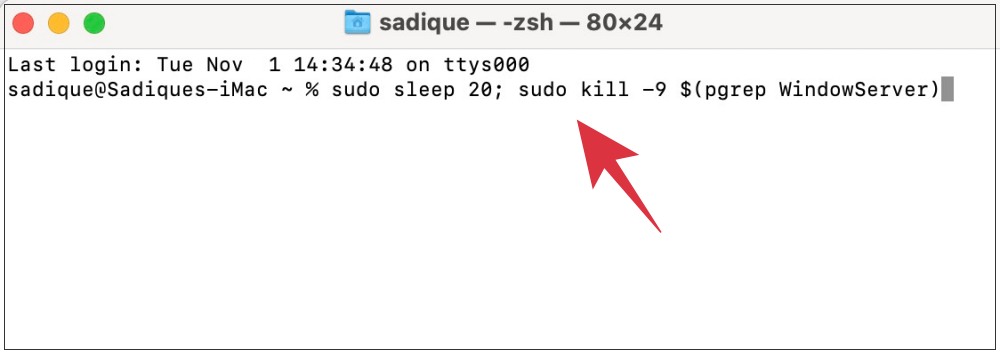
- So launch Terminal from Launchpad > others and execute the below command:
sudo sleep 20; sudo kill -9 $(pgrep WindowServer)
- The above command will kill the WindowServer process after 20 seconds.
- So you will now have to connect your second display to your Mac within this time frame.
- Once the external display has been connected and the 20-second time has elapsed, WindowServer will be stopped and you will be logged out.
- So log in back and WindowServer will now restart. It will notice that the external monitor is already connected and hence there will be no issues now.
FIX 2: Try the Basic USB C and HDMI Troubleshooting
Before moving over to any of the advanced fixes, we would recommend you give a try at the following basic workarounds:
- First off, try a different USB-C port on your Mac.
- Next up, unplug your monitor and then connect it again.
- Also, make sure that you are using a port on your monitor that supports UHD at 60Hz. Usually, the HDMI 1 port only has 30Hz.
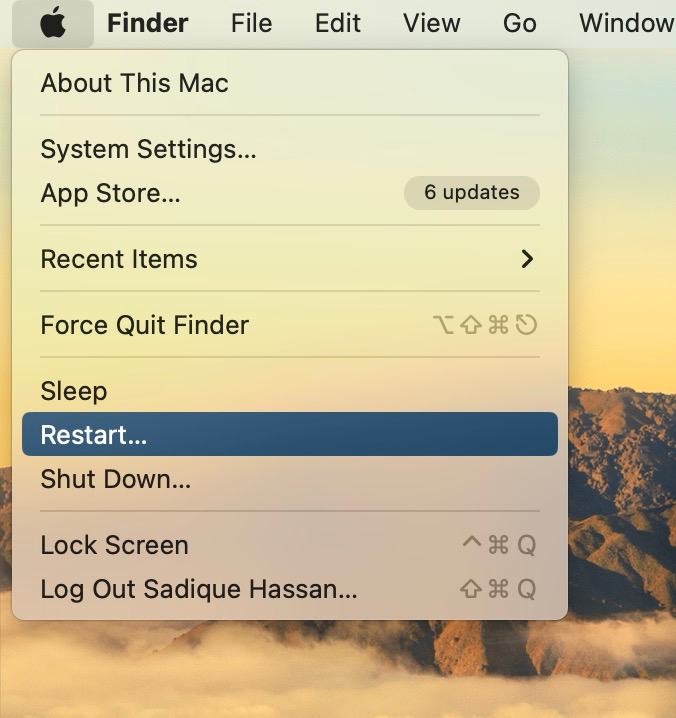
- Finally, restart your Mac by clicking on the Apple logo and selecting Restart.
Check if any of these tweaks manages to fix the issue of macOS Ventura being unable to detect a second monitor or external display.
FIX 3: Force Connect External Display
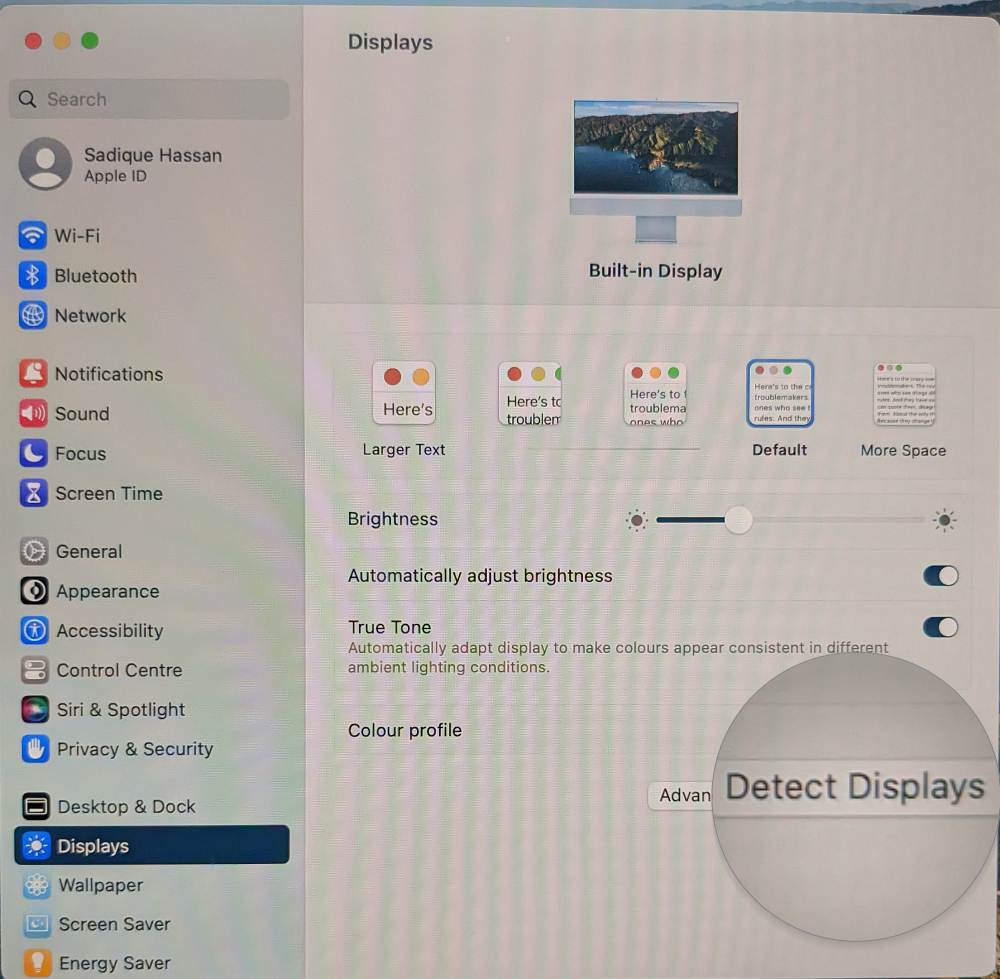
- Open System Settings and select Display from the left-hand side. Then press and hold the Option key.
- This will bring up the Detect Displays button, click on it and verify the results.
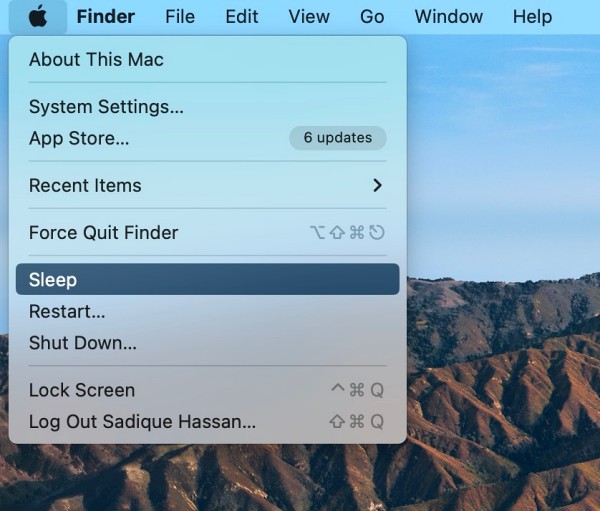
- If the issue is still there, then click on the Apple logo situated at the top left and select Sleep.
- Let your Mac go to sleep. Then wait for a minute and wake it up. Now again click on Detect Displays.
- Now check if macOS Ventura second monitor or external display is working or not.
FIX 4: Connect Monitor after opening Display Settings
Some users were able to rectify this issue by first opening the Display settings menu on their Mac and then connecting the secondary display. While it doesn’t really adds up, but still, give it a shot and test out the results.
FIX 5: Tweak Display Resolution Settings
Next up, you should consider tweaking a few Display Resolution Settings and then check if it spells out success for you or not. Here’s how it could be done:
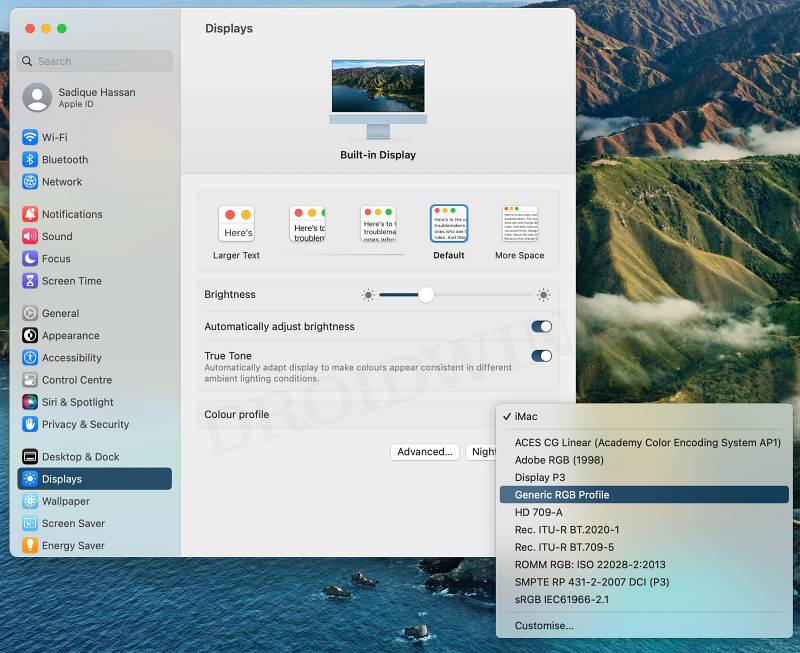
- Open select System Preferences, and go to Display.
- Then select Scaled and choose a different resolution.
- Likewise, uncheck “Automatically adjust brightness”.
- After that, click on Color Profile and choose a different profile from the drop-down.
- Now check if macOS Ventura second monitor or external display is working or not.
FIX 6: Downgrade DisplayPort Version
You should also give a shot at downgrading the DisplayPort Version from 1.4 to 1.2 or from 1,.2 to 1.1, depending on the resolution that your display has.
- To begin with, head over to Settings > General > DisplayPortVersion.
- Then select 1.2 if your default was 1,4 or select 1.1 if the default was 1.2.
- Check if macOS Ventura second monitor or external display is working or not.
FIX 7: Reboot to Safe Mode
In some instances, a third-party app might end up conflicting with your Mac’s display settings. The best way to verify and rectify it is to boot your Mac to Safe Mode. In this mode, all the third-party apps, and services will be disabled. So if the underlying issue gets resolved, then the culprit is indeed a third-party app that you need to uninstall from your Mac at the earliest. Here’s how all of this could be done:
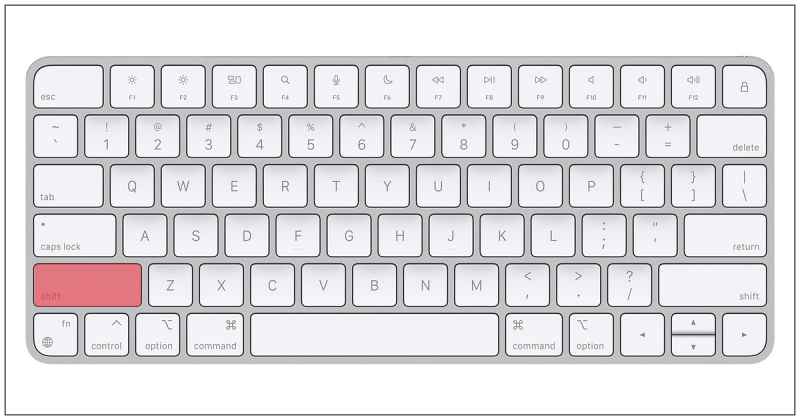
- To begin with, restart your Mac. Then press and hold the Shift key.
- Once you see the login screen, release the Shift key.
- Then type in your credentials and the Mac should now be booted to Safe Mode.
- Now verify if macOS Ventura second monitor or external display is working or not.
- If it did fix the issue, then restart your Mac to boot to normal mode.
- After that, uninstall the recently installed apps, one at a time, until you are no longer able to recreate the issue.
- Once that happens, the last uninstalled app would be the culprit, so you should keep a safe distance from it.
FIX 8: Use an HDMI to USB-C cable to try
For some users, using an HDMI to USB-C cable did the job. So use the said cable and then check out the results.
FIX 9: Reset NVRAM
Both M1/M2 and Intel-based Macs come with NVRAM [Non-Volatile Random Access Memory) which holds information about the configuration of your Mac. They store information related to your desktop settings, mouse, keyboard, time zone, and display resolution, among others. So if this stored data gets corrupted, then its associated hardware or software component might not be able to perform as expected. Therefore, you will have to reset the NVRAM, using the instructions given below:
- If you have an M1 or M2 Mac, then just a normal restart will reset the NVRAM.
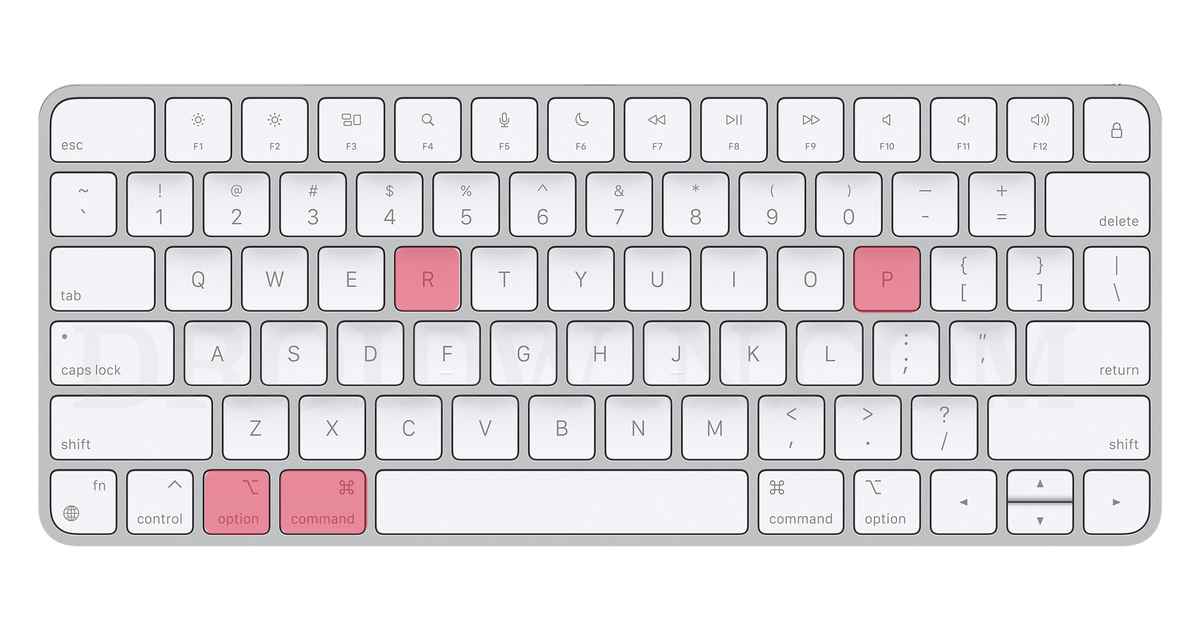
- For an Intel-based Mac, you should first turn off your PC.
- Then before the gray screen appears, press the CMD, Option, P, and R keys together.
- Keep on pressing these keys until your Mac restarts and you hear the startup sound.
- Once that happens, you may release the keys and the NVRAM reset is now complete.
- Now check if macOS Ventura second monitor or external display is working or not.
FIX 10: Rollback to Beta 4
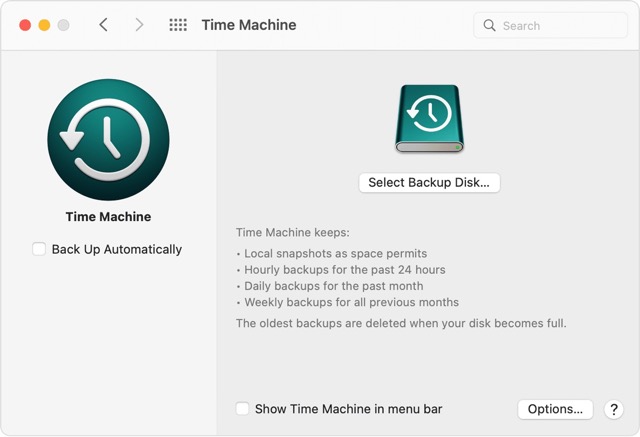
While we are witnessing reports of this issue right from Beta 1 all the way up to Beta 9, however, for some users, the issue was no longer present in Beta 4. So if your mac has an Intel chipset, then you could use the built-in macOS Recovery tool to perform the downgrade. On the other hand, M1/M2 users could use a Time Machine backup [granted if they had created one before]. Irrespective of the method you end up choosing, make sure to take a data backup beforehand.
FIX 11: Reinstall macOS Ventura
if none of the aforementioned methods spelled out success, then your last course of action should be to reinstall the OS. However, do keep in mind that it doesn’t come with a higher success rate. While some were able to rectify this issue after performing a reinstall without a data wipe, others weren’t able to do so even after a reset. if you wish to give it a try, then take a complete Mac backup and refer to the below steps:
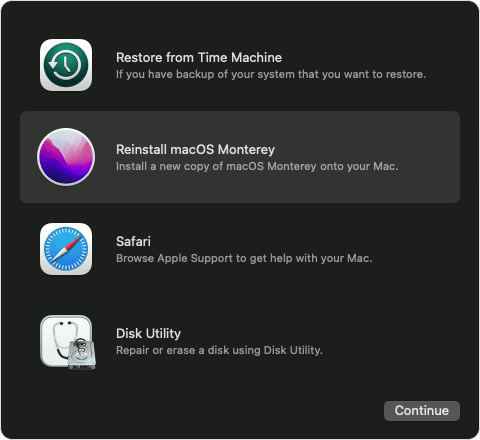
- To begin with, power off your Mac. Then power it on.
- While it is booting up, press and hold the Command (⌘) and R keys together until you see the start screen [Apple logo].
- Then release the pressed keys. Now select Reinstall macOS from the menu and hit Continue.
Reference Image - Now proceed with the on-screen instructions to re-install the OS. Once done, check out the results.
That’s it. These were the various methods to fix the issue of macOS Ventura second monitor or external display not working. As far as the official stance on this matter is concerned, the developers are yet to acknowledge this issue, let alone give out any ETA for the rollout of a fix. As and when any of these two things happen, we will update this guide accordingly. In the meantime, the aforementioned workarounds are your best bet.


NixMann
::Solution for NixMann::
I just found out that the external Gadgets plugged into the 4 USB-C Ports of a A1708, MBP15,1 (with Radeon Pro 560X 4 GB & Intel UHD Graphics 630 1536 MB) seem to cause erratic
switching and blank screens with even Bluetooth peripherals to freeze up for up to 30 seconds. It seemed like erratic monitor switching.
These Adapters are notoriously bad by not being able to get enough current (I = Amps) from the MBP.
They provide USB3-A, Eth, HDMI and USB-C ports, but are drained quickly if more than one HDD, SSD, HDMI or anything else is connected.
The system could not stay stable for more than 5 minutes.
Using one expander on the left occupying both 2 USB-C ports, handles 1xUSB-Stick, 1xHDMI 1xUSB-C charging port for System Charge and Eth 1000MB cable.
On the right two MBP USB-C ports, only the one on the back is used by another Adapter with 1xUSB-C charge, 1xUSB-C, 3xUSB3,1, 1xRGB, 1x Eth & Memory Card reader.
The solution seems to be, to make sure each Adapter has its own DC 5V 3A (15W) power supply into each of the charge ports.
Now all is happy; no erratic switching monitors etc.
The MBP can not handle all the peripherals on its own, not to say of the current the MBP needs for itself.
HTH U All