In this guide, we will show you the steps to root your Galaxy S22 Ultra via Kernel SU. Rooting a Samsung device has always taken a different approach. As opposed to patching and flashing patched boot/init_boot, you’ll have to make use of the patched AP file and flash it via Odin. Likewise, apart from Magisk, we now have a new method to root Android that involves Generic Kernel Image. It works in kernel mode and grants root permission to apps directly in the kernel space.
But similar to the Magisk scenario, the steps for achieving root via kernel are again different for Samsung when compared with other Android devices. Fortunately, though, we have got you covered and you won’t require much manual tweaking with the kernel boot image. So on that note, let’s make you aware of the steps to root your Galaxy S22 Ultra via Kernel SU.
Table of Contents
How to Root Galaxy S22 Ultra via Kernel SU

Before starting, please take a backup of all the data on your device. Droidwin and its members wouldn’t be held responsible in case of a thermonuclear war, your alarm doesn’t wake you up, or if anything happens to your device and data by performing the below steps.
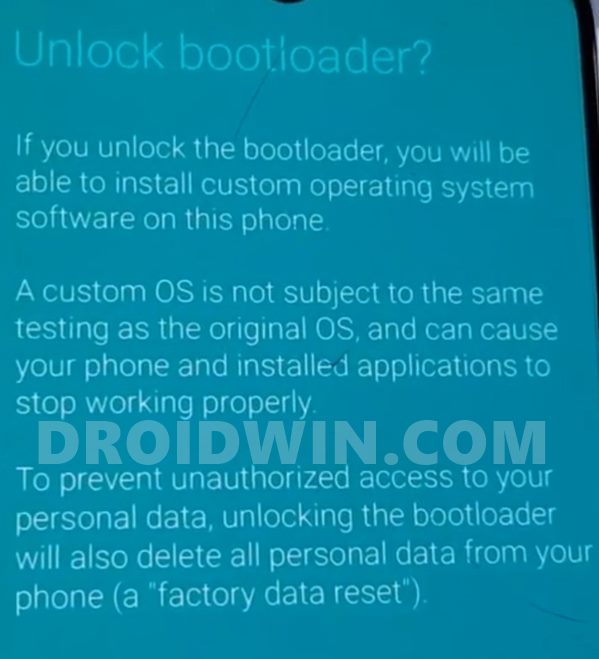
STEP 1: Unlock the Bootloader on Galaxy S22 Ultra
First and foremost, you will have to unlock the bootloader on your device. For that, you may refer to our comprehensive guide on How to Unlock Bootloader on Galaxy S22/Plus/Ultra.
STEP 2: Download Kernel
You may now grab hold of the kernel from below [Credits: XDA Senior Member russel5]
boot_ksu072_DWK4.tar: DOWNLOAD LINK
STEP 3: Boot Galaxy Galaxy S22 Ultra to Download Mode
You will have to boot your device to Download Mode so that you can flash the kernel. So refer to our detailed guide on How to Boot Galaxy S23/Plus/Ultra to Download Mode [3 Methods] or the below shorter instructions:

- To begin with, power off your device.
- Then press and hold the Power and Volume Up keys and your device will be booted to Stock Recovery.
- Now highlight the Reboot to Bootloader option using the Volume keys and then press the Power key to confirm it.
- Your device should now boot to the Download Mode.
STEP 4: Install Odin
Next up, you will have to download and install the Odin Tool onto your PC. This is needed to flash the TWRP and to disable AVB on your device. So get hold of the latest Odin from here: Download: Odin3-v3.14.4.zip. Once downloaded, extract it to any convenient location on your PC.

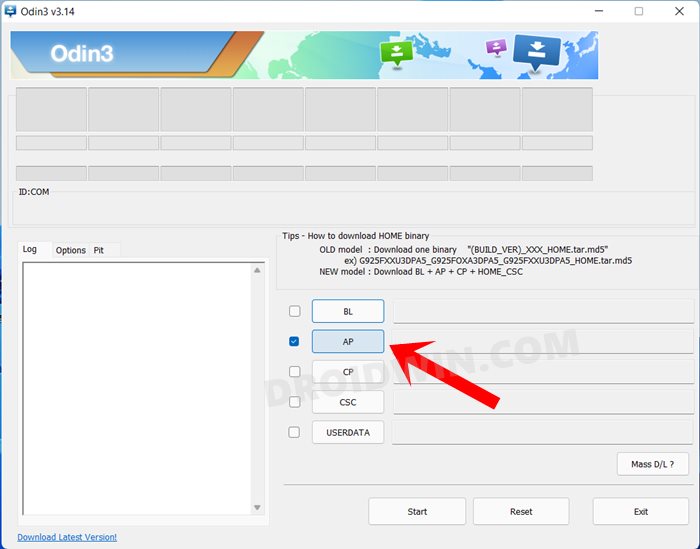
STEP 5: Flash Kernel via Odin
- To begin with, load the kernel TAR file to the AP slot of Odin.
- Then hit the Start button and wait for the flashing to complete.
- Once done, reboot to the OS [if it doesn’t happen automatically].

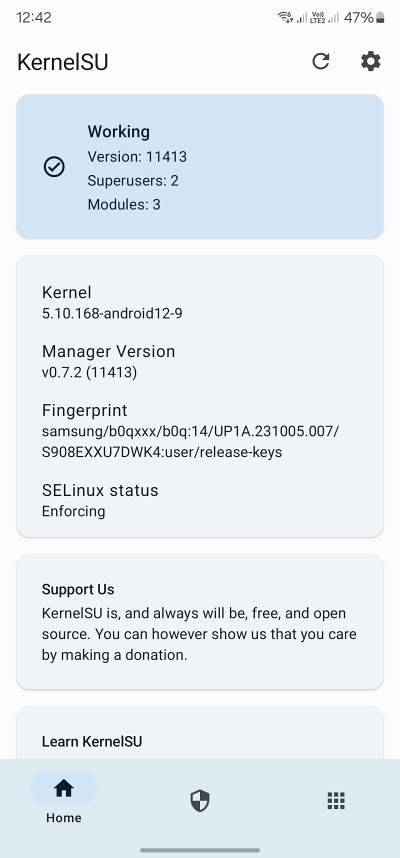
STEP 6: Verify Root
- Download and install the KernelSU app from GitHub.
- Then launch it and it should display Working at the top.
- This signifies that your device is successfully rooted.
Credits: XDA Senior Member russel5
That’s it. These were the steps to root your Galaxy S22 Ultra via Kernel SU. If you have any queries concerning the aforementioned steps, do let us know in the comments. We will get back to you with a solution at the earliest.


