In this guide, we will show you the steps to flash Custom ROM via the Fastboot commands. Back in the day, a custom recovery like TWRP [and CWM before that!] used to be the preferred method for flashing custom ROMs. However, due to the complexities involved, this recovery is no longer been developed for a majority of devices [with Xiaomi being a major exception]. So how else could one flash these ROMs?
Well, you could now easily flash most of these custom ROMs via Fastboot Commands followed by doing an ADB Sideload from the AOSP Recovery [which is present in the ROM itself, mostly within its vendor_boot partition]. While no doubt the process is a tad lengthy and somewhat complicated for newcomers when compared with TWRP but at least it gives you the option to have a custom ROM on your device. So on that optimistic note, let’s get started.
Table of Contents
How to Flash Custom ROM via Fastboot Commands
Do note that this is a generic guide that should be applicable to most Android devices, however, there could be a few exceptions out there. So please take a backup of all the data on your device and only then proceed ahead. Droidwin and its members wouldn’t be held responsible in case of a thermonuclear war, your alarm doesn’t wake you up, or if anything happens to your device and data by performing the below steps.
STEP 1: Install Android SDK
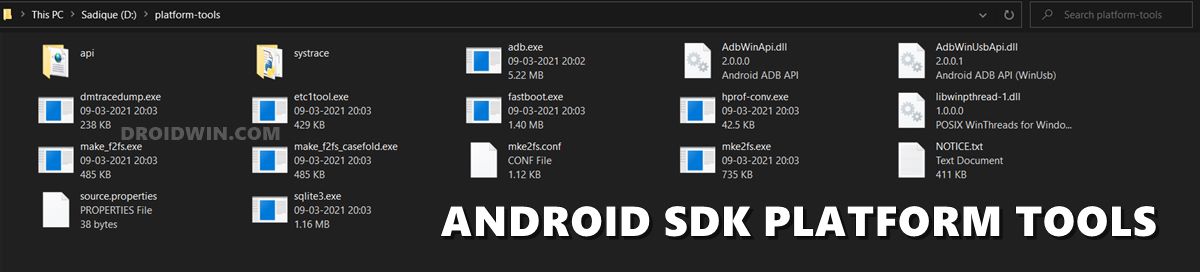
First and foremost, you will have to install the Android SDK Platform Tools on your PC. This is the official ADB and Fastboot binary provided by Google and is the only recommended one. So download it and then extract it to any convenient location on your PC. Doing so will give you the platform-tools folder, which will be used throughout this guide.
STEP 2: Enable USB Debugging and OEM Unlocking
Next up, you will also have to enable USB Debugging and OEM Unlocking on your device. The former will make your device recognizable by the PC in ADB mode. This will then allow you to boot your device to Fastboot Mode. On the other hand, OEM Unlocking is required to carry out the bootloader unlocking.
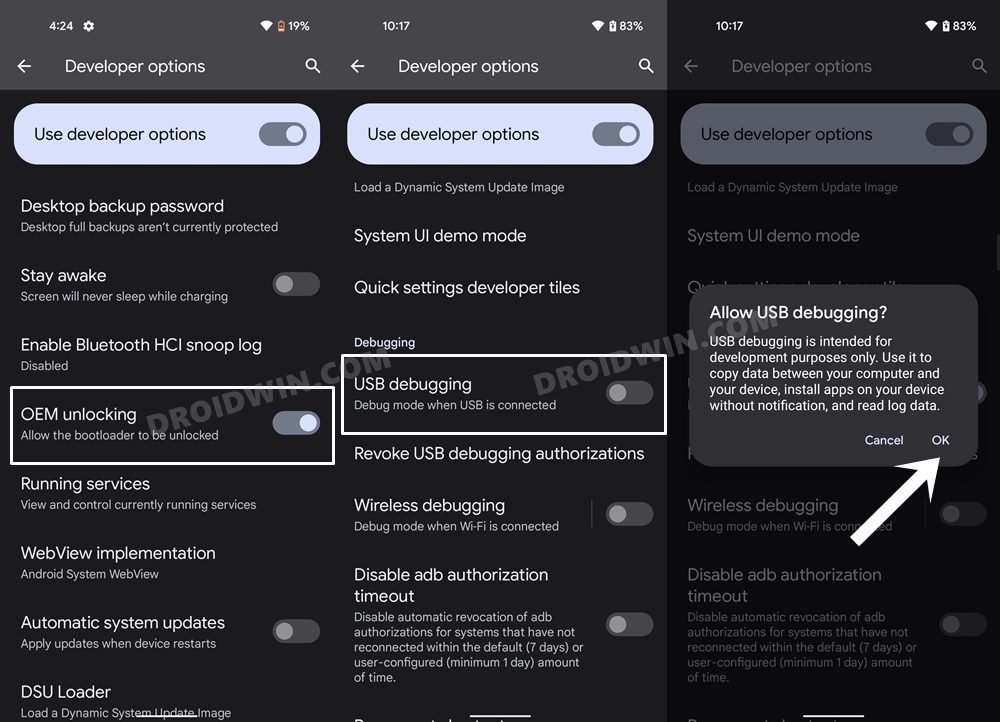
So head over to Settings > About Phone > Tap on Build Number 7 times > Go back to Settings > System > Developer Options > Enable USB Debugging and OEM Unlocking.
STEP 3: Unlock Bootloader on your Device
Next up, you will also have to unlock the device’s bootloader. Do keep in mind that doing so will wipe off all the data from your device and could nullify its warranty as well. So if that’s all well and good, then please refer to our detailed guide on How to Unlock Bootloader of any Android Device
STEP 4: Download and Extract ROM
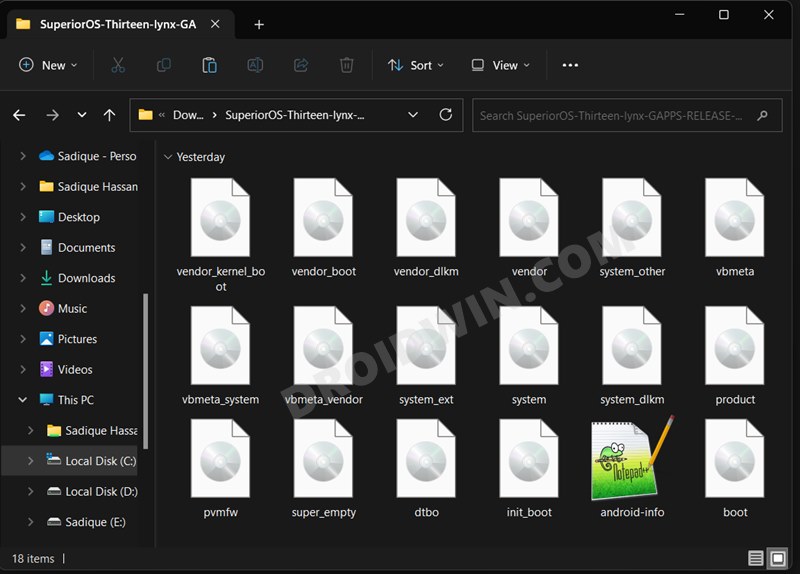
Boot and vendor_boot are two files that should be present across all those ROMs that have been made for devices that don’t have a recovery partition. On the other hand, dtbo is only present across some ROMs whereas vendor_kernel_boot could usually be found across ROMs developed for Pixel devices. Whatever files you get hold of after extraction [explained below], make sure to transfer them to the platform-tools folder on your PC.
- First off, download and extract the ROM onto your PC.
- In some ROMs, you’ll directly get the partition IMG files.

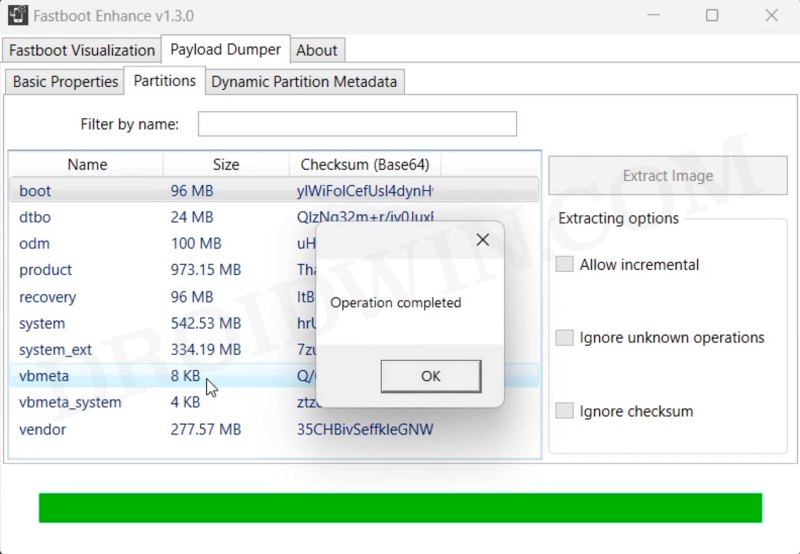
- On other ROMs though, you’ll get a payload.bin file.
- So extract this BIN file via Fastboot Enhance Tool.
- This will give you the required partition files in IMG format.
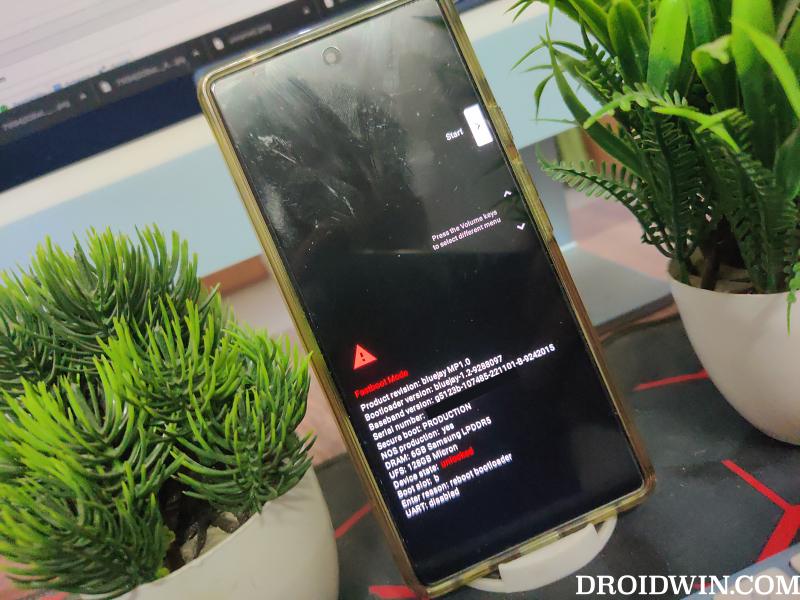
STEP 5: Boot Device Fastboot Mode
- Now connect your device to the PC via a USB cable. Make sure USB Debugging is enabled.
- Then head over to the platform-tools folder, type in CMD in the address bar, and hit Enter. This will launch the Command Prompt.
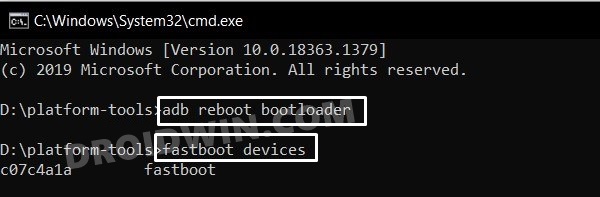
- Type in the following command in the CMD window to boot your device to Fastboot Mode
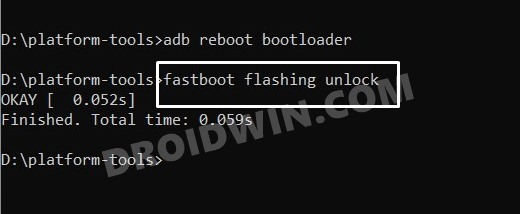
adb reboot bootloader
- To verify the Fastboot connection, type in the below command and you should get back the device ID.
fastboot devices
- If you are not getting any serial ID, then please install the Fastboot Drivers.

STEP 6: Flash Partition Files via Fastboot
You’ll now have to flash the partition files, that you have got after extracting the ROM, via Fastboot Commands. I’ll be listing the commands for all the four files that we usually get, you should only use the commands for the files that you have got [which generally is boot, vendor_boot, and dtbo in some cases]. Moreover, since these devices don’t have a recovery partition, therefore the AOSP Recovery is packed in the vendor_boot partition itself.
- First off, transfer the IMG files to the platform-tools folder.
- Then use the desired commands to flash the partition files:
fastboot flash boot boot.img
fastboot flash dtbo dtbo.img
fastboot flash vendor_kernel_boot vendor_kernel_boot.img
fastboot flash vendor_boot vendor_boot.img
- If there are any additional partition files, then please refer to FAQ 1 at the end of this guide.
- Once the flashing is complete, boot your device to the AOSP Recovery via the below command:
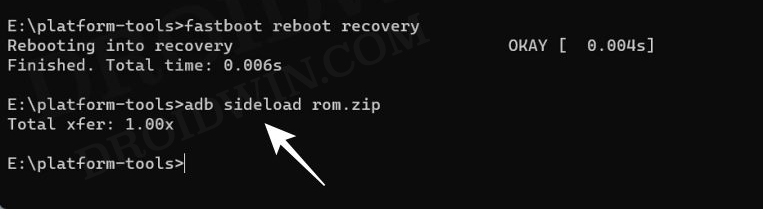
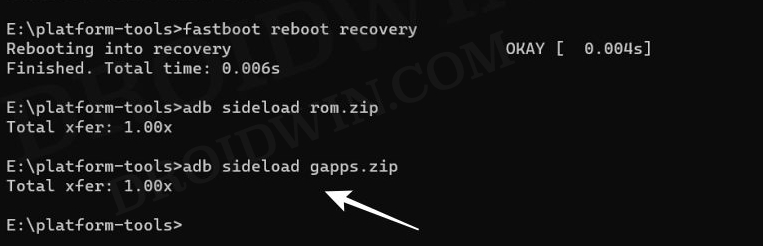
fastboot reboot recovery

STEP 7: ADB Sideload ROM via Recovery
Make sure that to rename the custom ROM to rom, so that the complete name becomes rom.zip. Likewise, transfer it to the platform tools folder on your PC. Furthermore, for the sake of reference, we are using LineageOS Recovery but the screenshots and steps will be near about similar for all the AOSP Recovery.
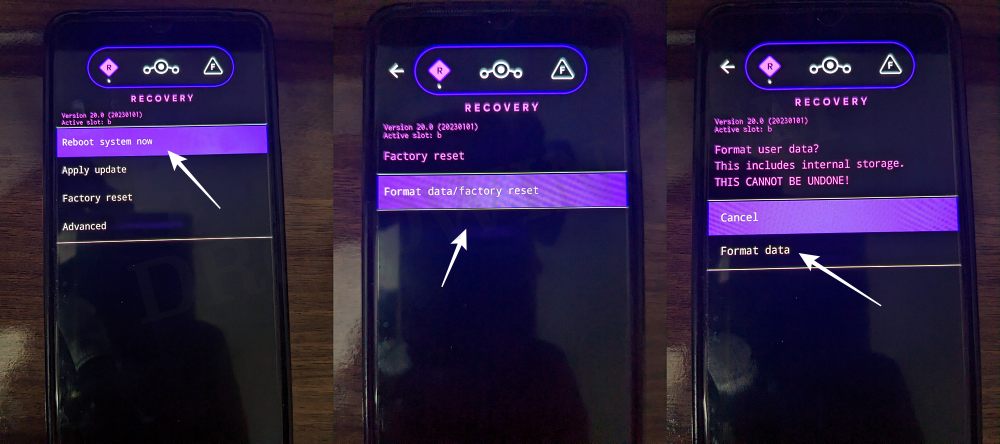
- From the AOSP Recovery, go to Factory Reset.
- Then select Format Data/Factory Reset > Format Data.
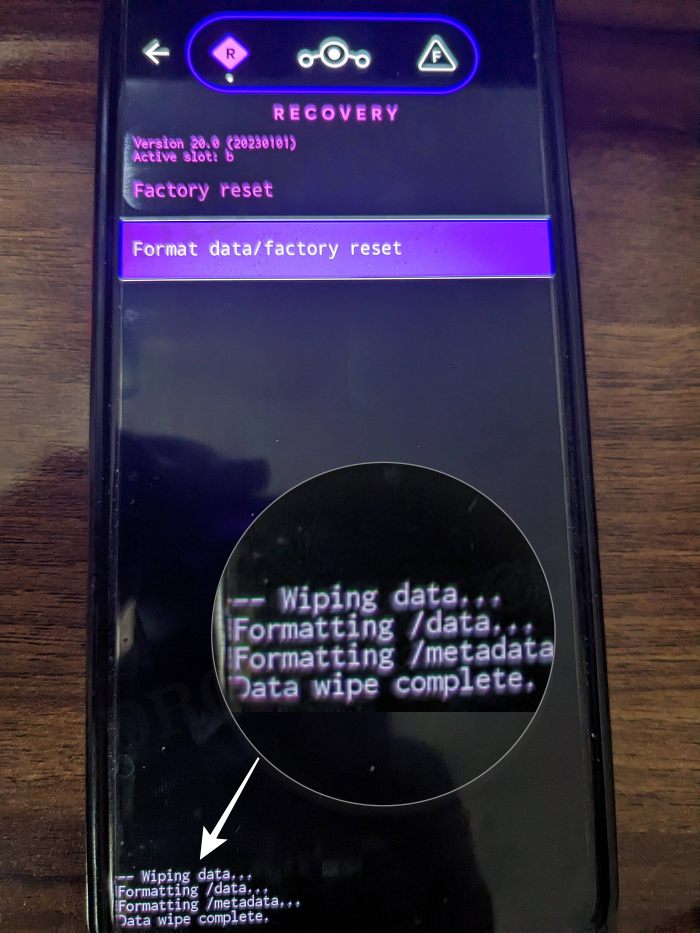
- Your device will now undergo a reset.
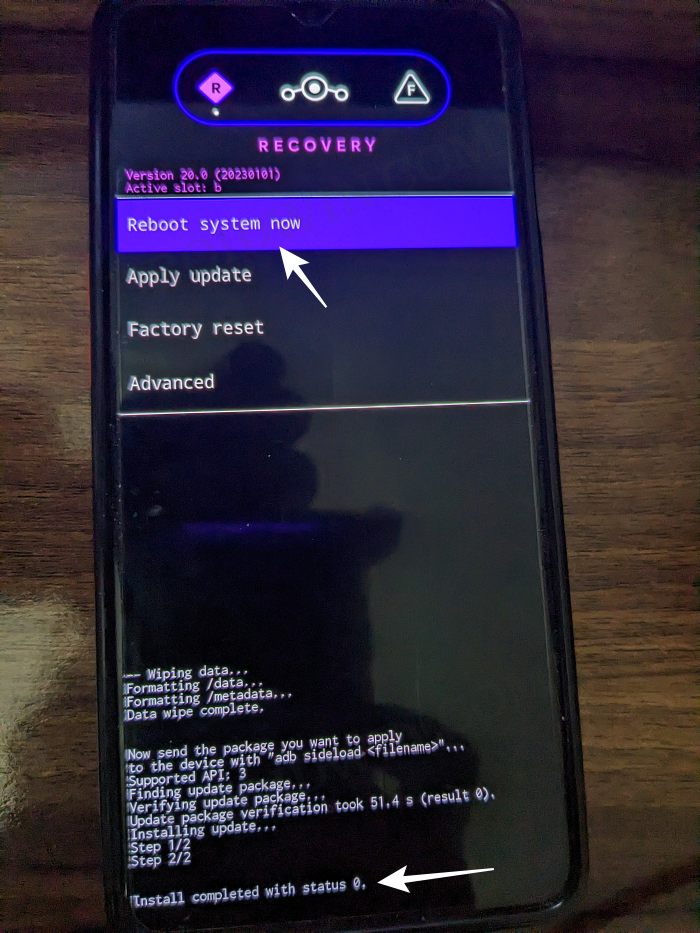
- Once done, you shall get the “Data wipe complete” message.
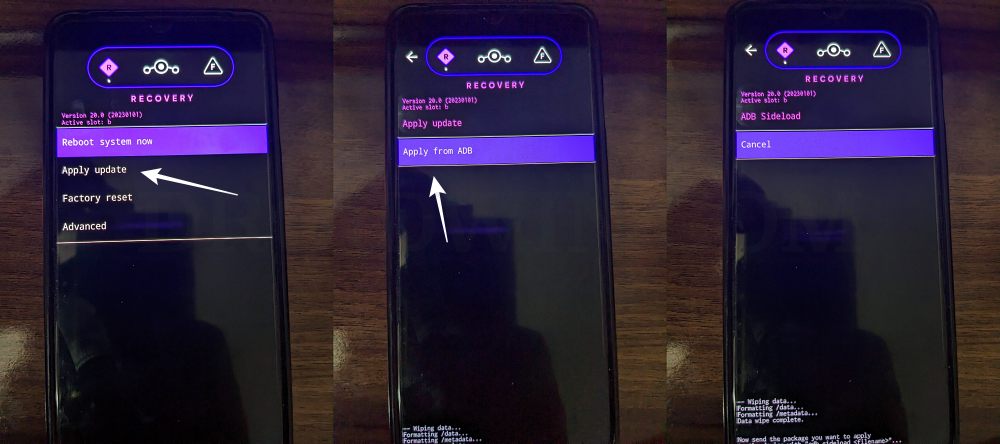
- Now from the Recovery, go to Apply Update > Apply from ADB.
- Then head over to the platform-tools folder, type in CMD in the address bar, and hit Enter.
- This will launch the Command Prompt. So type in the below command to flash the ROM file via Sideload:
adb sideload rom.zip
- The process will now begin and once done, you shall get the Total xfer: 1.00x message [Got an error? See FAQ below].
- If you want to install GApps, then move over to the next step otherwise select Reboot System Now to boot to the OS.
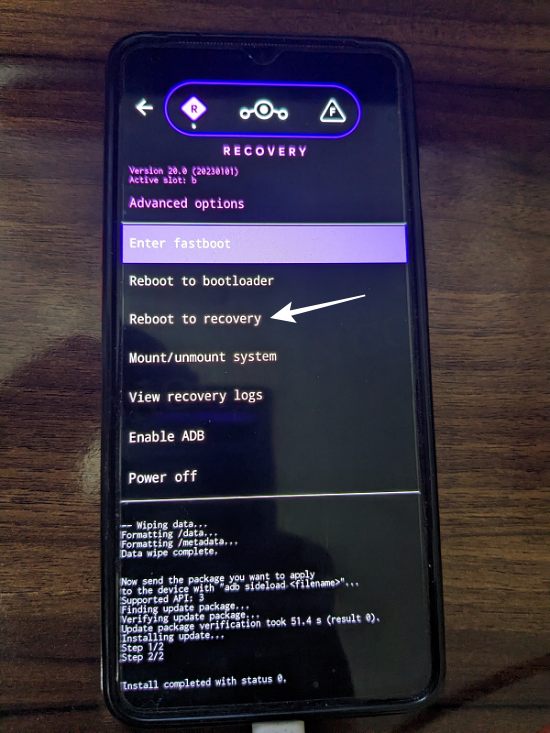
- Now go to Advanced > Reboot to Recovery. Your device will reboot to LineageOS Recovery.
- Once done, go to Apply Update > Apply from ADB.
- Now type in the below command to flash the GApps file via Sideload:
adb sideload gapps.zip
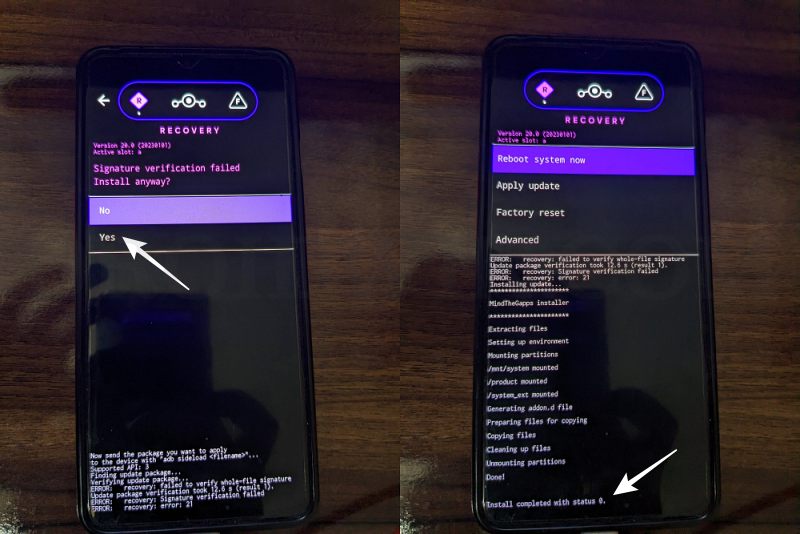
- You will get a Signature Verification failed message because the GApps package isn’t signed by LineageOS. That’s not an issue, just hit YES to proceed ahead.
- Once done, you may now finally reboot your device to the OS via “Reboot system now”.
That’s it. These were the steps to flash Custom ROM via the Fastboot commands. If you have any queries concerning the aforementioned steps, do let us know in the comments. We will get back to you with a solution at the earliest.
FAQ 1: Flashing Additional Partition Files
Apart from the aforementioned partition files [boot, vendor_boot, dtbo, and vendor_kernel_boot], you might come across a few additional partition files in rare cases. Here’s how to flash them [only use those commands whose files you have got after extracting the ROM]:
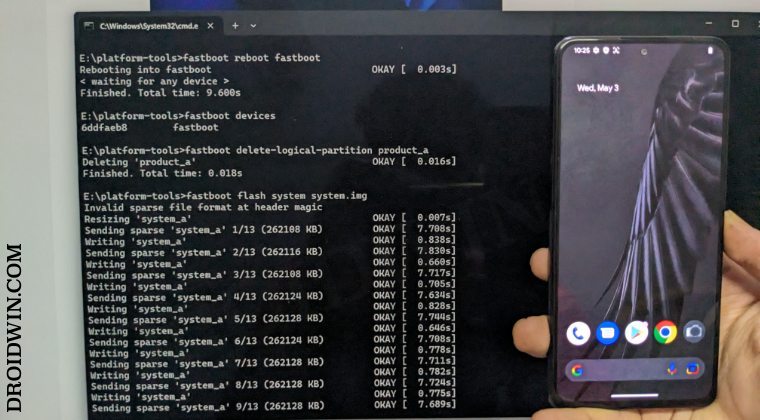
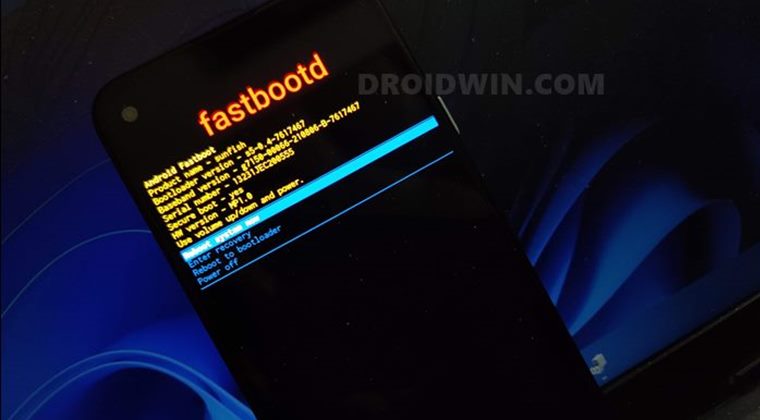
- From Fastboot, type in the below command to boot your device to FastbootD Mode:
fastboot reboot fastboot
- Then type in the below command to flash system.img
fastboot flash system system.img
- Now flash the system_ext.img via the below command
fastboot flash system_ext system_ext.img
- Then flash product.img using the below-listed command
fastboot flash product product.img
- Now flash vendor.img via the command shown below:
fastboot flash vendor vendor.img
- After that, reboot your device to Fastboot via the command
fastboot reboot-bootloader
- Then type in the below command to flash vbmeta and disable verity
fastboot flash --disable-verity --disable-verification vbmeta vbmeta.img
- Now perform a factory reset via the following command
fastboot -w
- Finally, execute the below command to boot your device to the newly flashed OS
fastboot reboot
FAQ 2: Flashing Custom ROMs on Pixel Devices via Fastboot
Nowadays, developers have made it extremely easy to flash custom ROMs on Pixel devices via Fastboot Commands. Instead of stepping into the aforementioned complicated stuff, you could easily flash the ROM using just a single line of command! So transfer the rom.zip to the platform-tools folder and let’s get started.
[NOTE: As you could see from the below commands, we are doing a factory reset twice. But why is that so? Well, some ROM developers require you to perform a reset before flashing whereas others ask you to do so after flashing. To make it a generalized procedure, we are doing it both before and after flashing the ROM! It goes without saying that the process will wipe off all the data, so take a backup beforehand].
- First off, boot your device to Fastboot Mode via the below command:
adb reboot bootloader
- Then type in the below command to perform a factory reset
fastboot -w
- Now execute the below command to flash the ROM:
fastboot update rom.zip
- Again, use the below command to perform a factory data reset
fastboot -w
- Now use the below command to boot your device to the newly installed OS
fastboot reboot
Fastboot Command Sheet
- First off, perform a factory reset via the below command:
fastboot -w
- Then change your active slot to A via the below command:
fastboot --set-active=a - You may now flash the required files with the help of the following commands:
fastboot flash --slot=all boot boot.img
fastboot flash dtbo dtbo.img
fastboot flash --slot=all modem modem.img
fastboot flash vendor_boot vendor_boot.img
fastboot flash vbmeta vbmeta.img
fastboot flash vbmeta_system vbmeta_system.img
fastboot flash vbmeta_vendor vbmeta_vendor.img
- Now boot your device to FastbootD Mode via the below command:
fastboot reboot fastboot
- Then flash the remaining files via the below commands:
fastboot flash --slot=all abl abl.img

fastboot flash --slot=all aop aop.img

fastboot flash --slot=all bluetooth bluetooth.img

fastboot flash --slot=all cpucp cpucp.img

fastboot flash --slot=all devcfg devcfg.img

fastboot flash --slot=all dsp dsp.img

fastboot flash --slot=all engineering_cdt engineering_cdt.img

fastboot flash --slot=all featenabler featenabler.img

fastboot flash --slot=all hyp hyp.img

fastboot flash --slot=all imagefv imagefv.img

fastboot flash --slot=all keymaster keymaster.img

fastboot flash --slot=all multiimgoem multiimgoem.img

fastboot flash --slot=all oplus_sec oplus_sec.img

fastboot flash --slot=all oplusstanvbk oplusstanvbk.img

fastboot flash --slot=all qupfw qupfw.img

fastboot flash --slot=all qweslicstore qweslicstore.img

fastboot flash --slot=all shrm shrm.img

fastboot flash --slot=all splash splash.img

fastboot flash --slot=all tz tz.img

fastboot flash --slot=all uefisecapp uefisecapp.img

fastboot flash --slot=all vm-bootsys vm-bootsys.img

fastboot flash --slot=all xbl xbl.img

fastboot flash --slot=all xbl_config xbl_config.img

fastboot flash vendor vendor.img

fastboot flash odm odm.img

fastboot flash system system.img

fastboot flash system_ext system_ext.img

fastboot flash product product.img

fastboot flash my_bigball my_bigball.img

fastboot flash my_carrier my_carrier.img

fastboot flash my_company my_company.img

fastboot flash my_engineering my_engineering.img

fastboot flash my_heytap my_heytap.img

fastboot flash my_manifest my_manifest.img

fastboot flash my_preload my_preload.img

fastboot flash my_product my_product.img

fastboot flash my_region my_region.img

fastboot flash my_stock my_stock.img
- Once again, do a reset via the below command:
fastboot -w
- Finally, you may now reboot to the newly flashed OS:
fastboot reboot