In this guide, we will show you the steps to enable the Windows XP Alt-Tab switcher in Windows 11. The latest iteration of the OS has bought in quite a few UI tweaks. The likes of Start Menu, Taskbar, and the Settings Menu have already been blessed with a major revamp. Likewise, the Task Manager and Alt-Tab switcher are also in the line to receive an overhaul, the former getting a dark theme with a slew of new features whereas the latter will now offer a transparent background instead of a translucent one.
And that’s not it. You could even add a touch of nostalgic factor to it and replace this new tab switcher with the classic one from the yesteryears. As far as the reason why you might want to do so, frankly speaking, it’s hard to list any, well apart from the fact that you would be able to hop onto the glory train. So on that note, let’s show you the steps to enable the Windows XP Alt-Tab switcher on your Windows 11 PC. Follow along.
How to Enable Windows XP Alt-Tab Switcher in Windows 11
Before starting off with the instruction, make sure to backup the registry. Once done, you may then proceed with the below steps:
- Head over to the Start Menu, search Registry Editor, and open it.
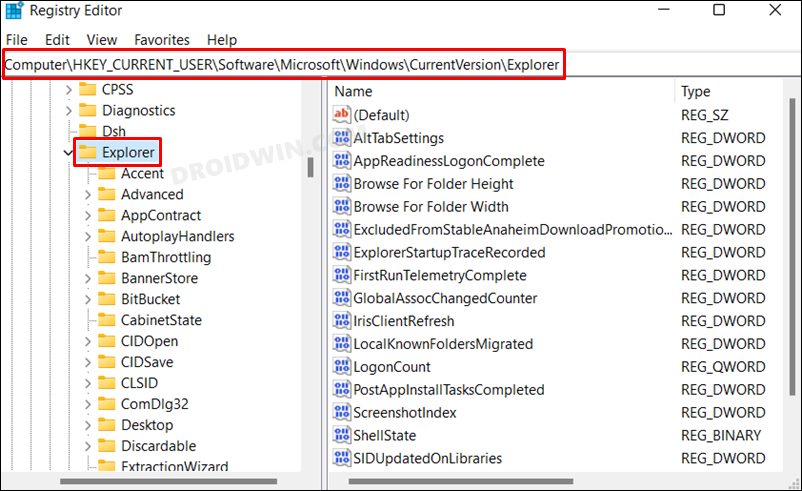
- Then copy-paste the below location in its address bar and hit Enter:
HKEY_CURRENT_USER\Software\Microsoft\Windows\CurrentVersion\Explorer

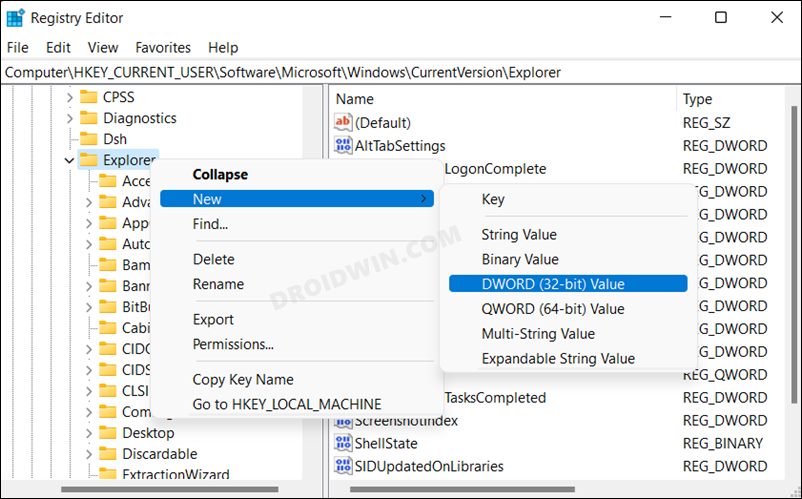
- Now right-click on the Explorer folder and select New > DWord (32-Bit) Value.
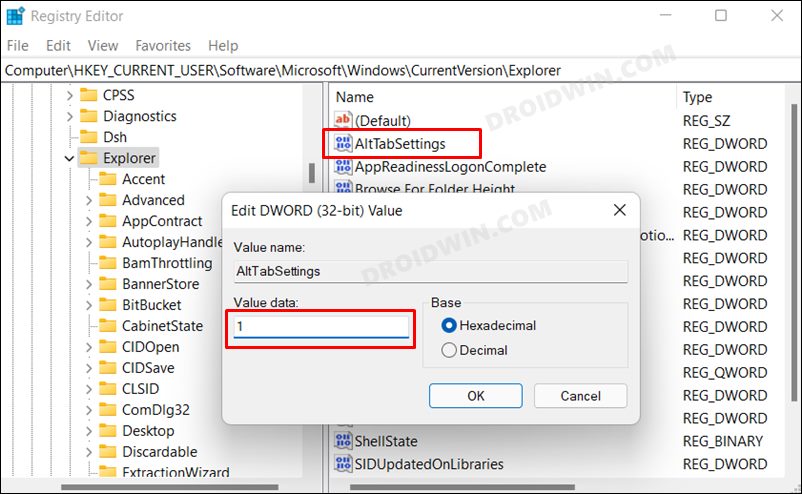
- Name it AltTabSettings and double-click to open it. Then type in 1 under Value Data and hit OK to save it.
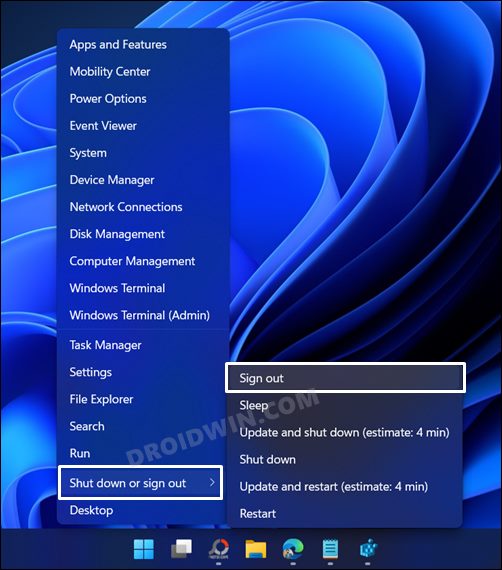
- Once done, right-click on the Start Menu, select Shut Down or Sign out > Sign out (compulsory).
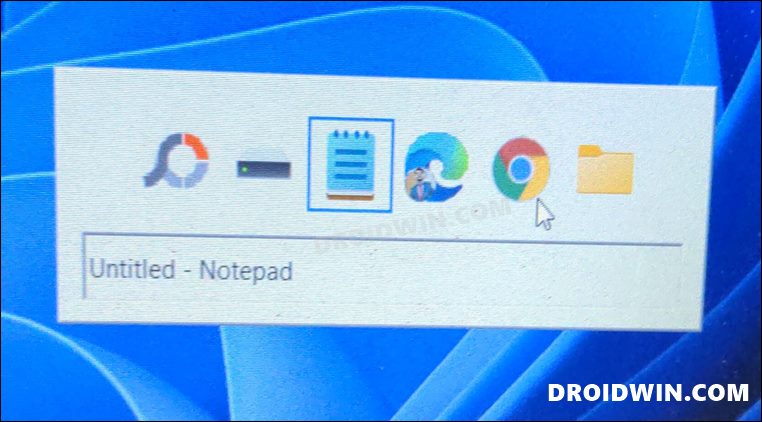
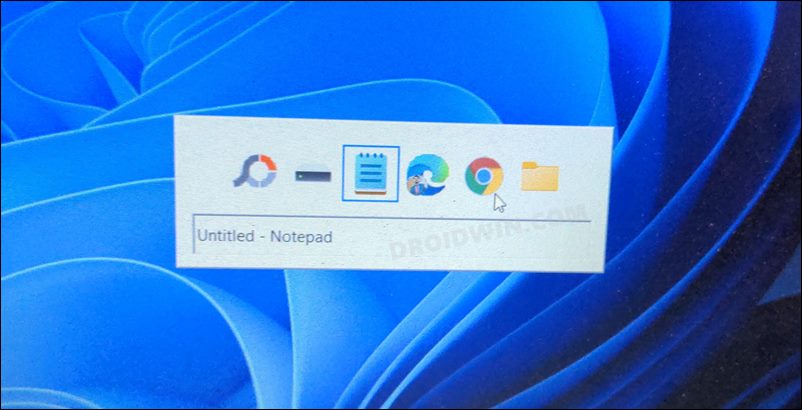
- Then re-sign in and the Windows XP Alt-Tab switcher will now be enabled on your Windows 11 PC.
How to Bring Back Windows 11 Alt-Tab Switcher
If you wish to revert this process, in other words, replace the Windows XP Alt-Tab Switcher with the original Windows 11 switcher, then here’s what you need to do:
- Head over to the Start Menu, search Registry Editor, and open it.
- Then copy-paste the below location in its address bar and hit Enter:
HKEY_CURRENT_USER\Software\Microsoft\Windows\CurrentVersion\Explorer
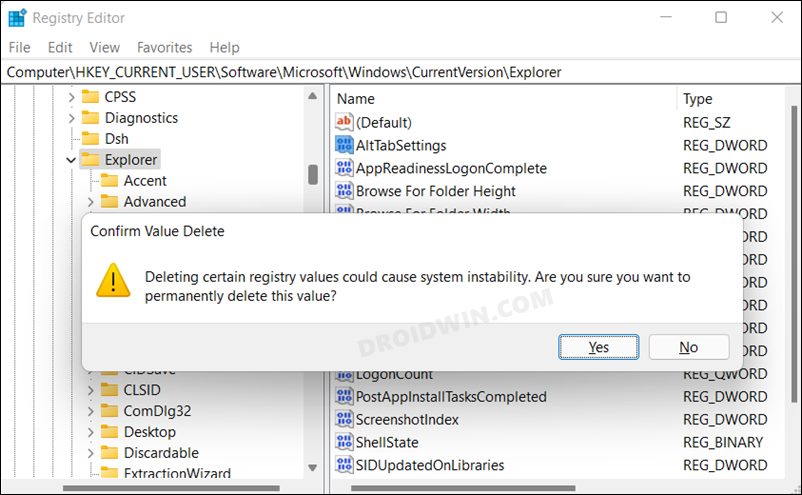
- Now select the AltTabSettings and hit Delete. Click YES in the confirmation dialog box.
- Once done, right-click on the Start Menu, select Shut Down or Sign out > Sign out.
- Then re-sign in and this should bring back the original Windows 11 Alt-Tab switcher.
So these were the steps to enable the Windows XP Alt-Tab switcher in Windows 11. Likewise, we have also listed the steps to revert the change and bring back the default Windows 11 switcher. If you have any queries concerning the aforementioned steps, do let us know in the comments. We will get back to you with a solution at the earliest.


