This guide will show you the steps to enable Vo5G/VoNR on your Android device. While it has already been more than a year, some network carriers’ 5G radios supporting new frequencies are still attached to an LTE Evolved Packet Core. However, the change from the shared LTE over to a standalone 5G network has finally begun, and the 5G Voice over New Radio or 5G VoNR is the best product to come out of this change.
Compared with the earlier VoLTE, the 5G VoNR offers a more streamlined, uninterrupted, and immersive calling and internet usage experience. However, when we come into the Android ecosystem, there’s still some work to be done as there doesn’t seem to be any native method of making use of this functionality. But if you have access to the system partition, you could easily enable the Vo5G/VoNR on your Android device. And in this guide, we will show you how to do just that. Follow along.
Table of Contents
How to Enable Vo5G/VoNR on Android
To carry out the said task, we will be editing the carrier config XML file, and for that, you will need root access. If your device isn’t rooted yet, then refer to our guide on How to Root Android via Magisk patched boot.img (without TWRP). Once done, you may start off with the below steps. Droidwin and its members wouldn’t be held responsible in case of a thermonuclear war, your alarm doesn’t wake you up, or if anything happens to your device and data by performing the below steps.
Method 1: Via File Explorer
- To begin with, download a root-supported file manager [such as Solid Explorer File Manager- link].
- Then tap on the hamburger menu and select the Root directory.

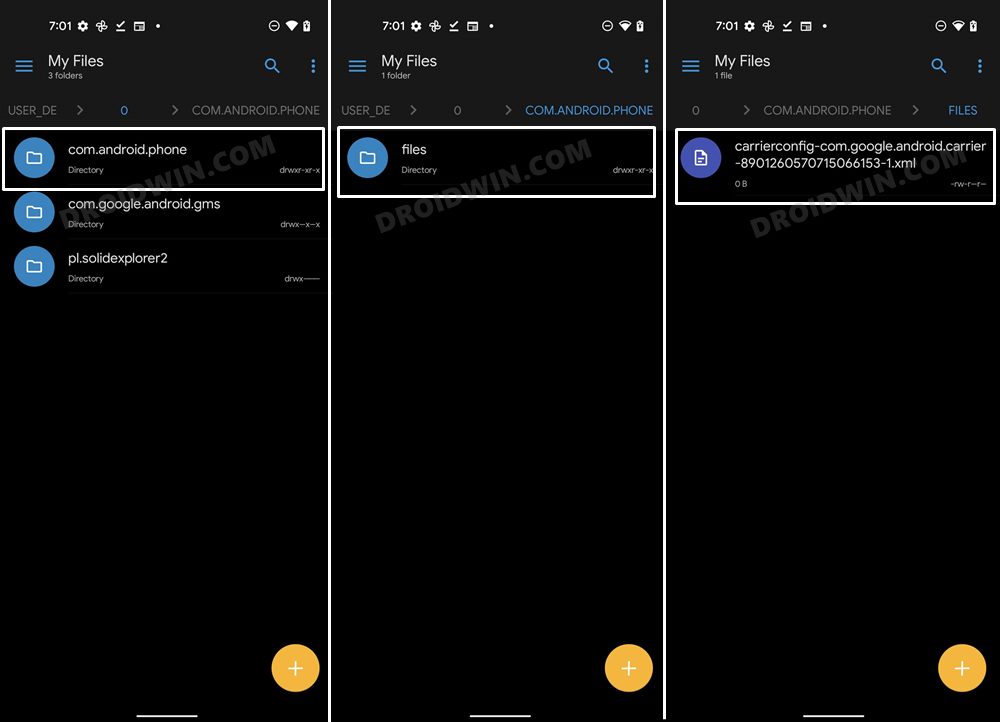
- You will now get a Magisk prompt, tap Grant. Now head over to the below location-
/data/user_de/0/com.android.phone/files/carrierconfig-com.google.android.carrier-8901260570715066153-1.xml
- Now open this carrierconfig.xml file via the in-built file editor.
- Then type in the below value before the </bundle> at the end to enable Vo5G/VoNR
<boolean name="vonr_enabled_bool" value="true" />
<boolean name="vonr_setting_visibility_bool" value="true" />
- Once done, save the file and restart your device for the changes to take place.
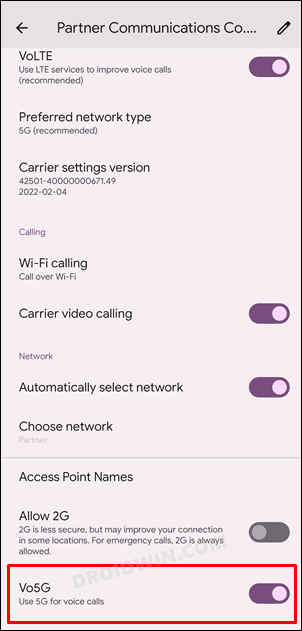
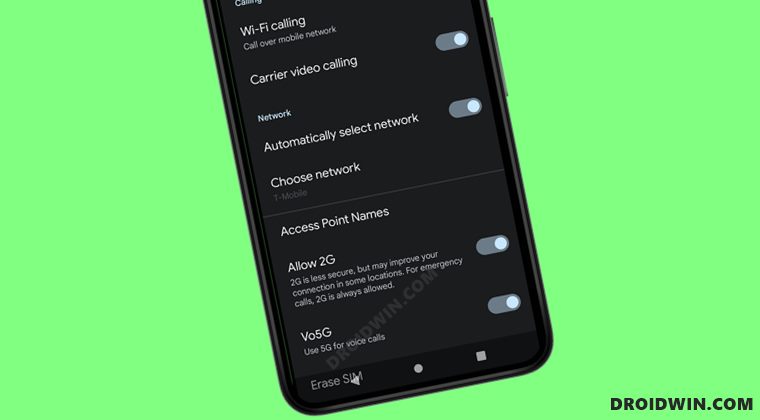
- That’s it. You should now see the Vo5G toggle in the Settings menu which could be enabled right away.

Method 2: Via ADB Commands
In rare instances, it might be the case that even a root-supported file explorer isn’t able to read/write the carrierconfig.xml file. If that is the case with you as well, or you just don’t want to install an additional app, then you could carry out this task via ADB commands as well. Here’s how-
- Download and extract Android SDK Platform Tools on your PC.
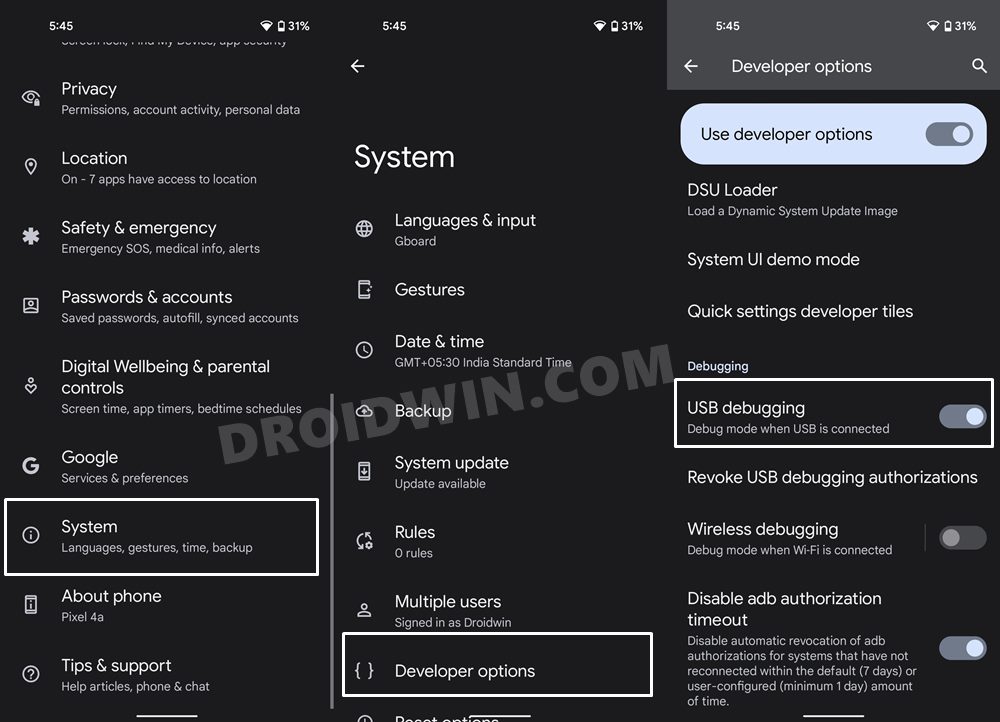
- Then enable USB Debugging and connect your device to the PC via USB cable.
- After that, go to the platform-tools folder, type in CMD in the address bar, and hit Enter.
- This will launch the Command Prompt. Type in the following command to open the shell environment
adb shell
- After that, execute the below command to invoke the root permission
su
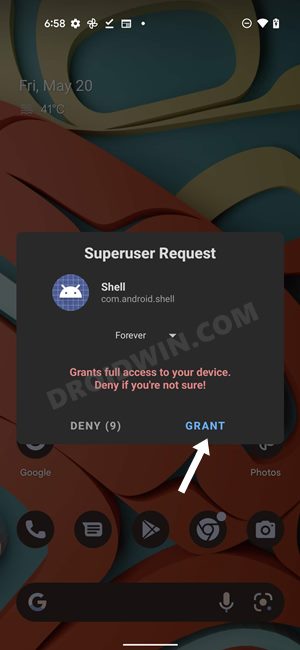
- You will now get a Magisk request on your device, tap Grant.
- Now input the following command to copy the XML file to your device’s internal storage.
cp /data/user_de/0/com.android.phone/files/carrierconfig-com.google.android.carrier-8901260570715066153-1.xml /sdcard/
- Then execute the below command to transfer the XML file to your PC
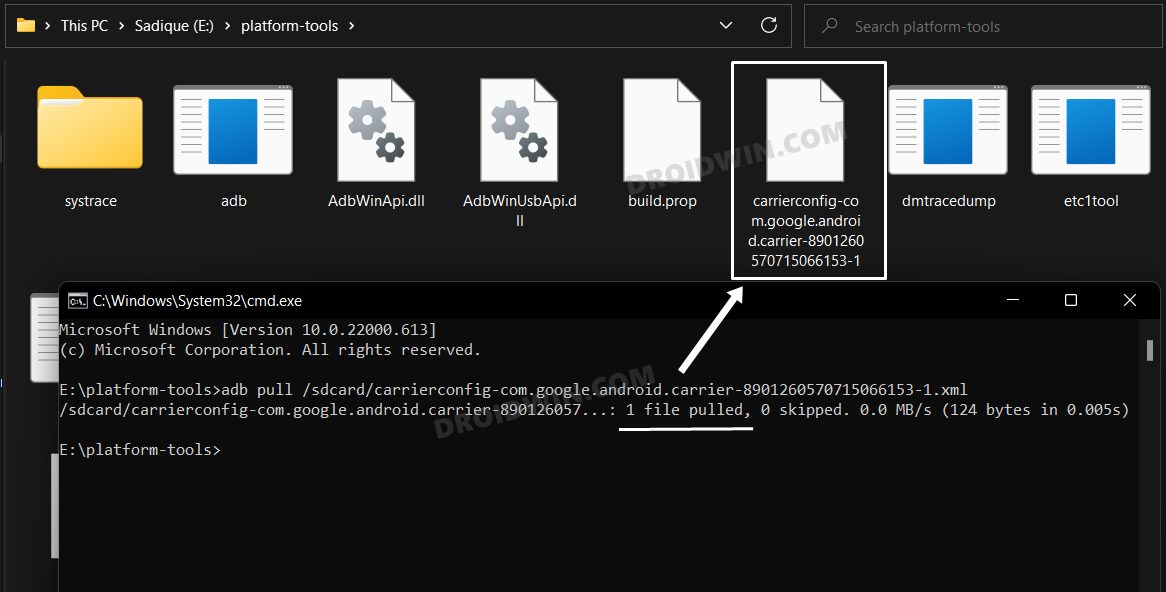
adb pull /sdcard/carrierconfig-com.google.android.carrier-8901260570715066153-1.xml
- The XML file will be saved to the platform-tools folder. Open it via a text editor and add the following lines before </bundle>
<boolean name="vonr_enabled_bool" value="true" />
<boolean name="vonr_setting_visibility_bool" value="true" />
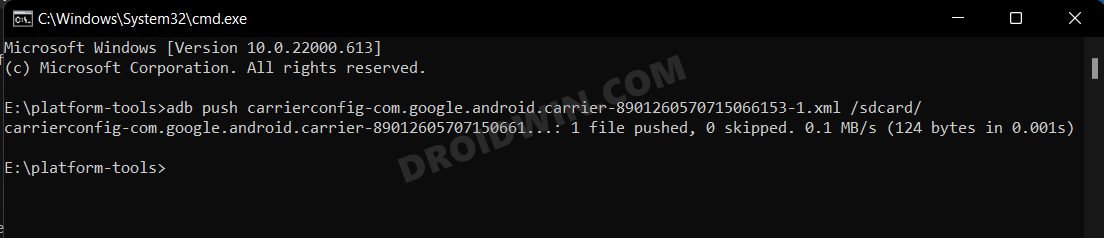
- Then save the file and use the below command to send the file to your device’s internal storage
adb push carrierconfig-com.google.android.carrier-8901260570715066153-1.xml /sdcard/
- Then type in the following command to open the shell environment
adb shell
- After that, execute the below command to invoke the root permission
su
- You will now get a Magisk request on your device, tap Grant.
- Now execute the below command to send the XML file from the Internal Storage back to its original directory
cp /sdcard/carrierconfig-com.google.android.carrier-8901260570715066153-1.xml /data/user_de/0/com.android.phone/files/
- Finally, reboot the device for the changes to be implemented. You should now see the Vo5G toggle in the Settings menu.


That’s it. These were the two different methods to enable Vo5G/VoNR on your Android device. If you have any queries concerning the aforementioned steps, do let us know in the comments. We will get back to you with a solution at the earliest.
Enable VoWiFi and VoLTE using this Trick
Apart from enabling Vo5G/VoNR, it turns out you could also enable VoLTE/VoWiFi on your Android device using a similar trick. To do so, open the carrierconfig.xml file and add the below lines [before the </bundle> at the end].
For VoLTE
<boolean name="carrier_volte_available_bool" value="true" />
For VoWiFi
<boolean name="carrier_default_wfc_ims_enabled_bool" value="true" />
<boolean name="carrier_wfc_ims_available_bool" value="true" />


Raza
Sir please provide vonr support for IQOO 9 se in simple because company denied to provide it