In this guide, we will show you the steps to enable the Photos Stack feature in the Google Photos app. The photo-sharing and storage service from the Silicon Valley giant is without a shadow of a doubt the best in this domain. Offering a generous 15GB free storage space, it beholds a slew of intriguing features up its arsenal and gets blessed with new ones at regular intervals.
In this regard, the latest one to make its way is the Photos Stack functionality, which, as is evident from its name, stacks all similar photos into one group. It will result in the decluttering of your Photos app as only one of your similar photos will be shown, the rest will be stacked under what Google calls the Top Pick. Moroever, there will be a number at the top right of the photo signifying the total photos that it beholds. With that said, there’s a couple of things worth keeping in mind:
- Google Photos wouldn’t let you pick the Top Pick, it will do so automatically and you cannot change it either.
- A stack could have a maximum of 100 photos.
- This feature will only work with the photos that are stored on your device and not for the ones saved over to the cloud.
Now that you know the inside-out about this feature, let’s show you the steps to enable it on your device. Follow along.
Table of Contents
How to Enable Photos Stack in Google Photos

There exist two different methods through which you can enable Photos Stack in the Google Photos app. We have listed both these methods below, go through them once and then try out the one that is in sync with your requirements.
Method 1
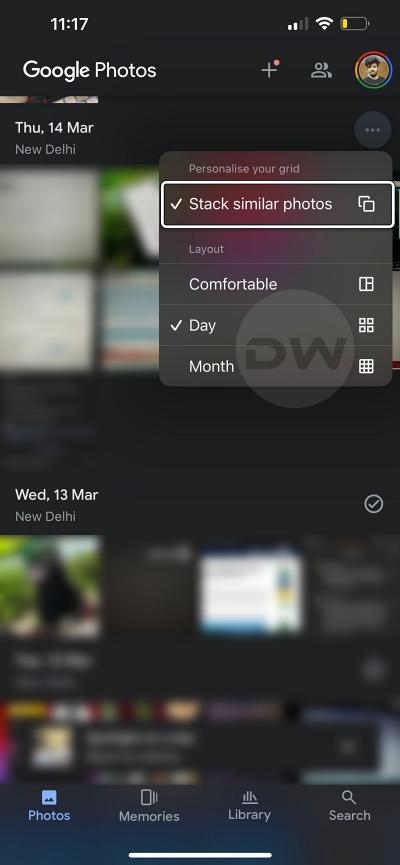
- Launch Google Photos and tap on the overflow icon
- Then checkmark Stack Similar Photos. That’s it.

Method 2
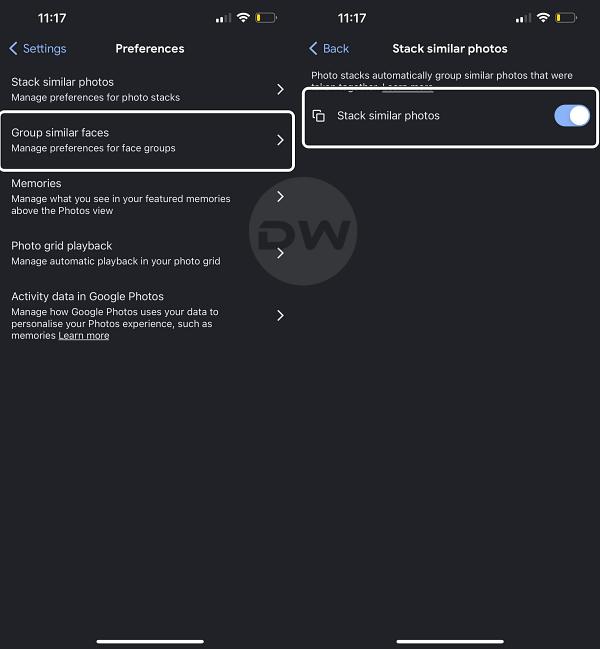
- Launch Google Photos and tap on the profile at the top right.
- Then go to Google Photos Settings > Preferences.
- Now go to Stack Similar Photos and enable the toggle next to it.
That’s it. On that note, we round off this guide. If you have any queries concerning the aforementioned steps, do let us know in the comments. We will get back to you with a solution at the earliest.


