In this guide, we will show you two different methods to downgrade Google Chrome to an earlier version on Android. This browser from the Silicon Valley giants is usually the go-to choice for many users. The fact that it comes preinstalled on near about every device has a role to play, but that isn’t the only reason. It is also able to checkmark most of the prerequisites that we could have asked from a browser.
Then the fact that it is deeply integrated into the Google ecosystem tends to streamline our workflow across other Google apps and services. Likewise, the browser also tends to get blessed with updates at regular intervals. On paper, these updates are meant to enhance security, improve performance and iron out underlying bugs. But sometimes, things turn out to be a tad different. For example, there could be a few app compatibility issues with the newer Chrome version.
Likewise, Google could also roll out a new feature with the new update that might not be in sync with your requirement. Or the update might itself be buggy and could conflict with the proper functioning of the browser. In all these instances, your best bet is to downgrade Google Chrome to an earlier version on your Android device. And in this guide, we will show you how to do just that. Follow along.
Table of Contents
How to Downgrade Google Chrome on Android

There exist two different methods to carry out the said task. Both of them have their own set of perks and drawbacks, so go through them once and then decide which one to try out. But before that, you will have to disable the automatic Play Store update for Chrome. Otherwise, as soon as the downgrade is complete, Play Store will update the app back to the latest build, thereby nullifying the entire fix. So refer to the below steps to avoid that from happening.
The Prerequisite: Disable Auto-Update for Chrome
- To begin with, head over to the Settings menu on your device.
- Then go to Apps > See All App and select Chrome from the list.
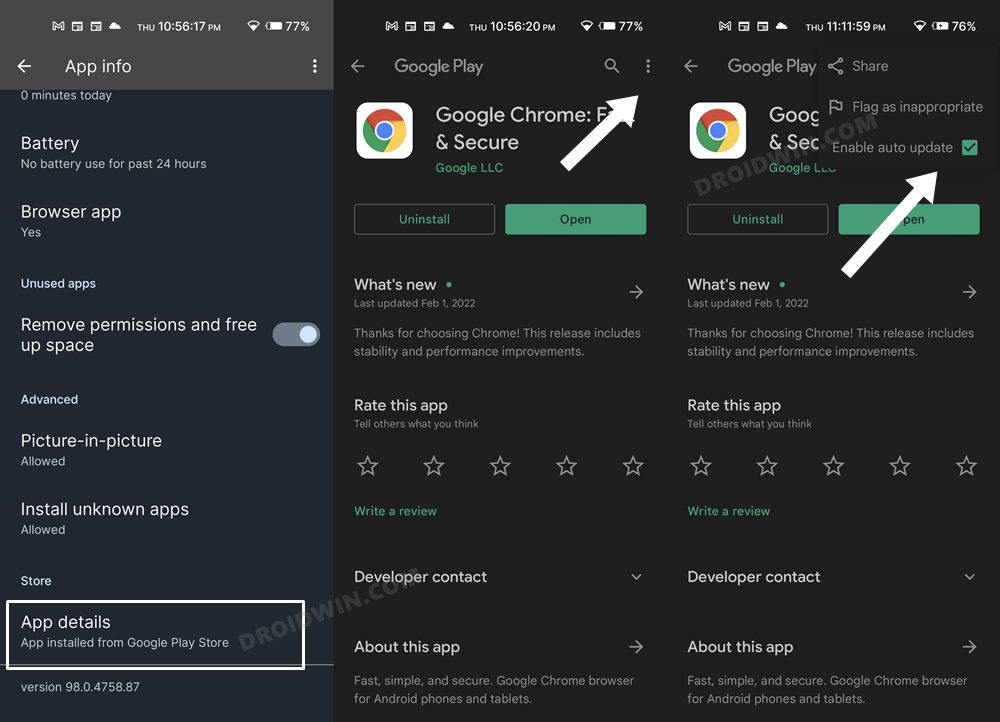
- After that, scroll to the end of the page and tap on App Details.

- You will now be taken to Chrome’s Play Store page.
- Tap on the overflow icon situated at the top right and select uncheck Enable Auto-Update.
That’s it. You may now proceed ahead with the steps to downgrade Chrome on your Android device using the method of your choice.
METHOD 1: Downgrade Chrome on Android via Settings
The benefit of this method is that it is quite easy to execute and doesn’t require the need for a PC. On the other hand, the drawback is you don’t have any flexibility in choosing the desired old version to which you wish to downgrade. So if that’s well and good, then let’s get started.
- To begin with, head over to the Settings menu on your device.
- Then go to Apps > See All App and select Chrome from the list.
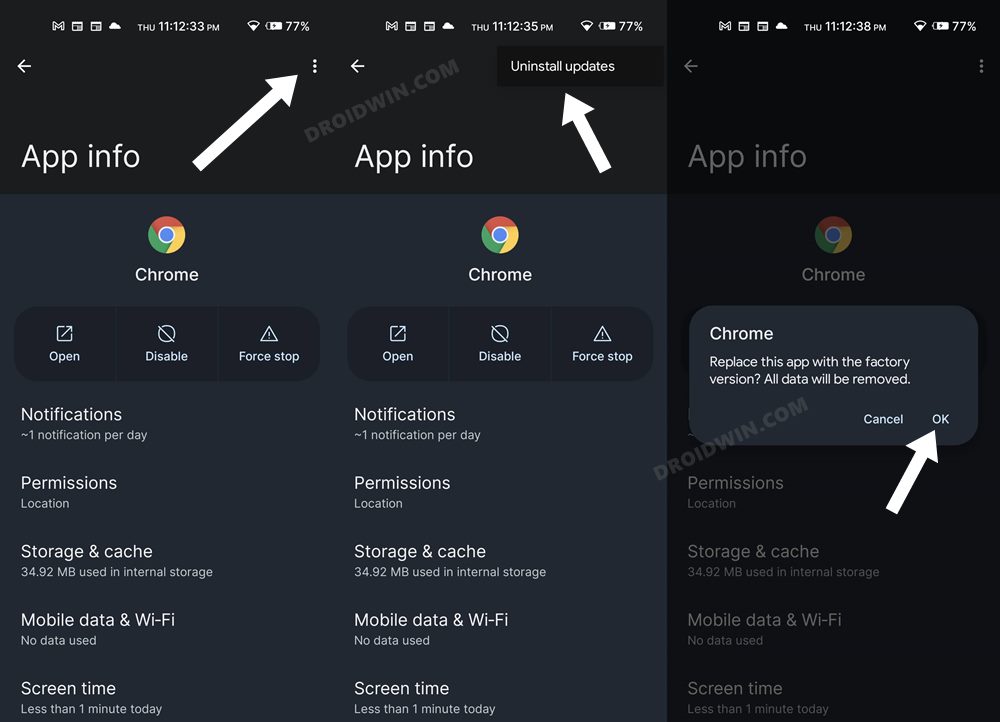
- After that, tap on the overflow icon situated at the top right.
- Then select Uninstall Updates > OK in the confirmation dialog box.
- That’s it. Google Chrome has now been downgraded to an earlier version on your Android device.
METHOD 2: Downgrade Chrome on Android via ADB
The biggest advantage of this method is that you have the complete liberty to choose the version to which you wish to downgrade Chrome. On the flip side though, you will need to execute a couple of ADB Commands, which everyone might not be comfortable with. If you are ready to take this route, then let’s get started.
- First off, download the desired Chrome APK file version from any trusted third-party site. Once downloaded, transfer it to your device.
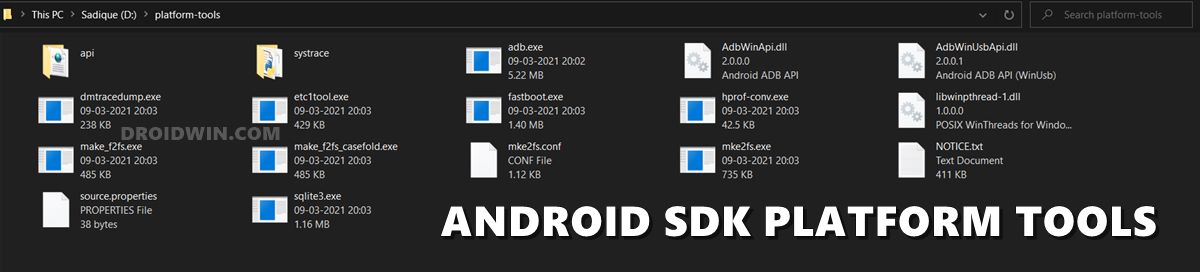
- Then download Android SDK Platform Tool and extract it to any convenient location on your PC.
- Doing so shall give you the platform-tools folder, which we will be used subsequently.
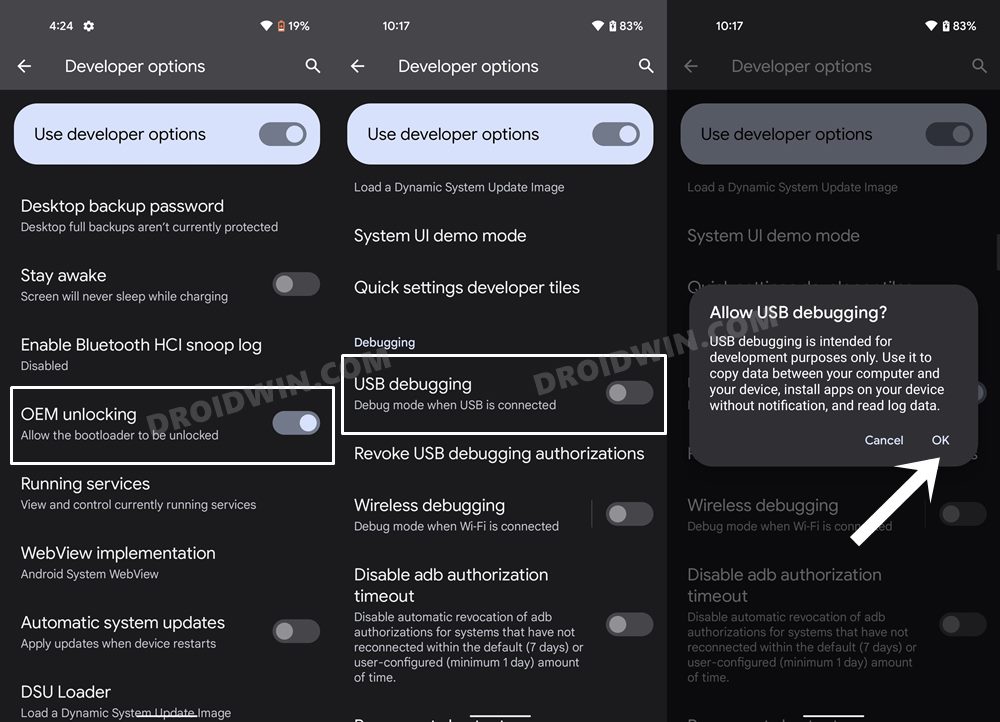
- Then enable USB Debugging on your device. For that, go to Settings > About Phone > Tap on Build Number 7 times > Go back to Settings > System > Advanced > Developer Options > Enable USB Debugging.
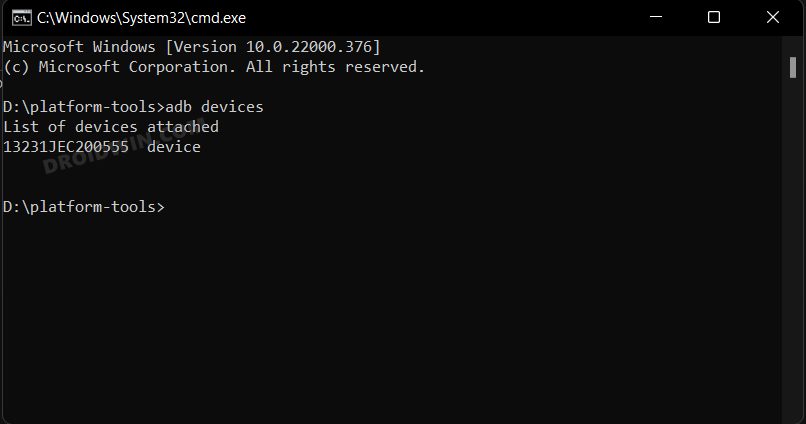
- Now connect your device to the PC via USB cable. Then head over to the platform-tools folder, type in CMD in its address bar, and hit Enter. It will launch the Command Prompt window. So execute the below command and hit Enter:
adb devices
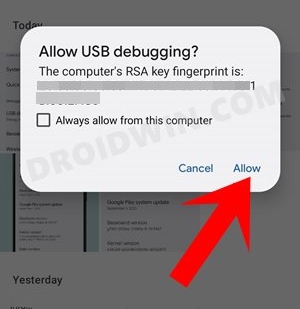
- You should get the device ID signifying the connection is successful. If that is not the case, then check your device, you would have got a Debugging Prompt, tap Allow.
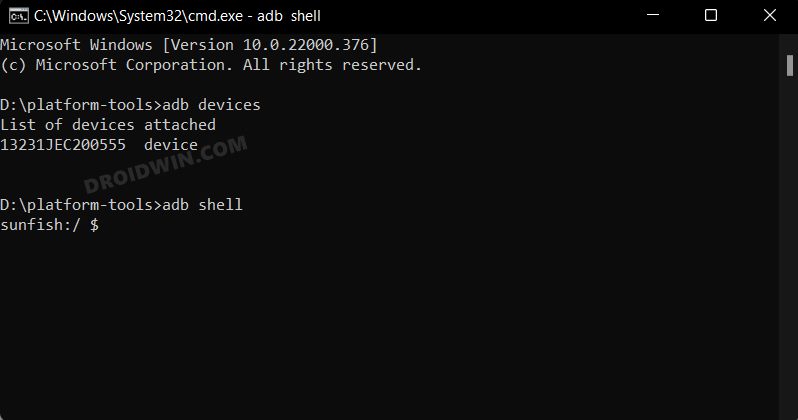
- Now execute the below command to open the shell environment. You will now get your device codename (such as sunfish for my Pixel 4A)
adb shell
- After that, execute the below two commands to uninstall Chrome from your device:
pm uninstall --user 0 com.android.chrome
pm uninstall com.android.chrome
- You will now have to install the older version of Chrome via ADB [do not install it as an APK as it will give out an error].
- First off, let’s rename the downloaded Chrome APK file to chrome. Once done, type in the below command to install it:
adb install -d chrome.apk
- That’s it. The downgrade is now complete. [TIP: the -d parameter in the above command stands for downgrade]
So with this, we round off the guide on how you could downgrade the Google Chrome browser on your Android device. We have listed two different methods for the same. If you have any queries concerning any of these two methods, then do let us know in the comments. We will get back to you with a solution at the earliest.


