In this guide, we will show you the steps to disable the screen saver on your Android device. If there’s one feature that has stood through the thicks and thins of time, it has to be these screen savers. While they are no longer as popular as it once used to be, but many OEMs still give them the same weightage and have implemented them on their device.
Likewise, numerous OEM’s UI skin also boosts a nifty collection of these savers. However, there has forever been a long-standing debate regarding the fact that they tend to consume additional batteries. Moreover, they are also among the least doubtful culprits when it comes to identifying the causes that could have led to astronomical amounts of battery drainage.
Well, if you wish to be on the safer side of the fence and don’t interact much with these Screen Savers either, then your best bet is to disable them on your Android device. And in this guide, we will show you how to do just that. Follow along.
How to Disable Screen Saver on Android
While the below process has been tested on Samsung devices but it might work on other devices as well. So with that in mind, let’s get started.
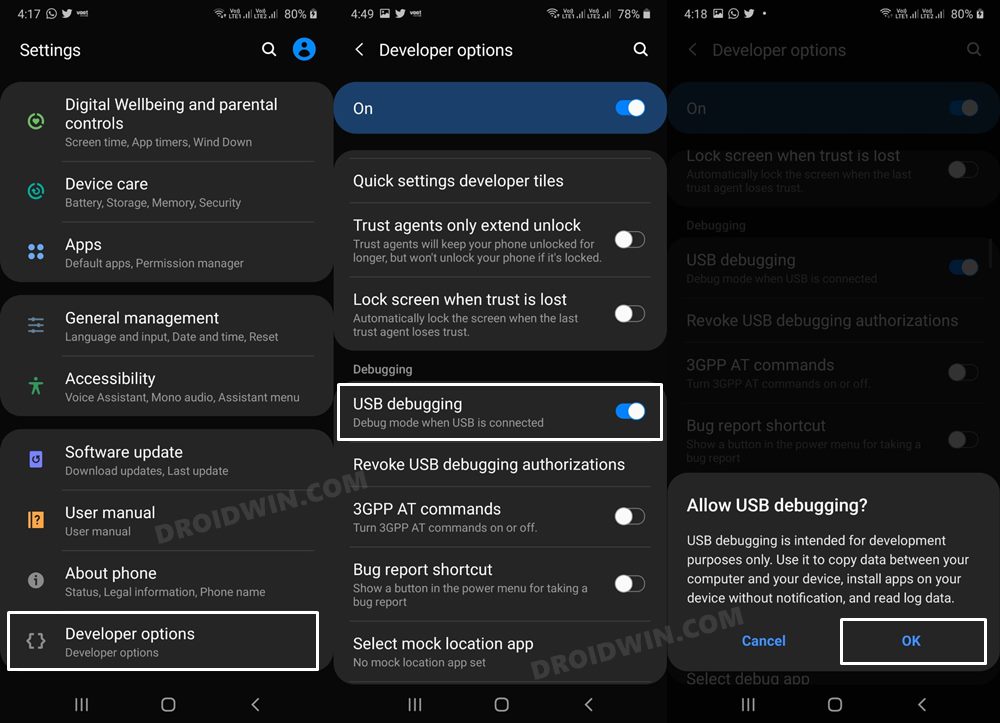
- Head over to Settings > About Phone > Tap on Build Number 7 times.
- Then go to Developer Options > enable USB Debugging > tap OK.

- Now connect your device to the PC via a USB cable.
- Then download and extract Android SDK Platform Tools on your PC.
- Now type in cmd in its address bar and hit Enter. This will launch the Command Prompt.
- Finally, type in the following three commands in the CMD window:
adb shell settings put secure screensaver_enabled 0 adb shell settings put secure screensaver_activate_on_sleep 0 adb shell settings put secure screensaver_activate_on_dock 0
That’s it. This should disable the screen saver on your Android device. If you have any queries concerning the aforementioned steps, do let us know in the comments. We will get back to you with a solution at the earliest.


