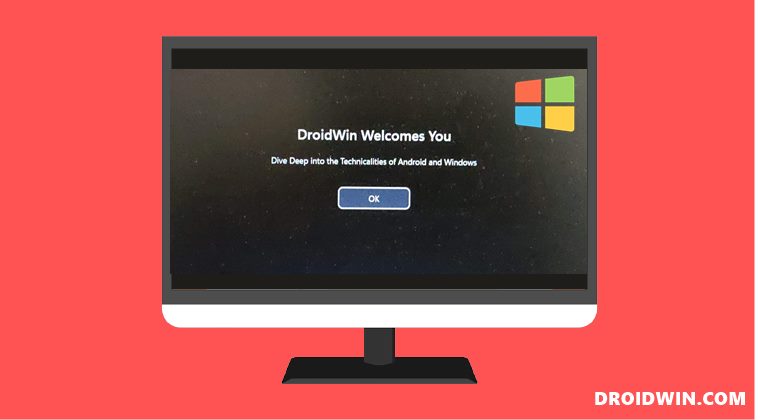
In this guide, we will show you the steps to create a custom login message for your Windows 11 PC. Booting up your Windows PC and getting greeted with the same boring welcome screen could lead to two different scenarios- you would either fall into the category of “who really cares, this screen is just for a second”, or “Nah, I have reached a point of saturation and want to switch it with a custom message”. Well, if you fall into the latter domain then this guide has just been curated for you.
While most of you might not be aware of this nifty trick, by tweaking a registry value, you could easily set up a login message of your choice. Be it a sarcastic one-liner, a reminder of the task that needs to be done when you log in next time, or just a plain welcome message, the choice is all yours. Well, you even have the option to add a Title and then the accompanying message beneath it, giving it a much better outlook. So without any further ado, let’s check out the steps to create a custom login message on your Windows 11 PC.
How to Create a Custom Login Message in Windows 11
- To begin with, take a backup of your registry file (optional but recommended).
- Then head over to the Start Menu, search Registry Editor, and open it.
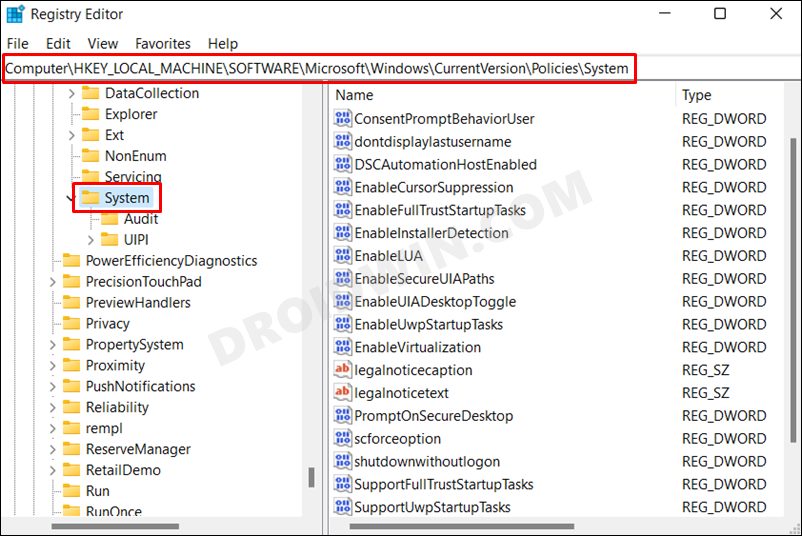
- After that, copy-paste the below location in its address bar and hit Enter:
HKEY_LOCAL_MACHINE\SOFTWARE\Microsoft\Windows\CurrentVersion\Policies\System

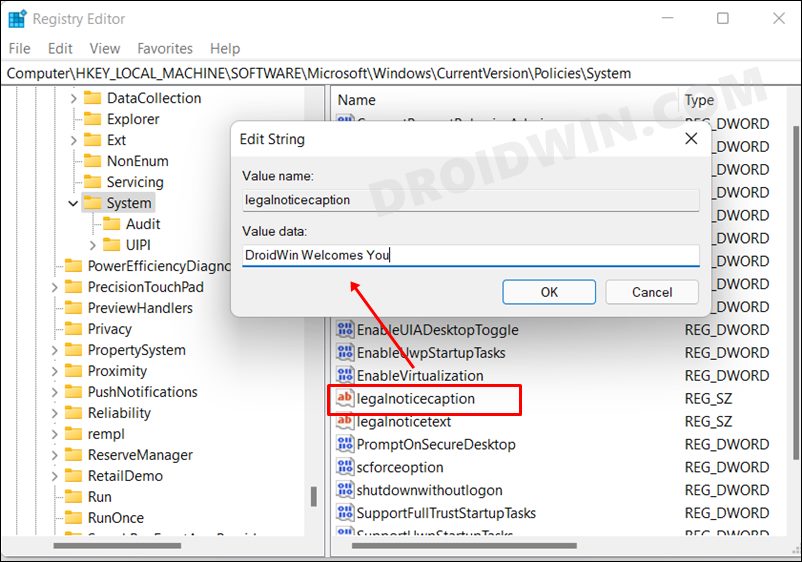
- Select the System folder and double-click on its legalnoticecaption file from the right-hand side to open it.
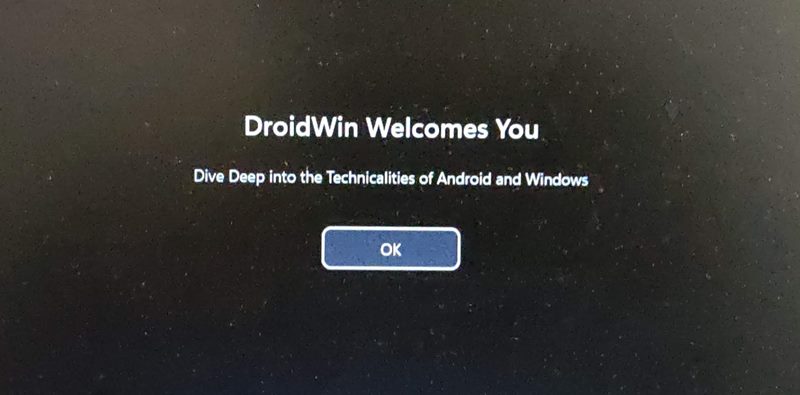
- Now type in the title of your message in its Value Data field and hit OK to save it.
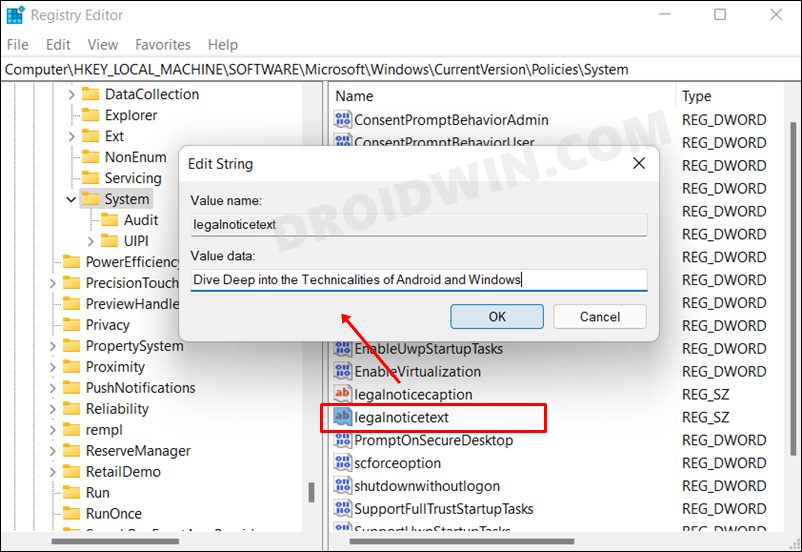
- After that, open the legalnoticetext under the System folder.
- This time, type in the login message in its Value data filed and hit OK to save it.
- Now restart your Windows 11 PC and you will be greeted with the newly created custom login message.
How to Remove the Custom Login Message in Windows 11
If you wish to revert the change aka remove the custom login message, then just clear the Value Data field of both the legalnoticecaption and legalnoticetext files present under the System folder.
So these were the steps to create a custom login message for your Windows 11 PC. If you have any queries concerning the aforementioned steps, do let us know in the comments. We will get back to you with a solution at the earliest.


