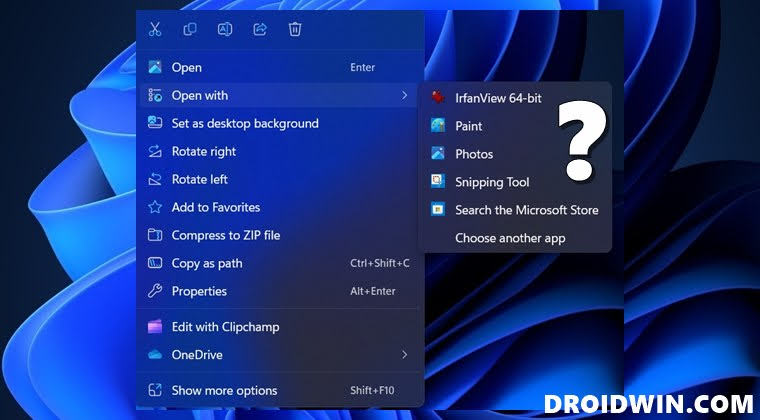
In this guide, we will show you the steps to associate a file extension to an unlisted app in Windows 11. Even though Windows assigns its own app for numerous files, it does give you the option to change it and allocate a third-party app of your choice. You could do so by right-clicking on the file > selecting Open With and choosing the app of your choice OR selecting Choose another app and selecting the app’s EXE file.
However, in some cases, neither of these tweaks might work and you will instead have to take the help of Registry Editor to get this job done. And in this guide, we will show you how to do just that. So without further ado, let’s get started with the steps to associate a file extension to an unlisted app in Windows 11.
How to associate a file extension to an unlisted app on Windows 11
Before starting with the below steps, it is recommended that you take a backup of your registry beforehand. Moreover, do note that the unlisted app should already be having an association with atleast one file type. For example, if you want to associate IrfanView with file type webp, then it should already be associated with, let’s say, JPG. So if that’s well and good, then let’s get started with the below steps:
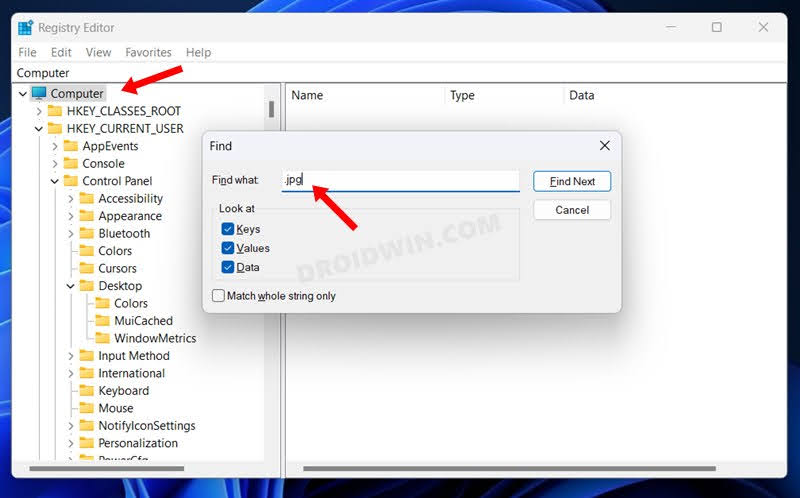
- Launch Registry Editor and select Computer from the left-hand side.
- Then bring up Find via Ctrl+F and type in the known file extension [for example, in our case it is .jpg].

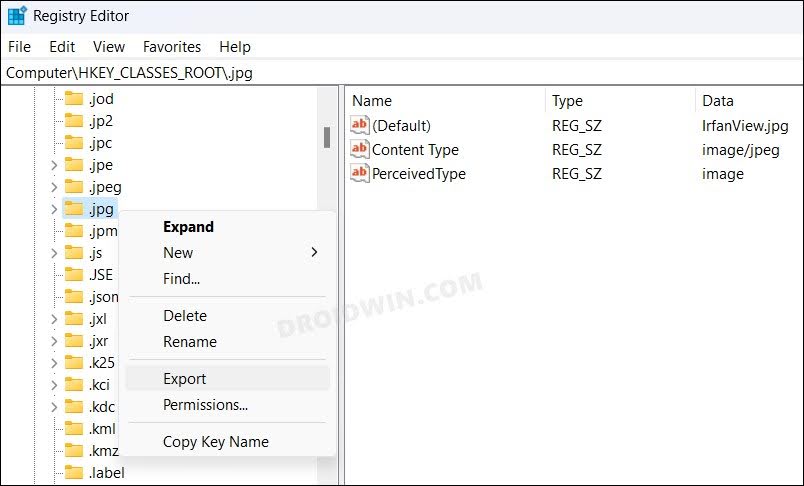
- You will now be taken to that extension’s key on the left-hand side. Right-click on it and select Export.
- Give it a name of your choice, select the desired location, and hit Save.
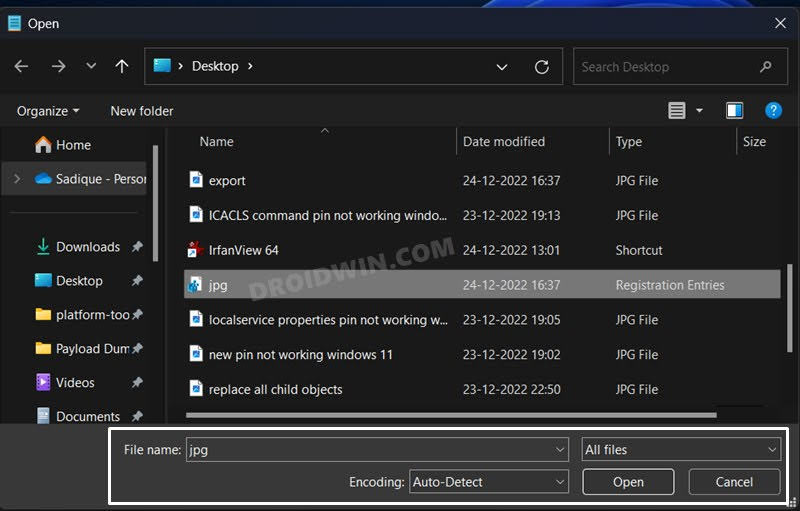
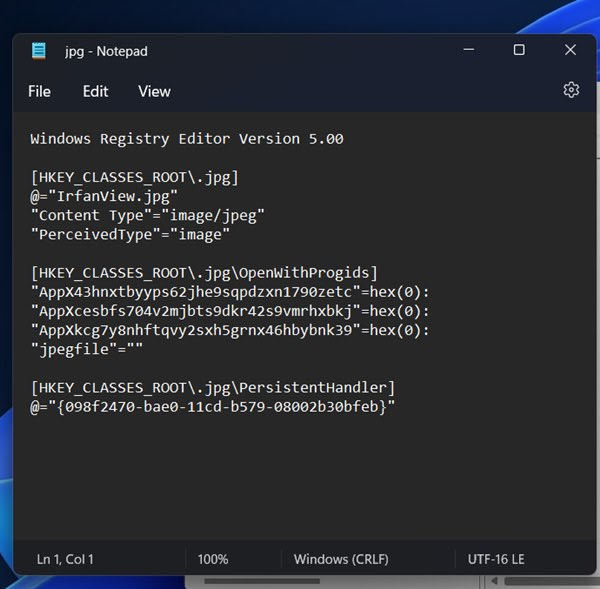
- Now launch Notepad, go to File > Open and change Text Document to All Files. Then select the registry file and hit Open.
- Now replace the existing extensions with the new ones, making note of the period as well.
- For example, jpg -> webp and .jpg-> .webp. Once that is done, hit Ctrl+S to save the changes.
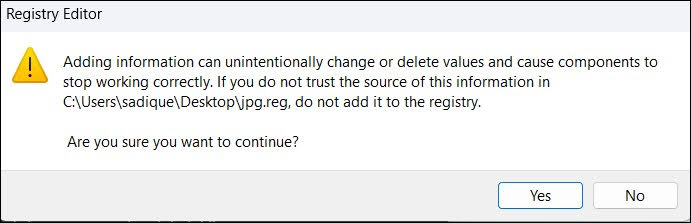
- Now launch this modified registry and hit YES in the confirmation dialog box. Finally, restart your PC for the changes to be active.
That’s it. These were the steps to associate a file extension to an unlisted app in Windows 11. If you have any queries concerning the aforementioned steps, do let us know in the comments. We will get back to you with a solution at the earliest.


