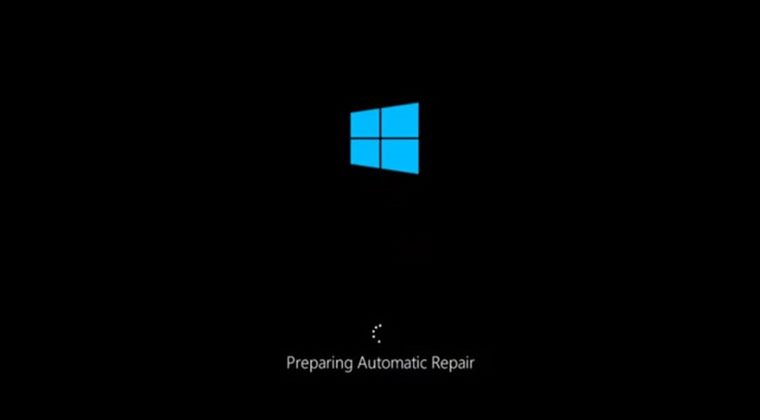
In this guide, we will show you various methods to fix the issue of the Windows 11 PC being stuck on the Preparing Automatic Repair screen. Inspite of all the goodies and intriguing features that the OS has to offer, it isn’t free from its fair share of issues. These bugs could be of varied scale, ranging from apps not working along the expected lines to corrupt system files. When the latter is the case, then it might even lead to your PC not being able to boot up. Fortunately, in such instances, the Windows Automatic Repair Tool comes in handy.
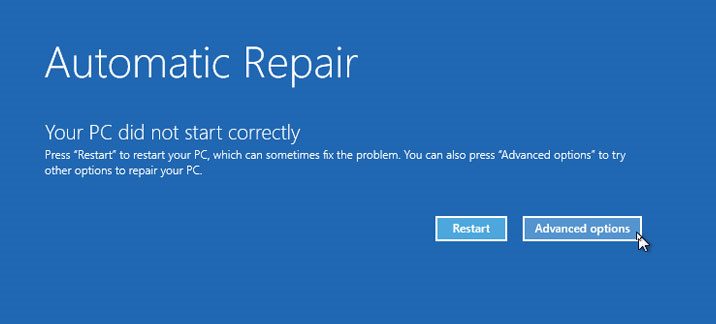
It would scan for the underlying issue and then apply the appropriate fixes accordingly, without much manual intervention from your end. However, sometimes, the tool itself gets stuck in the loading loop, and even after a considerable time period has elapsed, it would still just keep on loading. If you are also getting bugged with such an issue, then this guide shall come in handy. In this tutorial, we will make you aware of a few nifty workarounds to fix the Windows 11 PC being stuck on the Preparing Automatic Repair screen. Follow along.
Table of Contents
Fix Windows 11 Stuck on Preparing Automatic Repair
It is recommended that you try out each of the below-mentioned workarounds and then see which one spells out success for you. Moreover, all the below-listed fixes are to be carried out from the Windows Recovery Environment. So first refer to our guide on How to Boot into Windows 11 Recovery Environment When PC Cannot Boot to the OS. After that, you may proceed with the below workarounds.
FIX 1: Boot to Safe Mode
In most cases, the issue is related to corrupt third-party apps and services. To verify the same, you should boot your PC to the Safe Mode. In that mode, all the third-party apps stand disabled and if it ends up rectifying the underlying issue, then the culprit was indeed the third-party app. So you should then uninstall that app right away. Here’s how all of this could be carried out-
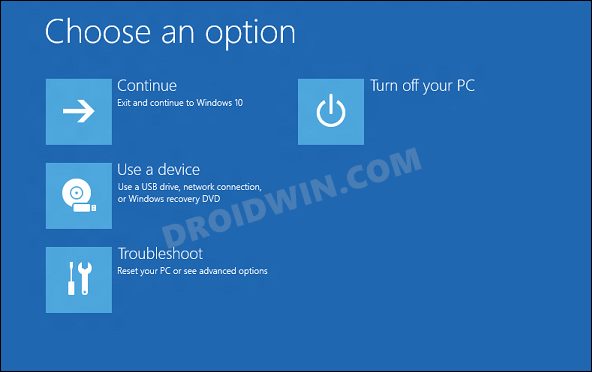
- From the Windows Recovery Environment screen, click on Troubleshoot.

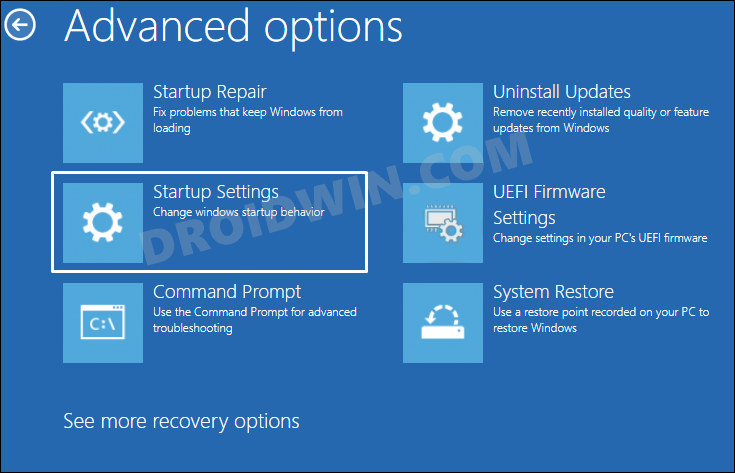
- Then go to Advanced Options > Startup Settings and click on Restart. Your PC will now boot to Safe Mode.
- Now launch Control Panel and uninstall all those apps after which the issue started happening.
- Once done, check if it fixes the issue of Windows 11 PC stuck on the Preparing Automatic Repair screen.
FIX 2: Delete Corrupt Driver Files
In some instances, the issue could also stem from the corrupt driver files. In such cases, your best bet is to delete those files from the system, which could be done using the instructions listed below-
- Go to Troubleshoot > Advanced options > Command Prompt.
- Then type in the below command and hit Enter
cd C:\Windows\System32\LogFiles\Srt
- After that execute the below command-
cd c:windowssystem32drivers
- Finally, type in the following command-
Delvsock.sys
- Now reboot your PC using the below command-
shutdown /r
- Check if it fixes the Windows 11 PC stuck on the Preparing Automatic Repair screen.

FIX 3: Rebuild Boot Configuration Data
if the boot configuration data gets corrupted, then its direct consequence will be on your PC being unable to boot to the OS. To resolve it, you will have to rebuild this data, using the instructions given below-
- Go to Troubleshoot > Advanced options > Command Prompt.
- Then type in the below three commands [one at a time] and hit Enter
bootrec.exe /rebuildbcd
bootrec.exe /fixmbr
bootrec.exe /fixboot
- Now check if it fixes the Windows 11 PC stuck on the Preparing Automatic Repair screen.
FIX 4: Use Check Disk Command
If rebuilding the BCD didn’t work out, then your next course of action should be to use the Check Disk tool that scans for underlying corrupt system files and then repairs them accordingly. So let’s put this tool to the test and check out the results.
- Go to Troubleshoot > Advanced options > Command Prompt.
- Then type in the below three commands [one at a time] and hit Enter
chkdsk /r c
chkdsk /r d
- After that, execute the following Fixboot command-
fixboot c:
- Check if it fixes the Windows 11 PC stuck on the Preparing Automatic Repair screen.
FIX 5: Repair Windows Registry
This issue could also be attributed to corrupt Windows Registry files. So let’s repair the registry files and test out the results
- Go to Troubleshoot > Advanced options > Command Prompt.
- Then type in the below command and hit Enter.
- You will be asked what files you want to overwrite, select All.
C:\Windows\System32\config\\rregback* C:\Windows\System32\config\
- Finally, restart your PC and check if it fixes the Windows 11 stuck on the Preparing Automatic Repair screen.
FIX 6: Disable Automatic Repair Tool
In rare instances, the OS might actually be well and good, but the Automatic Repair Tool might have gotten corrupted and hence getting in way of the normal boot of your PC. So let’s execute the below steps and verify if that is really the case or not.
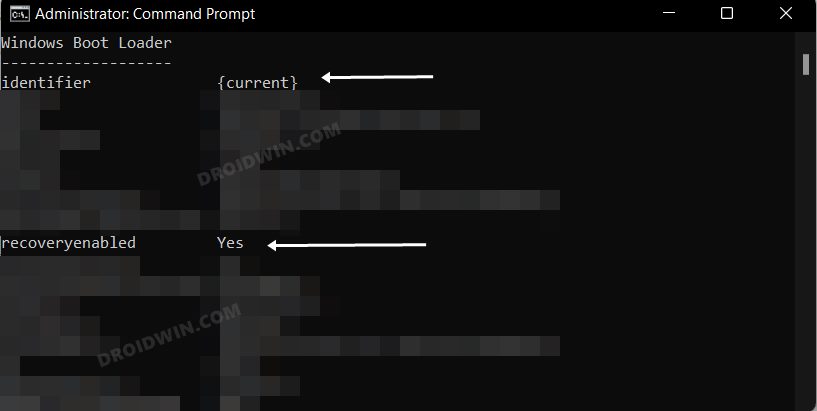
- Go to Troubleshoot > Advanced options > Command Prompt.
- Then type in the below command and hit Enter.
bcdedit
- Now make sure that the value of the identifier is {default} or {current} and recoveryenabled is Yes.
- If that’s well and good, then execute the below command to disable the Automatic Repair Tool
bcdedit /set {default} recoveryenabled no - If that doesn’t work out, then execute the below command
bcdedit /set {current} recoveryenabled no - Now restart your PC and check if it fixes the Windows 11 stuck on the Preparing Automatic Repair screen.
FIX 7: Reset PC
If none of the aforementioned methods spelled out success, then your last course of action should be to reset your PC to its factory default state. This will delete all your data, so make sure that you are ready for this trade-off [as of now, you might not be able to even take a backup]. If that’s well and good, then let’s get started.
- From the Windows Recovery Environment screen, click on Troubleshoot > Reset this PC.
- Now proceed with the on-screen instructions to complete the process.
- During the first try, you may select the ‘Keep my Files’ and then perform the reset.
- However, if that doesn’t work out, then you will have to select the Remove Everything and then retry the reset process.

That’s it. These were the seven different methods to fix the issue of the Windows 11 PC being stuck on the Preparing Automatic Repair screen. If you have any queries concerning the aforementioned steps, do let us know in the comments. We will get back to you with a solution at the earliest.


