In this guide, we will show you various methods to fix the issue of Google Chrome being slow or laggy in Windows 11. When it comes to the browser domain, the offering from Search Engine giants is occupying among the top-most position in the pecking order. Its deep integration into the Google ecosystem across various devices is one major reason why users are still inclined towards this product. However, this browser is notoriously infamous for hogging way too many system resources.
In some instances, it even ends up slowing down the entire OS. Apart from that, the browser itself performs sluggishly and at a snail pace more often than not. And it seems to have gotten even worse in the latest OS build. If you are also getting infuriated with its slow pace, then this guide shall help you out. In this tutorial, we will make you aware of various methods that shall help you fix the Google Chrome slow or laggy performance in Windows 11. Follow along.
Table of Contents
How to Fix Google Chrome Slow/Laggy Performance in Windows 11

Do note that there’s no universal fix as such. You will have to try out each of the below-mentioned workarounds and see which one works best in your favor. So with that in mind, let’s get started.
FIX 1: Restart Chrome Processes
Your first course of action should be to restart Chrome and all its processes. Doing so will give it a fresh instance to work upon and this, in turn, might rectify the underlying issue as well.
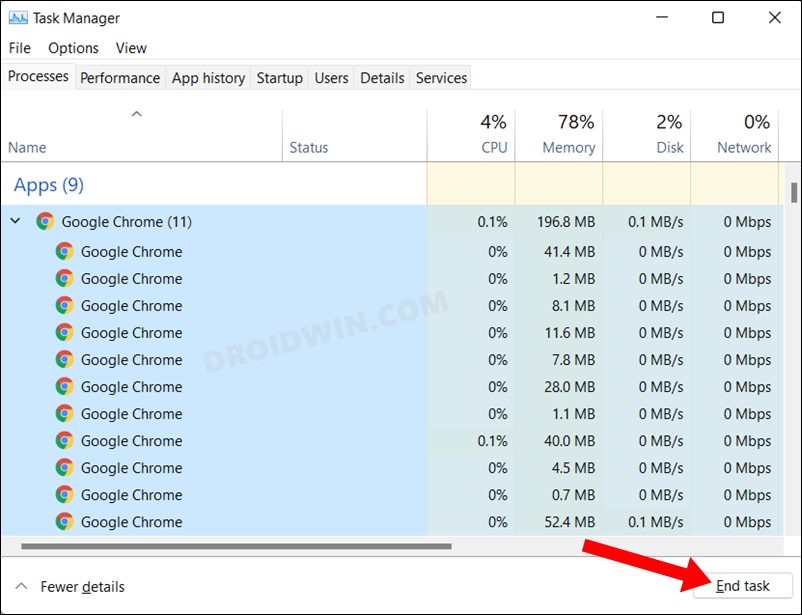
- Close the Chrome browser and bring up the Task Manager via Ctrl+Shift+Esc shortcut keys.
- Then scroll to Background Processes, select all the Chrome processes, and hit End Task.

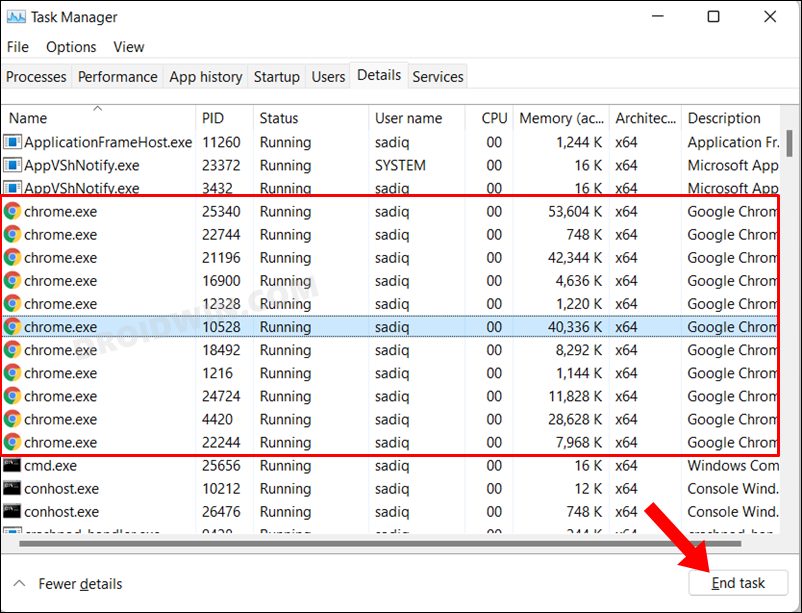
- After that, go to the Details tab, select all the chrome.exe processes and click End Task.
- Now launch the Google Chrome browser on your Windows 11 PC and check if its slow/laggy performance has been fixed or not.
FIX 2: Restart Services via Chrome Task Manager
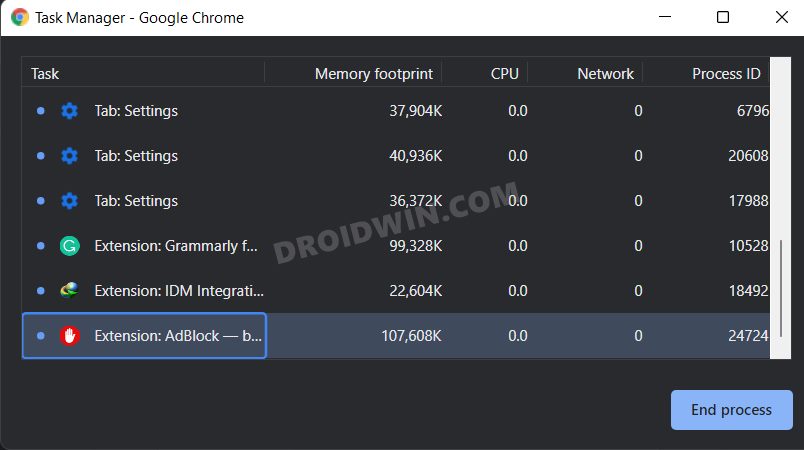
Chrome comes with a built-in Task Manager that lists out all the running browser services and processes as well as the total CPU and RAM they are consuming. With the help of this data, we will be able to get hold of those services that are consuming more than the permissible level of system resource, and hence they will then be disabled. So proceed with the below steps to try it out:
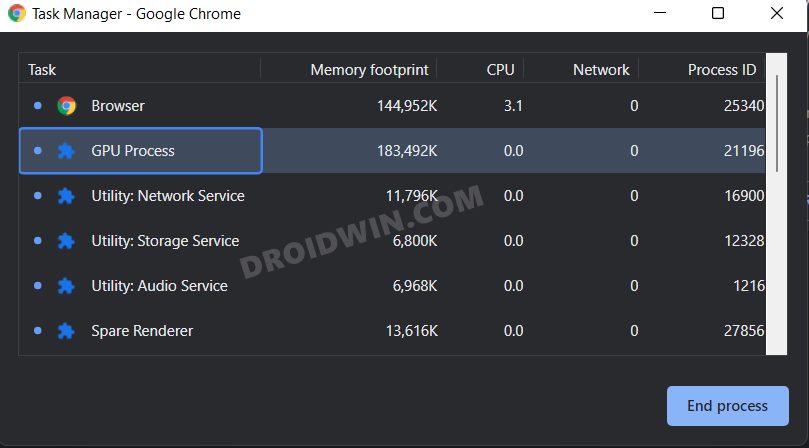
- Launch Chrome and use the Shift+Esc shortcut keys to open its own Task Manager.
- Then select all these services that are leaking high memory footprints.
- Finally, hit the end process button to stop those services.
- Now check if it fixes the Google Chrome slow or laggy nature in Windows 11.
FIX 3: Disable Preload Pages
Chrome automatically preloads a few web pages that it thinks you might visit at a later date. It does so based on the cookies that it had collected and based on your browsing history. However, this feature has more drawbacks than benefits as it ends up consuming necessary storage space as well as crucial system resources, with the only benefit being that you would be able to view these pages a few seconds earlier. So with the caveats outweighing the perks, it’s better to keep this feature disabled, which could be done as follows:
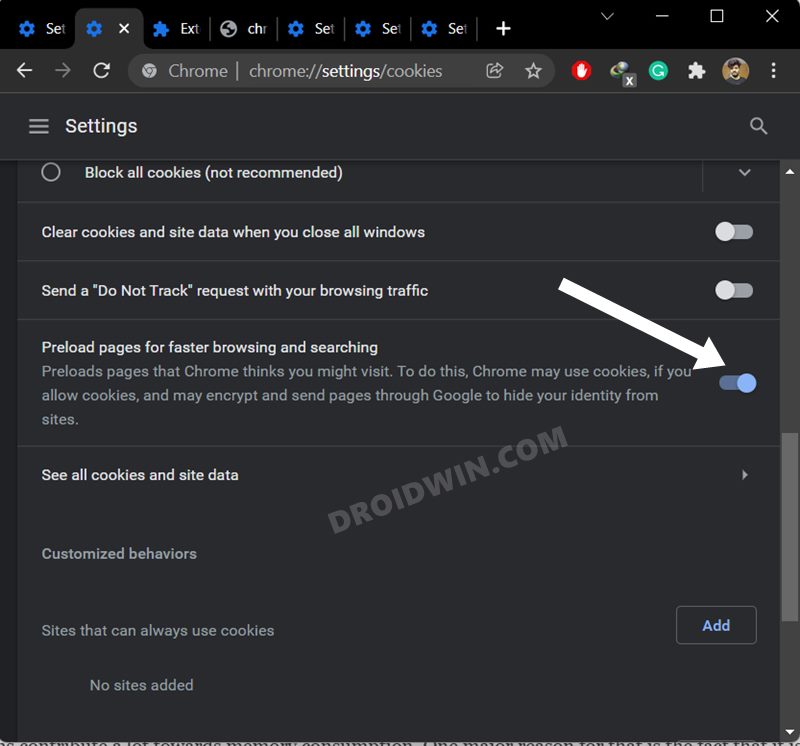
- Launch Chrome and head over to the below location
chrome://settings/cookies
- Now scroll to Preload pages for faster browsing and searching and disable the toggle next to it.
- Check if it fixes the Google Chrome slow or laggy performance in Windows 11.
FIX 4: Disable Chrome Extensions
It’s n hidden secret that extensions contribute a lot towards memory consumption. One major reason for that is the fact that it is continuously running in the background while you are working in the browser environment in the foreground. So you could consider disabling these extensions at regular intervals and letting the browser cool down a little bit.
Once that happens, you may re-enable the disabled extensions. However, if the extension shoots up the memory resources every time you enable it, then it’s better to remove it from the browser and look out for its alternatives. Here’s how all of this could be carried out:
- Bring up Chrome’s Task manager via Shift+Esc shortcut keys.
- Then check out the Memory Footprints of each extension and note down the name of the one that is exceeding its limit!
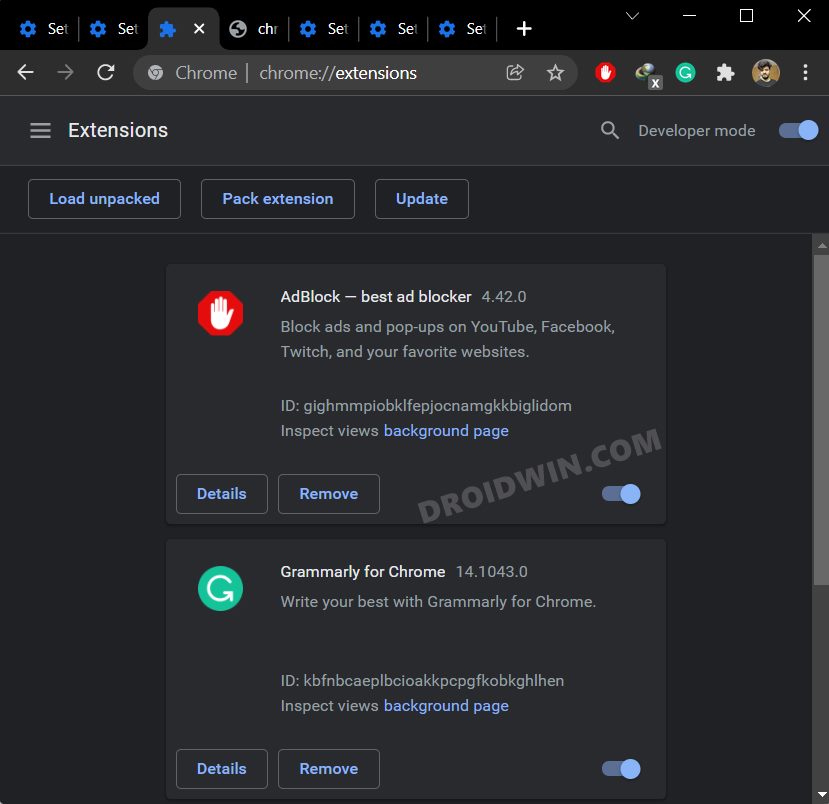
- After that, head over to the below location:
chrome://extensions/
- Now disable the toggle next to the extension that you need to disable.
- On the other hand, to uninstall an extension from Chrome hit the Remove button.
- Now verify if these tweaks managed to fix the Google Chrome slow or laggy performance in Windows 11.
FIX 5: Flush Chrome DNS
Chrome stores the data related to the websites you visit in its Domain Name Server. But if a lot of data gets stored in this record book, then it could slow down the loading of the websites as well have negative consequences on the browser as well. Therefore, consider deleting these data and let the browser repopulate them from scratch the next time you visit that site.
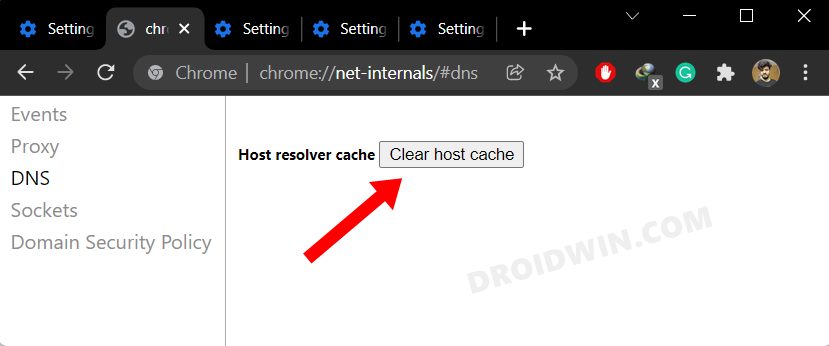
- So launch Chrome and head over to the below location:
chrome://net-internals/#dns
- Then click on the Clear Host Cache button and wait for the process to complete.
- Now check if it fixes the Google Chrome slow or laggy performance in Windows 11.
FIX 6: Disable Chrome’s Hardware Acceleration
The Hardware Acceleration feature checks the prowess of your PC’s CPU as well as GPU and if it finds the latter’s processing capability to be much more than the formers, then it allocates the browser’s functionality to the latter aka GPU. But it is still a debatable topic as to how GPU could eclipse the CPU in this aspect, and hence the general advice is to disable this feature. Here’s how it could be done:
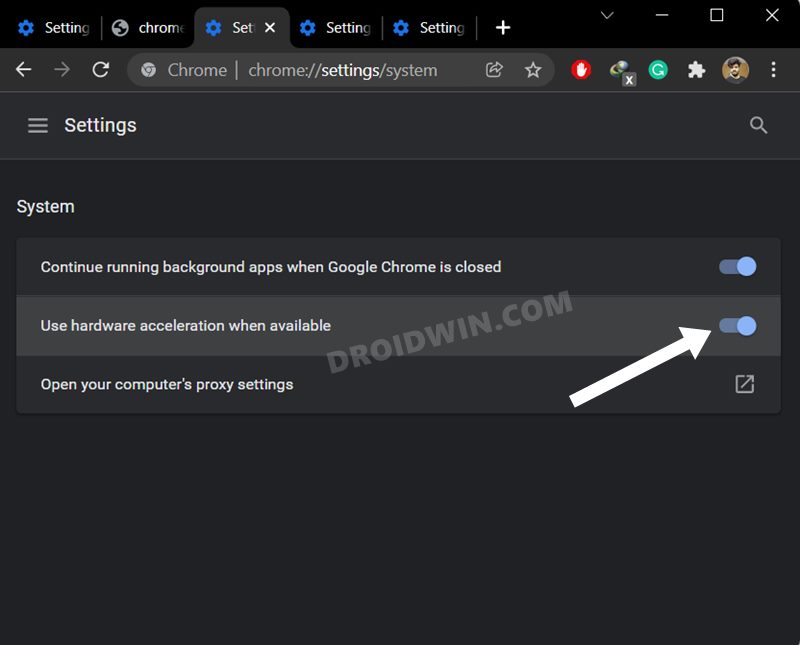
- Launch Chrome and head over to the below location
chrome://settings/system
- Then disable the toggle next to Use hardware acceleration when available
- Check if it fixes the Google Chrome slow or laggy performance in Windows 11.
FIX 7: Delete Chrome Data
If a lot of browser data gets accumulated over the due course of time or if the stored data gets corrupted, then it could spell trouble for the entire functioning of the browser. Therefore, you should consider deleting the cookie’s data as well as its cached files. So refer to the below instruction steps to try it out:
- Launch Chrome and head over to the below location
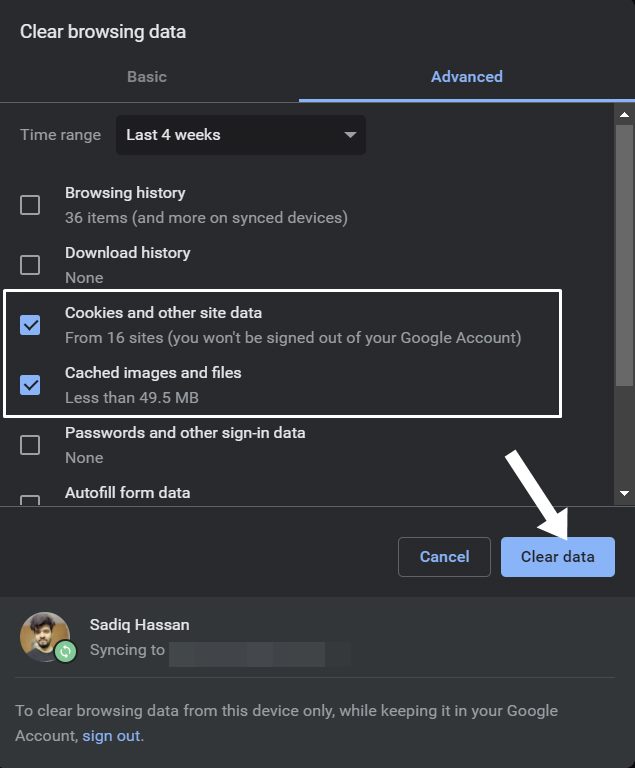
chrome://settings/clearBrowserData
- You may also use the Ctrl+Shift+Del shortcut for the same.
- Now checkmark Cookies and Other site data and Cached images and files.
- Finally, hit the Clear Data button and wait for the process to complete.
- Once done, verify if it fixes the Google Chrome slow or laggy performance in Windows 11.
FIX 8: Delete Chrome User Profile
Chrome stores all the browser-related data inside the C Drive. If any of this data gets corrupted, then its repercussions will have to be faced by the entire browser environment. Therefore, you should consider deleting this Profile data and letting Chrome re-populate it from scratch from your Google Account. Do note that this will delete bookmarks, favorites, site settings, cookies, and all the locally saved data (which you could easily get back after signing in with your Google account).
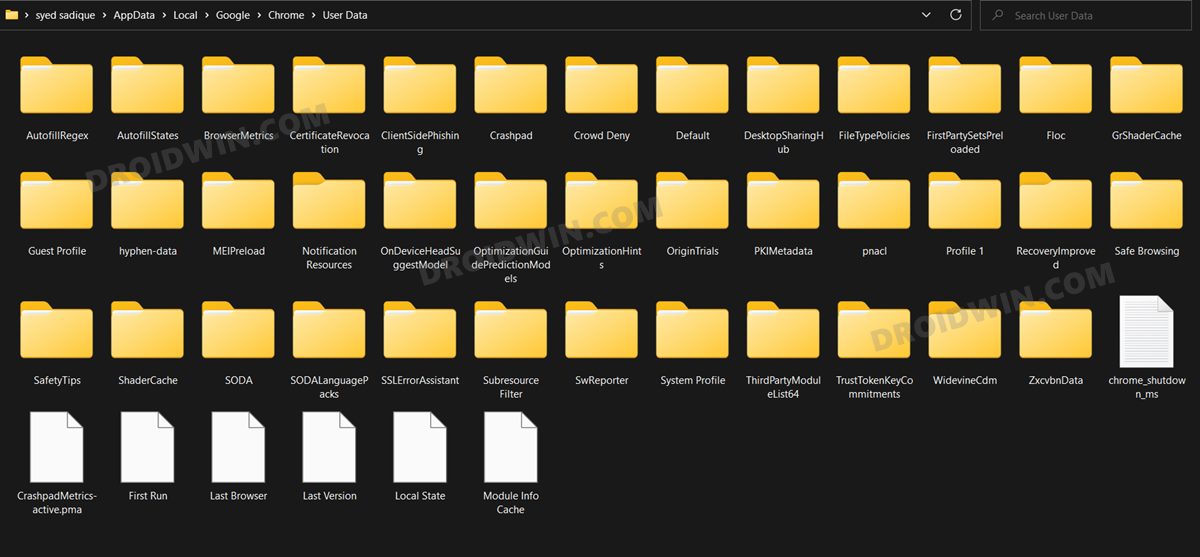
- Open File Explorer via Windows+E shortcut keys and go to the below location:
%USERPROFILE%\AppData\Local\Google\Chrome\User Data
- Copy this User Data folder and paste it somewhere else (it will act as a backup).
- Now delete this User Data folder from the Chrome directory.
- Check if it fixes the Google Chrome slow or laggy performance in Windows 11.
- If it doesn’t, then paste the User Data back to the Chrome directory to get all your data back and then move over to our next fix.
FIX 9: Reset Chrome
If the browser settings and configuration files get corrupted, then the best course of action is to reset the browser to its factory default state, exactly how it was when you first downloaded it. This will remove all the customizations and will revert it back to its original state. So proceed with the below steps and give it a try
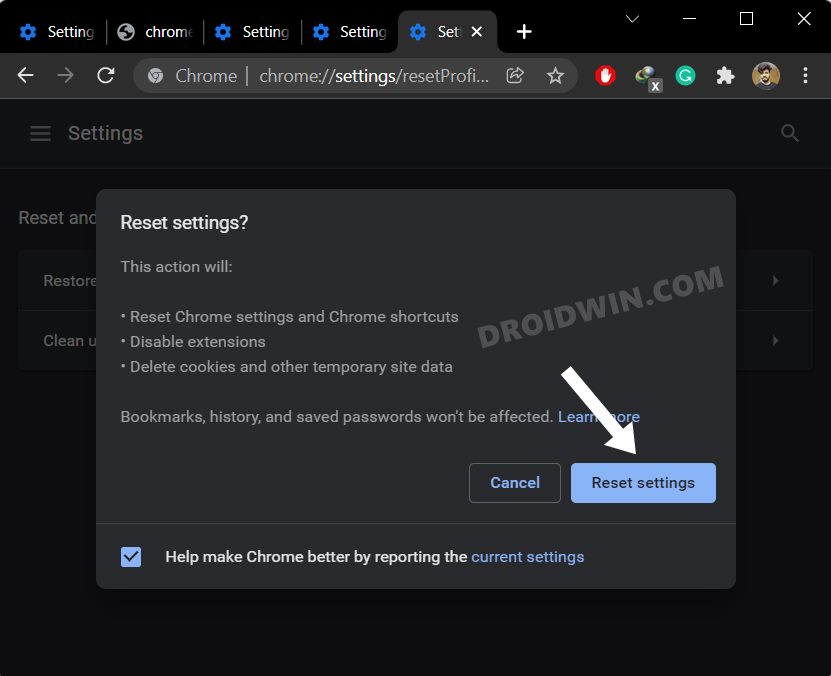
- Launch Chrome and head over to the below location:
chrome://settings/resetProfileSettings?origin=userclick
- Then click on Reset Settings in the confirmation dialog box.
- Now restart your browser and check if it fixes the Google Chrome slow or laggy performance in Windows 11.
FIX 10: Reinstall Chrome
If none of the aforementioned methods worked out in your favor, then you have no choice but to uninstall and remove all the browser files from your PC and then install its fresh build. Doing so generally resolves all the browser-related issues and there is every chance that it would rectify the current issue as well. So let’s put it to the test right away.
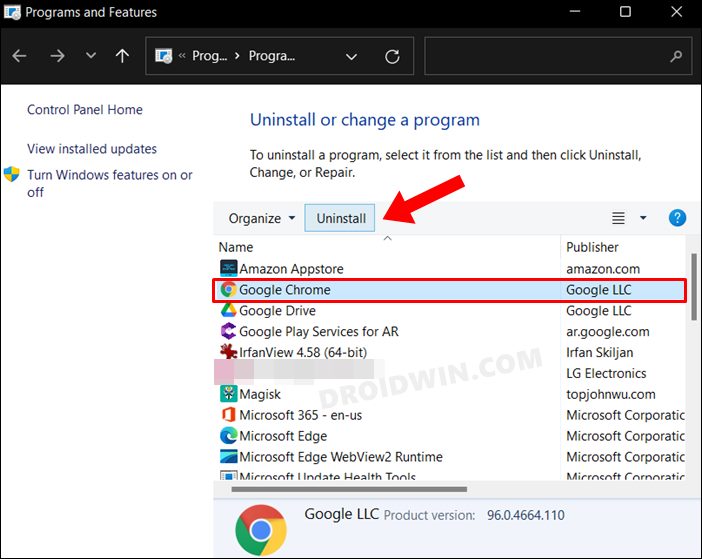
- Bring up the Run menu via Windows+R shortcut keys.
- Then type in the below command and hit Enter:
appwiz.cpl
- Now select Chrome from the list and hit Uninstall. Wait for the process to complete.
- Once done, head over to the Chrome official site and download its latest version.
- Then proceed with the on-screen instructions to install it onto your PC.
- Once installed, launch the browser and you shouldn’t face any performance-related issues now.
So with this, we round off the guide on how you could fix the Google Chrome slow or laggy performance in Windows 11. We have listed ten different methods for the same. Do let us know in the comments section which one spelled out success for you. Likewise, all your queries are welcomed in the comments section below.


