In this guide, we will show you the steps to control the volume of individual apps using the Sound shortcut on Windows 11. Tweaking the volume of standalone apps has always been quite a challenging task, thanks in large part to the fact that Windows has baked in this functionality deep inside the Settings menu. As a result of which, users had no choice but to opt for third-party apps like EarTrumpet.
However, that might soon change as Microsoft is testing the ability to control the volume of individual apps using the Sound shortcut on Windows 11. So you just need to click on the sound icon present at the extreme right of the taskbar or use the Windows+A shortcut to bring up the Sound Options menu and then get this job done.
Apart from that, you will now also be able to change the active output device or enable Spatial Audio right from that section itself. As of this, this functionality is being tested in the Windows 11 Developer Preview Build 25281 and is slowly being rolled out in batches. However, you could skip this waiting queue and enable this feature right away. And in this guide, we will show you how to do just that. Follow along.
How to Control Volume of Individual Apps in Windows 11 via Shortcut

- Download the open-source ViveTool from GitHub.
- Then extract it to any convenient location on your PC.
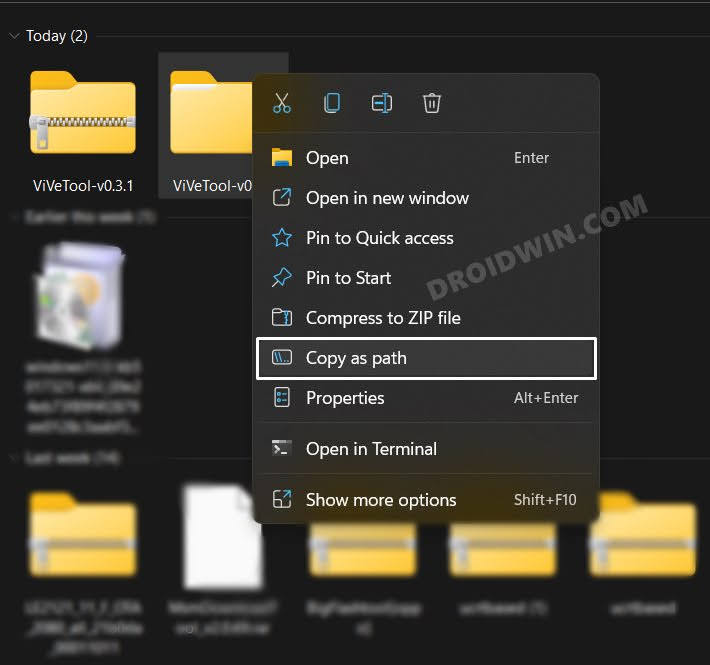
- After that, right-click on it and select Copy as path.

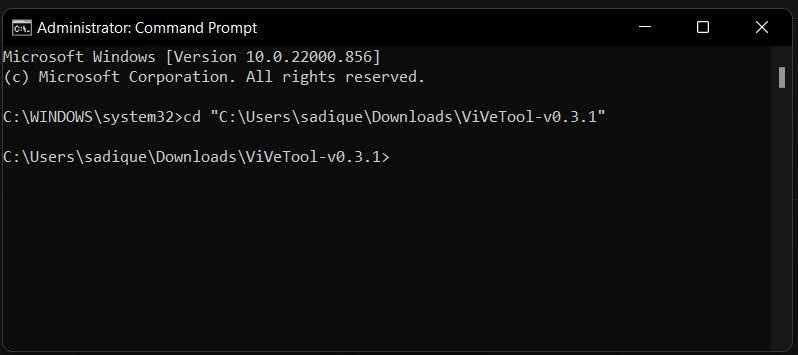
- Now launch Command Prompt as an administrator.
- Then type in cd and paste the copied path via Ctrl+V.
- Now execute the following command to enable Gallery in Windows 11 File Explorer.
vivetool /enable /id:42106010
- Once done, restart your PC and your task stands complete.
How to Revert the Change
If this functionality is currently not working along the expected lines, then you could remove it from your PC and then wait for it in the stable rollout. To do so, carry out steps 1 to 5 listed above and then execute the below command:
vivetool /disable /id:42106010
That’s it. These were the steps to drag tabs out of File Explorer in Windows 11. If you have any queries concerning the aforementioned steps, do let us know in the comments. We will get back to you with a solution at the earliest.


