In this guide, we will show you the steps to control the various RGB Lighting in Windows 11. Each device manufacturer has their own app that allows you to tweak the RGB lights. And if you own quite a few such devices, then your system will be fled with a plethora of such apps. Fortunately, you could bid them adieu as you could now easily carry out this task right from the OS itself.
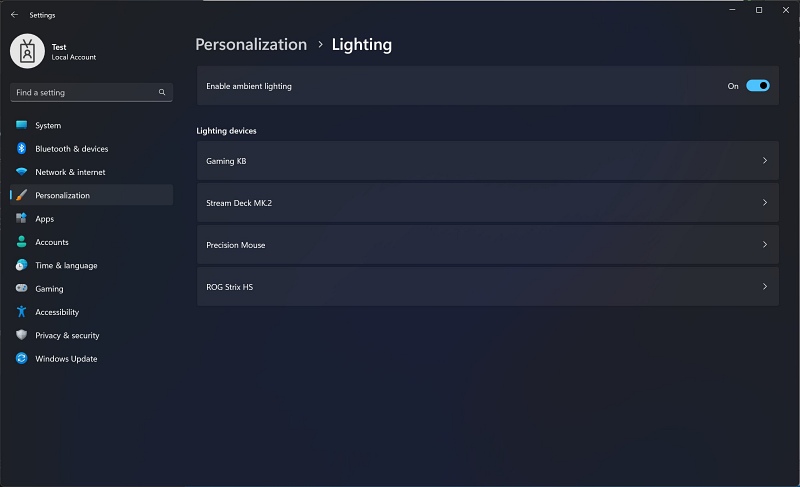
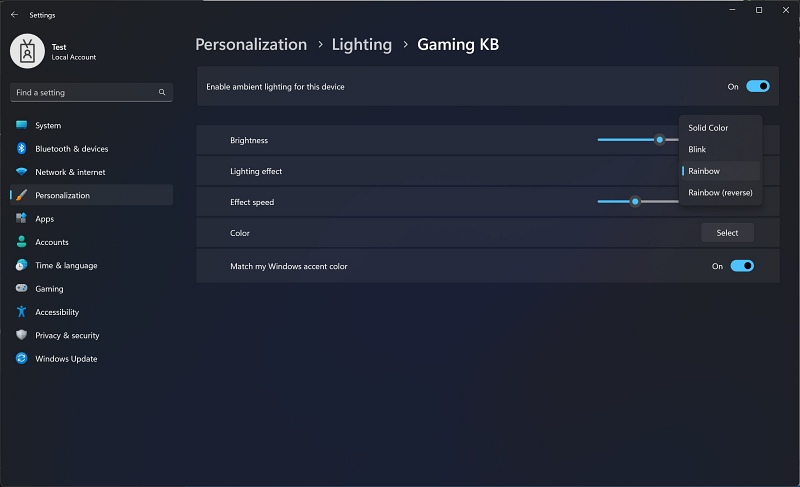
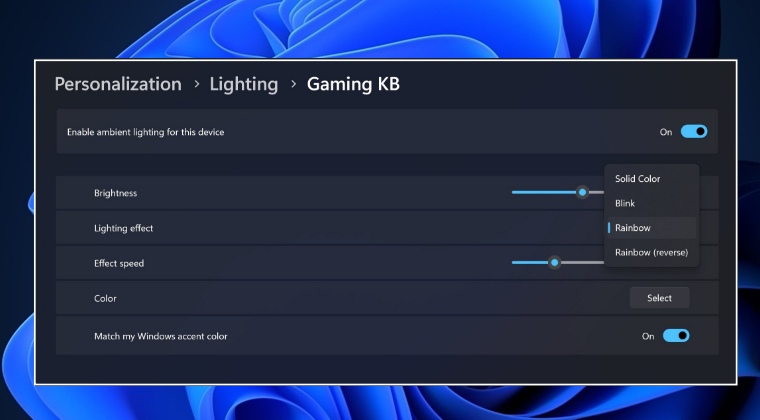
Microsoft is testing out a new feature through which you could control the various RGB Lighting in Windows 11 right from the Settings menu, without the need to take the help of any third-party app. By heading over to Settings > personalization > Lightning, you could regulate the color, brightness, effect, and lightning speed. In the near future, you will even be able to associate these lights with a specific app.
For example, the red light would glow when you receive an email in Outlook, or green in case an app is accessing the webcam. With that said, the feature is currently being tested in the Windows 11 Build 25295 and is slowly rolling out to the Insider Preview users. However, you could skip this waiting queue and enable the option to control the various RGB Lighting in Windows 11 right away. And in this guide, we will show you how to do just that. Follow along.
Control RGB Lighting in Windows 11 without third-party apps
- Download the open-source ViveTool from GitHub.
- Then extract it to any convenient location on your PC.
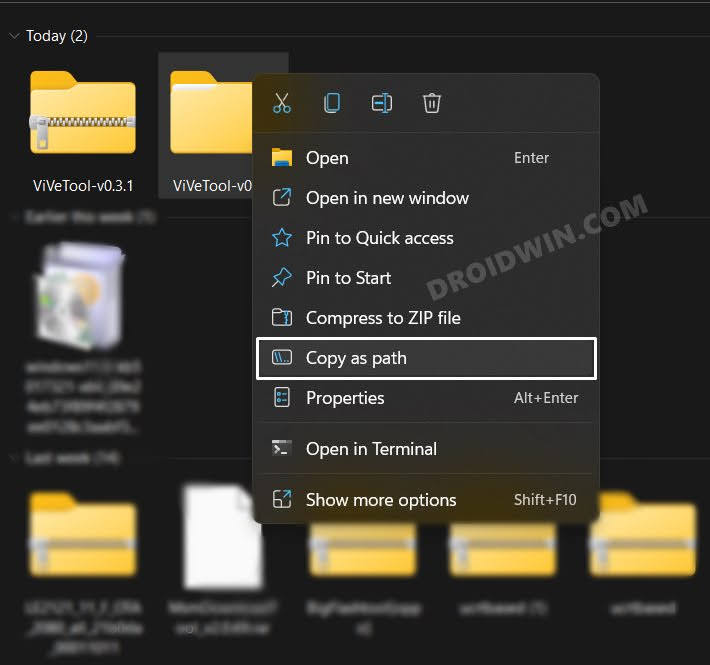
- After that, right-click on it and select Copy as path.

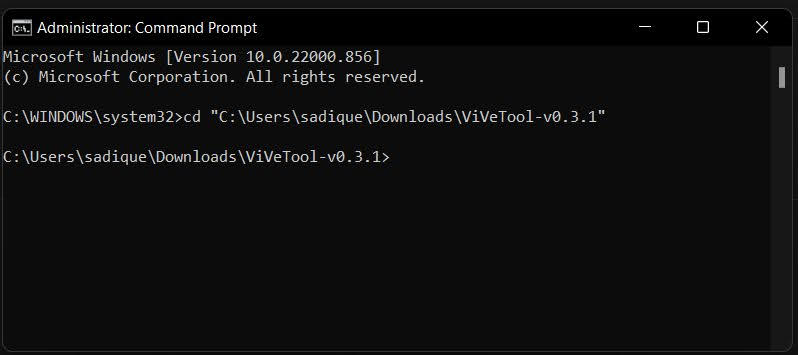
- Now launch Command Prompt as an administrator.
- Then type in cd and paste the copied path via Ctrl+V.
- Now execute the below two commands to enable the RGB control option.
vivetool /enable /id:41355275
vivetool /enable /id:35262205
- Once done, restart your PC and your task stands complete.
How to Disable It
If for some reason this feature is not in sync with your requirement or you only want to test it out once it reaches the stable stage, then you could easily revert this change by disabling the functionality. To do so, carry out steps 1 to 5 listed above and then execute the below command:
vivetool /disable /id:41355275
vivetool /disable /id:35262205
That’s it. These were the steps to enable the new Snap Layouts on your Windows 11 PC. If you have any queries concerning the aforementioned steps, do let us know in the comments. We will get back to you with a solution at the earliest.