In this guide, we will show you various methods to fix the Printer Error: Stopped – ‘Filter’ failed on your Mac. Numerous users have voiced their concern that they are getting bugged with the aforementioned error whenever they try to point any document- either via wireless [WiFi] or wired [USB] printer.
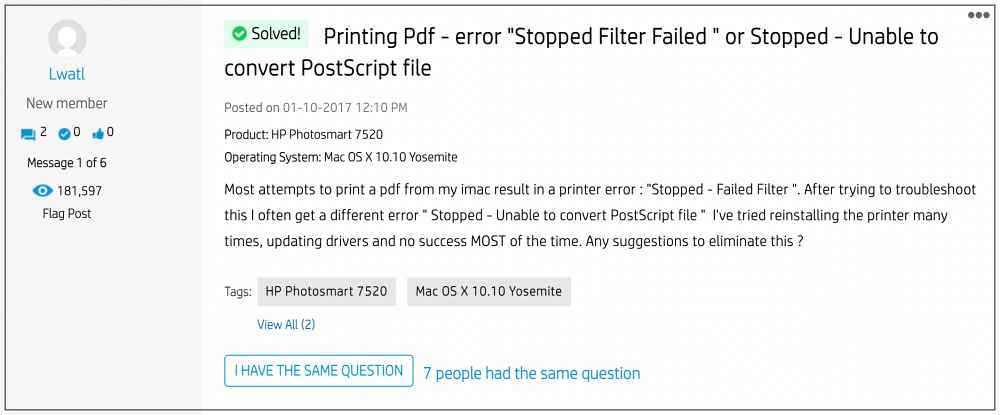
Furthermore, some users have also said that the Preview is not able to print PDFs to their printer [even though third-party software Acrobat Reader is working well and good]. Likewise, some users have also reported that they are unable to print via Microsoft Remote Desktop and getting the same error as above. So if you are also getting the Printer Error: Stopped – ‘Filter’ failed on your Mac in any of these scenarios, then this guide shall help you rectify it. Follow along.

Table of Contents
Fix Printer Error: Stopped – ‘Filter’ failed on Mac
It is recommended that you try out each of the below-mentioned workarounds and then see which one spells out success for you. So with that in mind, let’s get started.
FIX 1: Update the Printer Drivers
- To begin with, go to System Preferences > Printers and Scanners.

- Select your printer from the list and hit the minus sign next to it to remove it.


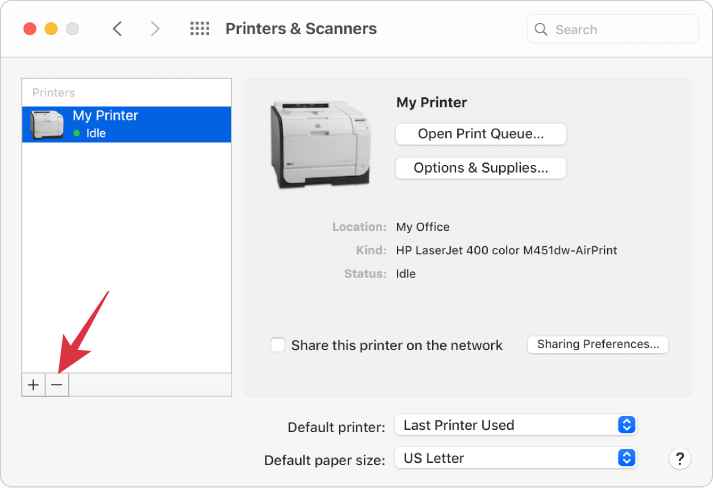
- Then click on Delete Printer in the confirmation dialog box.
- Once done click on the plus icon and select Add Printer or Scanner.


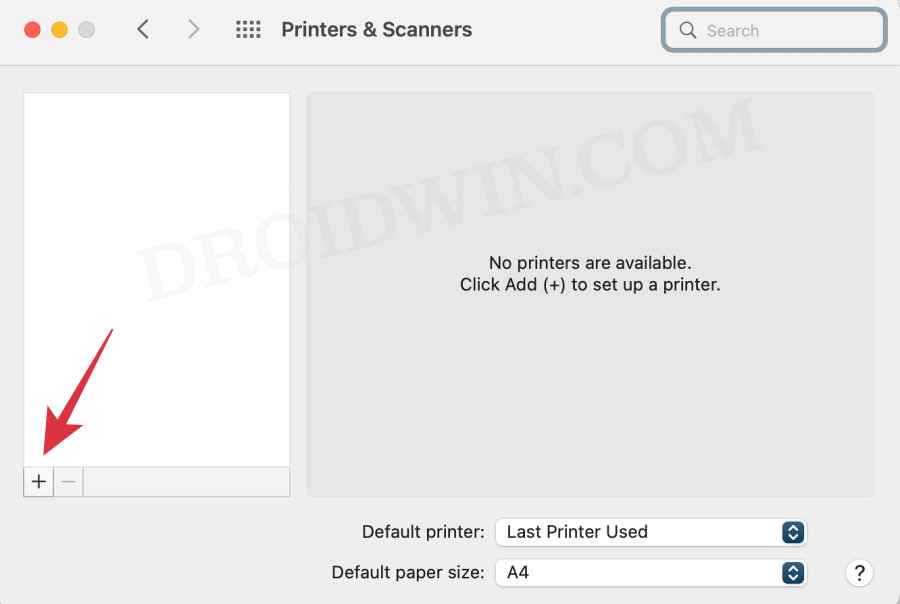
- After that, select the printer type: USB, Wireless, or Ethernet connection.
- Then select your printer under the “Use or Print Using” drop-down list and click on Add.
- Now click on the Apple logo and select Software Update or App Store.
- Then go to the Updates tab and download and install the pending updates.
- Check if it fixes the Printer Error: Stopped – ‘Filter’ failed on your Mac.
FIX 2: Re-Install the Printer
- Power off your printers and go to System Preferences > Printers and Scanners.


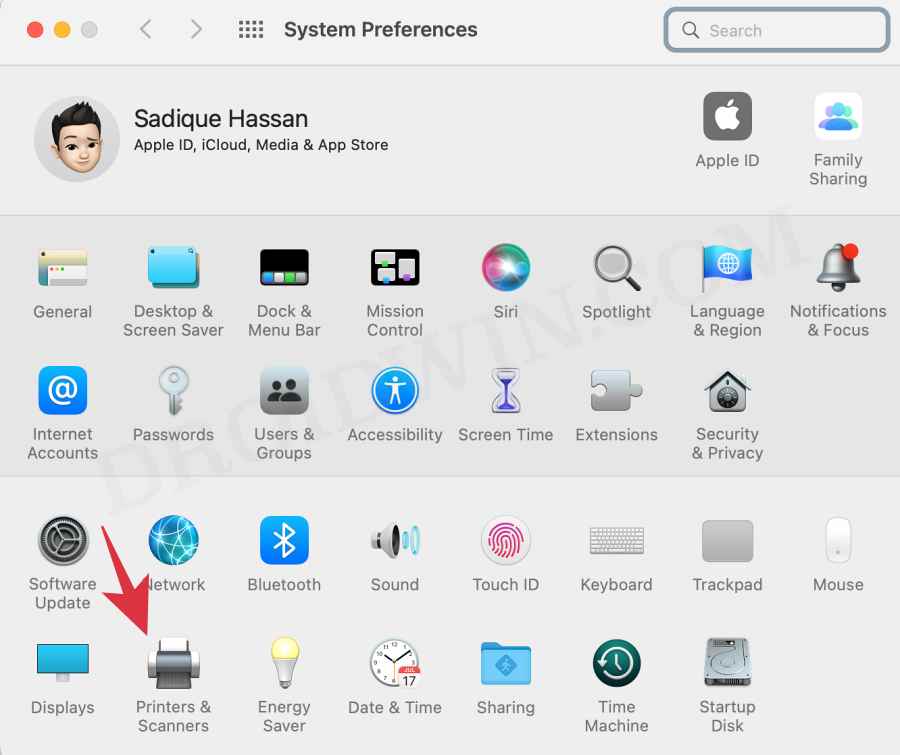
- Select your printer from the list and hit the minus sign next to it to remove it.


- Then click on Delete Printer in the confirmation dialog box.
- Now open Finder and go to Library > Printers. Then delete the folder named after your printer.
- After that, go to Library > Printers> PPD > Contents > Resources and delete the file named after your printer.
- Then go to Library > Cache and delete the folder named after your printer.
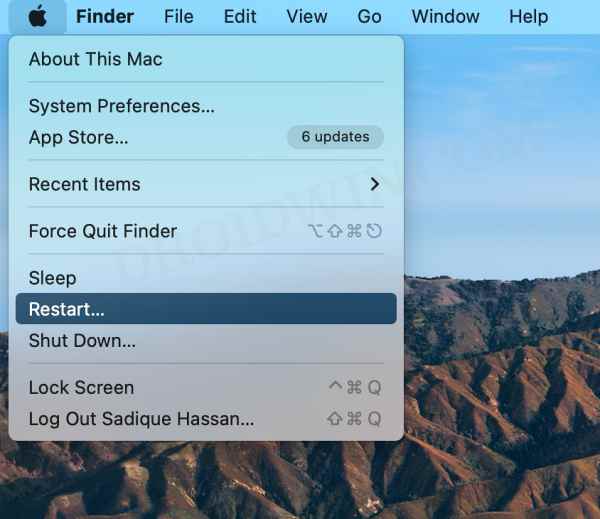
- Now restart your Mac and power on the printer.

- Go to your printer’s Download site and grab the latest drivers, corresponding to your product’s model number.
- Then launch the driver setup file and proceed with the on-screen instructions to complete the process.
- Now check if it fixes the Printer Error: Stopped – ‘Filter’ failed on your Mac.
FIX 3: Reset Printing System
- To begin with, go to System Preferences > Printers and Scanners.


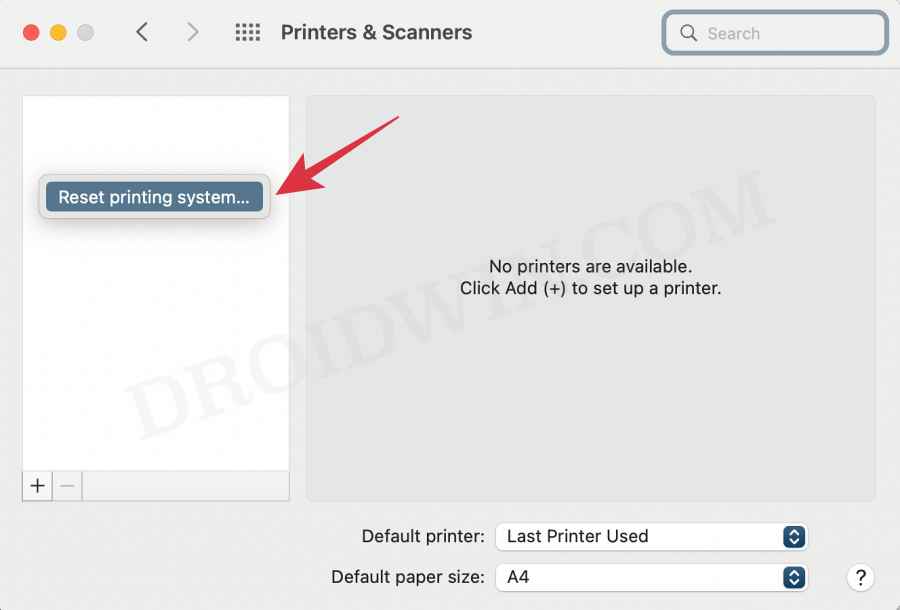
- Then right-click the blank space in the Printers list and select “Reset printing system”.

- After that, click on Reset in the confirmation dialog box.

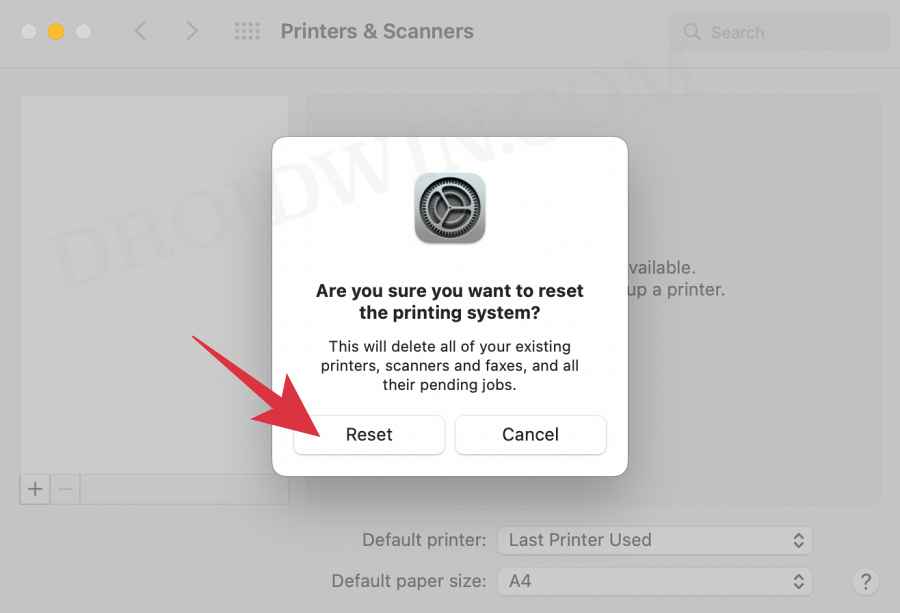
- Wait for the process to complete [until there are no printers on the list].
- Once done, restart your Mac and go to System Preferences > Printers and scanners.
- Then click on the plus icon, select your printer from the list and click Add.


- Now click “Print Using…” and then select your printer from the list. That’s it.
These were the three different methods that shall help you fix the Printer Error: Stopped – ‘Filter’ failed on your Mac. If you have any queries concerning the aforementioned steps, do let us know in the comments. We will get back to you with a solution at the earliest.




Randy
Nope, did not work