In this guide, we will show you the steps to unbrick your OnePlus 12R/Ace 3 via the Oppo Flash Tool. For the tech enthusiasts, this OEM used to be the go-to choice. However, all that changed with the tenth iteration of the devices, or in other words, when the OEM went into a partnership with Oppo. This was the beginning of the end for our beloved MSM Download Tool.
Fortunately, though, one developer managed to capture a few crucial data and handshakes while his OnePlus 11 was being repaired online via an authorized account, and using that crucial piece of data, we could now unbrick quite a few devices, including the likes of OnePlus Open and now 12R as well. So without any further delay, let’s get started with the steps to unbrick your OnePlus 12R/Ace 3 via the Oppo Flash Tool.
Table of Contents
How to Unbrick OnePlus 12R/Ace 3 via Oppo Flash Tool
The process will wipe off all the data from your device, so take a backup “if possible”. Droidwin and its members wouldn’t be held responsible in case of a thermonuclear war, your alarm doesn’t wake you up, or if anything happens to your device and data by performing the below steps.
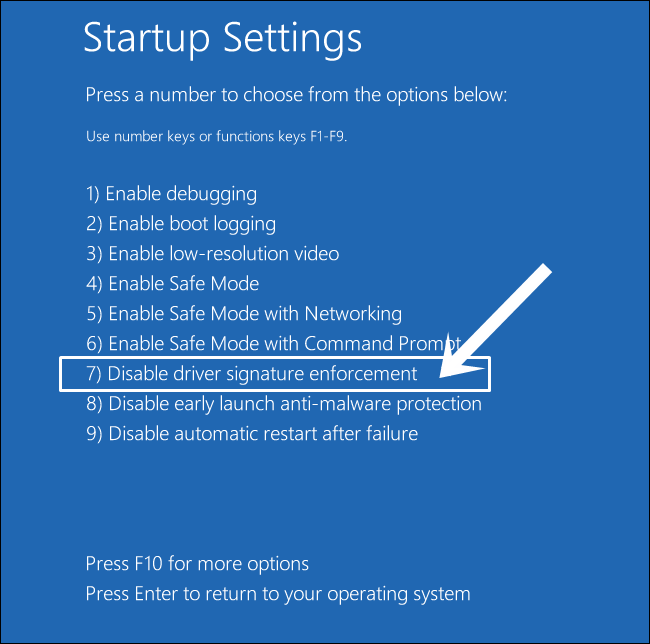
STEP 1: Disable Driver Signature Enforcement
First off, you’ll have to disable the Driver Signature Enforcement on your PC so that Windows doesn’t conflict with the EDL Drivers [Qualcomm HS USB Drivers]. So refer to our detailed guide on How to Disable Driver Signature Verification on Windows 10/11.
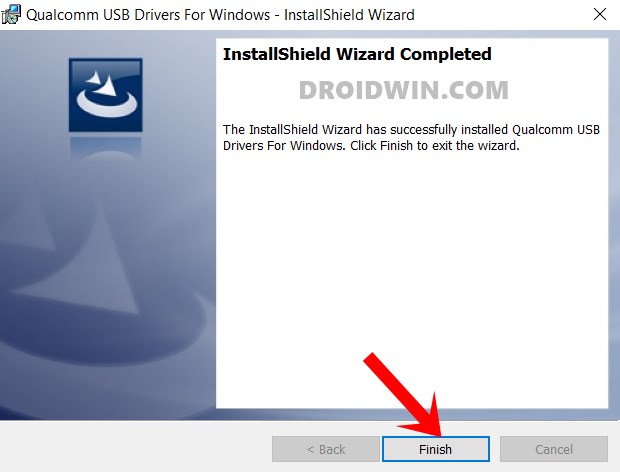
STEP 2: Install Qualcomm USB Drivers
Next up, you will have to download and install the Qualcomm USB Drivers. This is needed so that your PC (and the MSM Tool) is able to identify the connected device in EDL Mode. So refer to our guide on Qualcomm HS-USB QDLoader 9008 Drivers: Download & Install.
STEP 3: Download OnePlus 12R/Ace 3 MSM Download Tool/Oppo Flash Tool
Now grab hold of the Oppo Flash Tool/MSM Download Tool for your OnePlus 12R/Ace 3 from below:
Download MSM Download/Oppo Flash Tool [Video]
STEP 4: Download OnePlus 12R/Ace 3 EDL Firmware
Next up, download the EDL Firmware for your OnePlus 12R/Ace 3 from below: [Credits: XDA Member Jookean]
EDL FIRMWARE + OCDT + prog_firehose_ddr
STEP 5: Install MITM Proxy and Proxifier
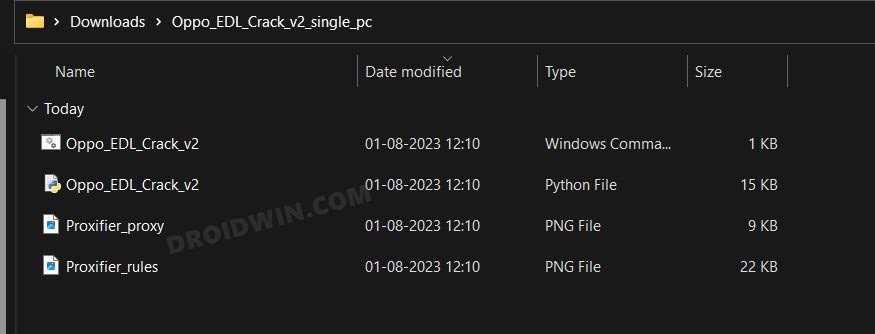
- First off, download and extract the EDL firmware file from above.
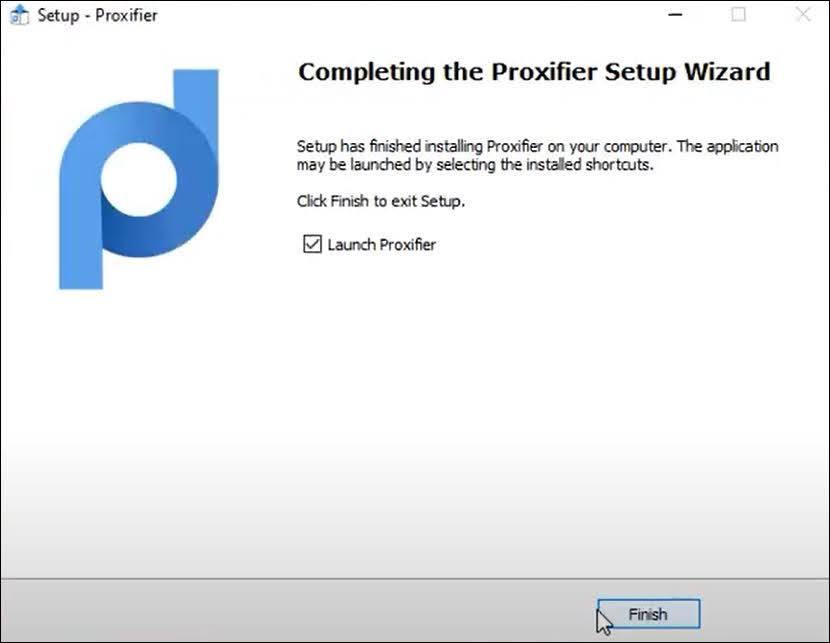
- Then launch the Proxifier setup and install it. [Once done, minimize it].

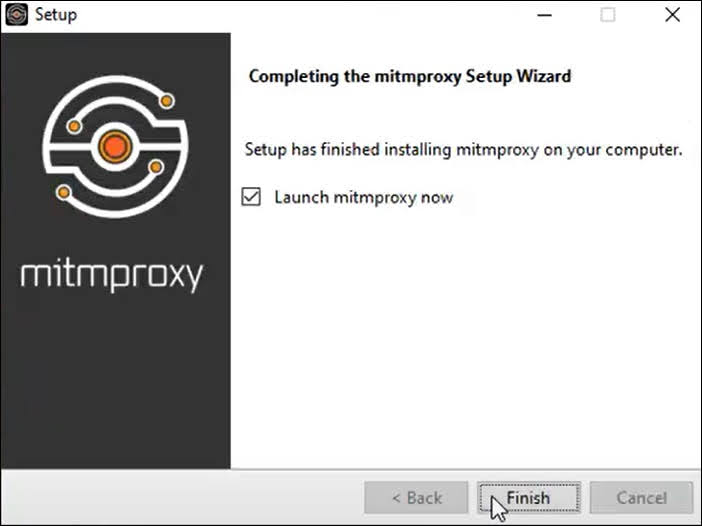
- Now launch MITMProxy setup and install it [uncheck launch mitmproxy now].
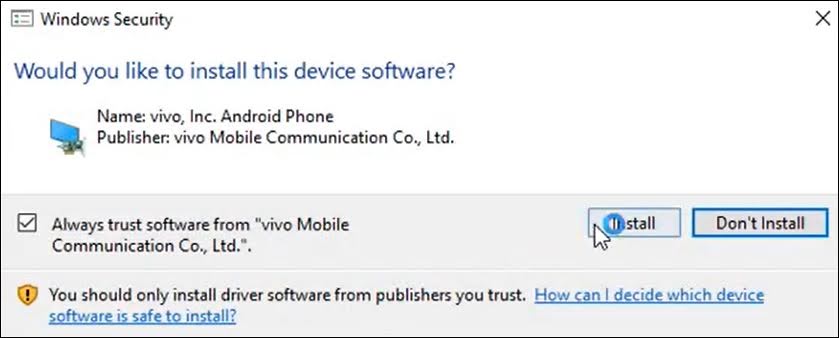
- Then go to the Qualcomm Driver Package and launch the Install file.
- You might get a couple of prompts from Google and Vivo, make sure to hit Install.
STEP 6: Add Proxy Server and Rules
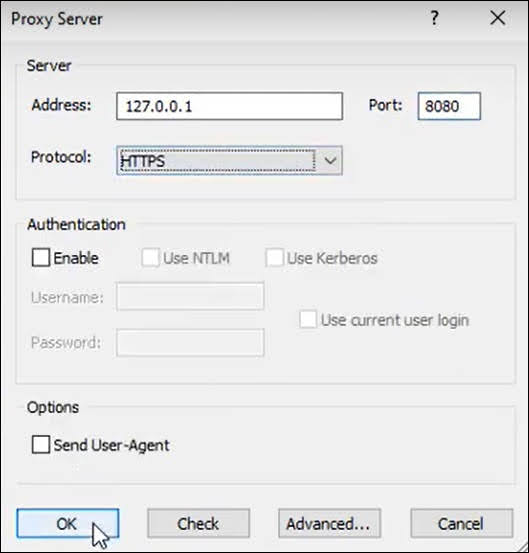
- Launch Proxifier > Go to Profiles > Proxy Server and click Add.
- Type in 127.0.0.1 under Address, 8080 under Port, and select HTTPS Protocol.
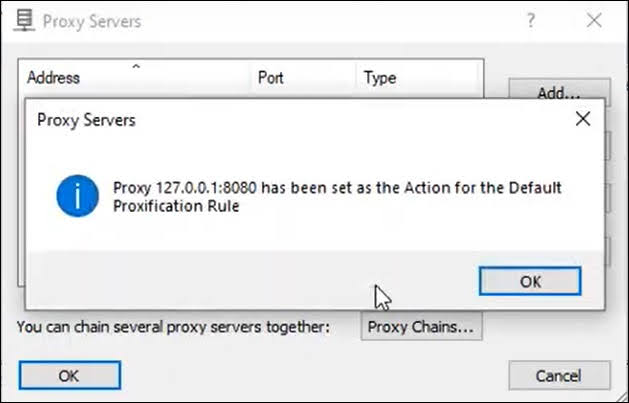
- Now click OK > YES > OK > OK in the prompts that appear.
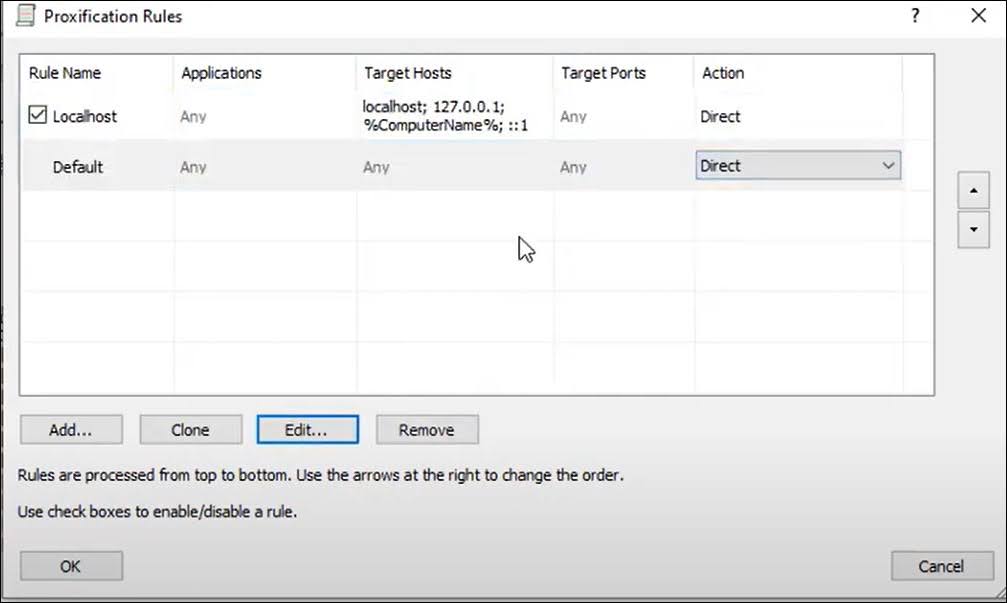
- Then go to Profile > Proxification Rule > change Default Action to Direct and click Add.
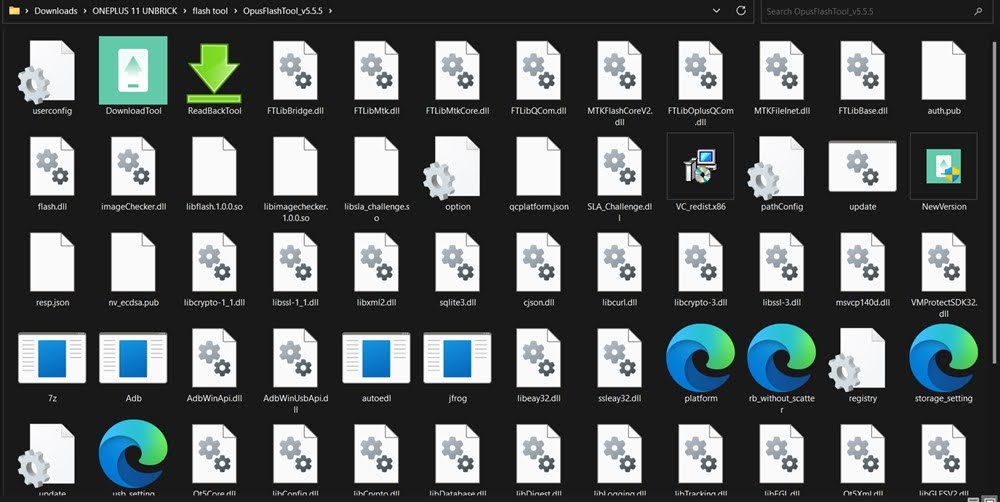
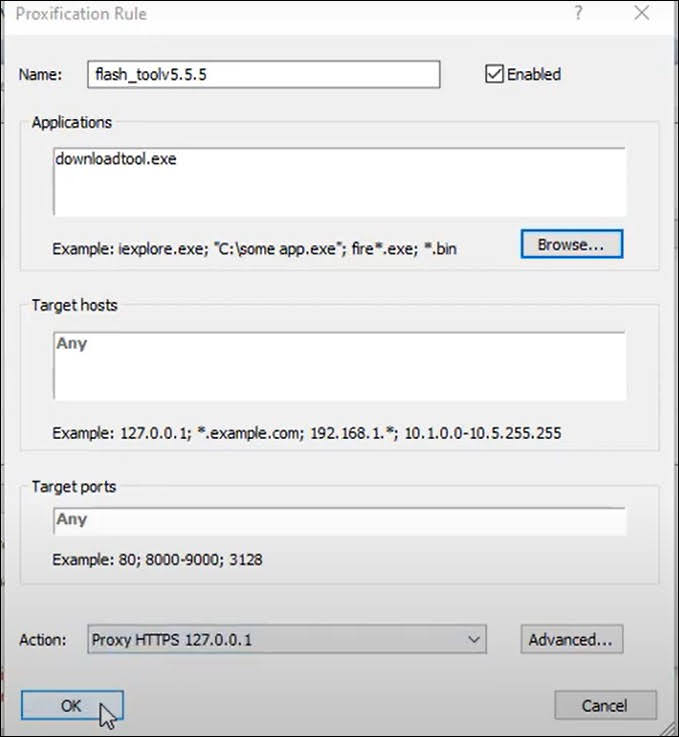
- Now give it a name, click Browse under Applications, and go to the OPlusFlashTool folder.
- Then select the DownloadTool.exe file and hit Open.
- Now select Proxy HTTPS 127.0.0.1 under Action and click OK.
STEP 7: Setup Oppo Flash Tool
- Go to oppo_edl_crack and launch the batch file. This will automatically launch mitmproxy.
- Now launch the Oppo Flash Tool [use the same exe that you have added to Proxification Rule].
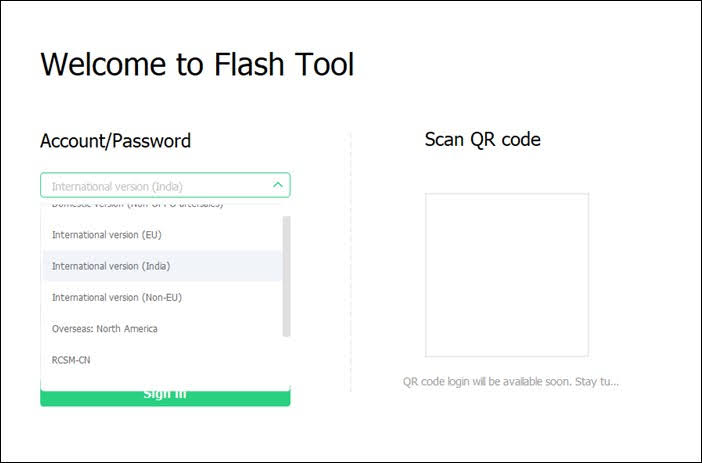
- Change server to EU/India and type in random stuff under username, password, and verification code.
- Then select your device from the list.
- Now click on Software Package from the left and select the downloaded EDL firmware.
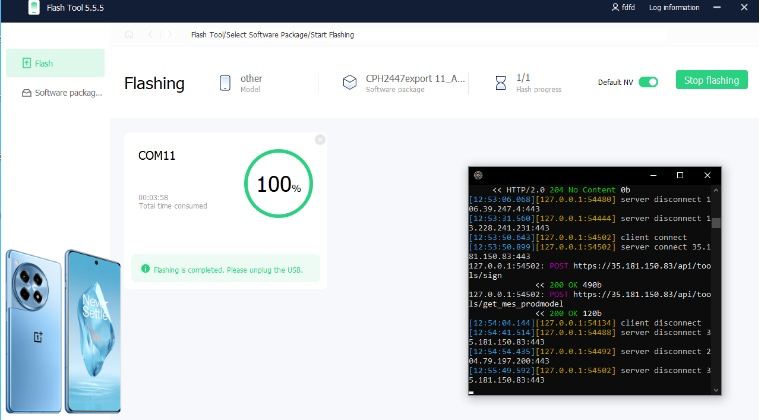
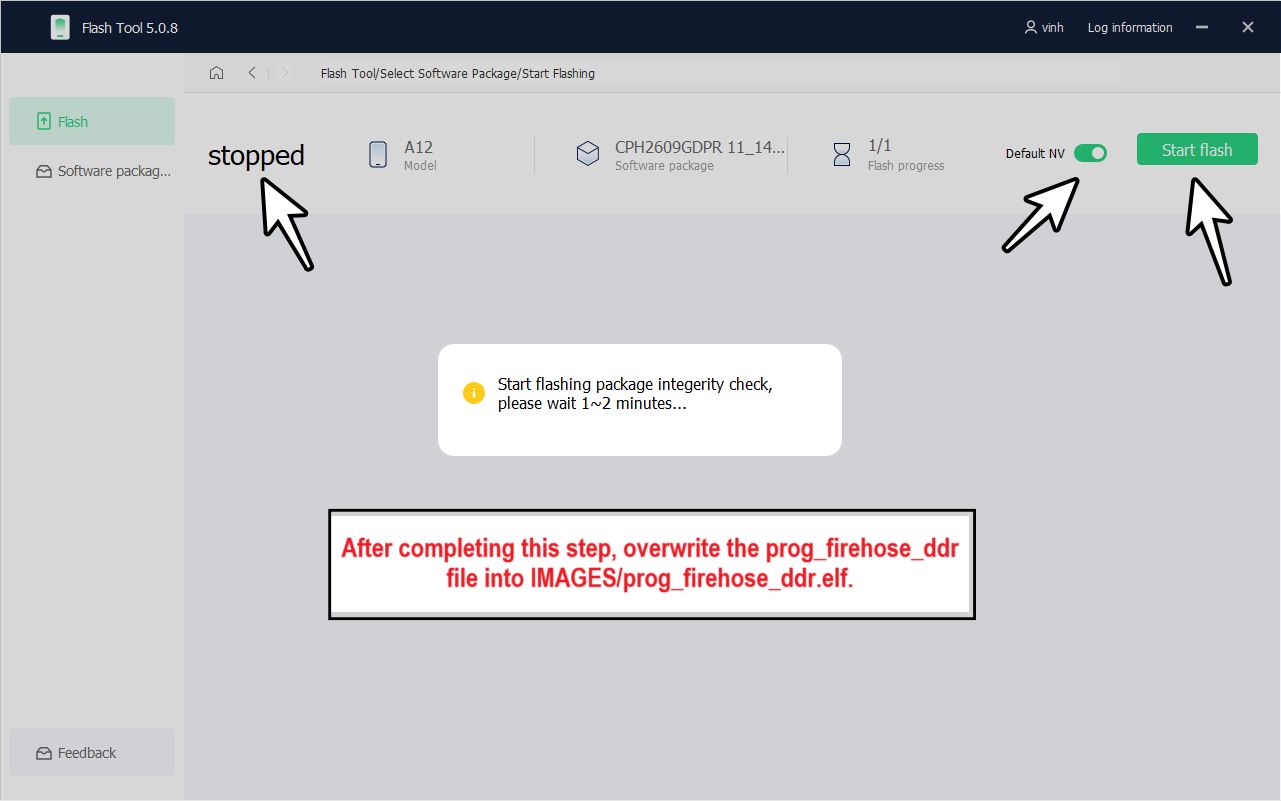
- Then ‘stop’ the flashing process and enable Default NV. Now click on Flash.
- It will now start the package integrity check. Once complete, transfer the prog_firehose_ddr.elf file from the Downloads section above to the OFP folder/IMAGES/prog_firehose_ddr.elf.
STEP 8: Boot OnePlus 12R/Ace 3 to EDL and Unbrick It
- Make sure that your device is completely powered off.
- Then connect one end of the USB cable to your PC but keep the other end unplugged.
- Now press and hold the Volume Up and Volume Down keys.
- While holding both these keys, connect the other end of the USB cable to your device.
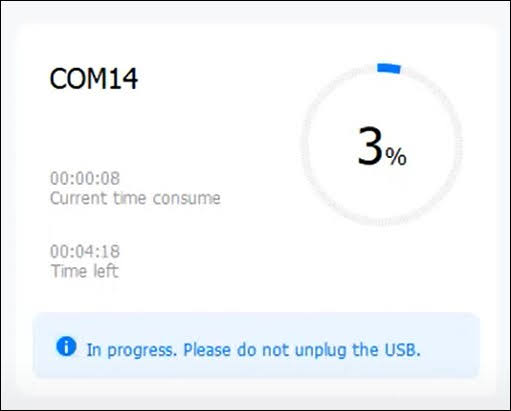
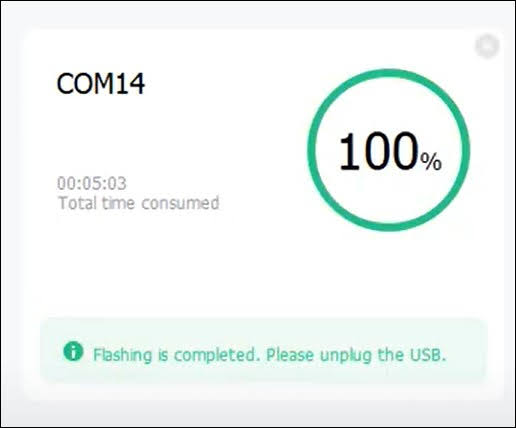
- Your device will now be detected by the tool and the flashing will start. You may now release the keys.
- Once the flashing is complete, your device will automatically boot to the OS.
That’s it. These were the steps to unbrick your OnePlus 12R/Ace 3 using the Oppo Flash Tool. If you have any queries concerning the aforementioned steps, do let us know in the comments. We will get back to you with a solution at the earliest.