In this guide, we will show you the steps to remove the evaluation copy watermark from your Windows 11 PC. When you voluntarily sign up for the Insider Previews and Beta builds, you are guaranteed the arrival of new and intriguing features before the general users. While there would be a few bugs in these testing builds, but the users are already aware of the same and have signed knowing the pros and cons attached. And as soon as you are part of this update, you will get a watermark on the bottom right of your screen.

It will show the current OS build number, the Edition of Windows you are using, and its variant. While some watermarks such as ‘Your copy of Windows is not genuine’ is undoubtedly concerning (well, you already know why!), this evaluation one might not be too much troublesome. But still, there are a few users who wish to remove this evaluation copy watermark from their Windows 11 PC.
If you also echo this thought, then this guide is here to help you out. Follow along for the detailed instructions. Droidwin and its members wouldn’t be held responsible in case of a thermonuclear war, your alarm doesn’t wake you up, or if anything happens to your device and data by performing the below steps.
Table of Contents
How to Remove Evaluation Copy Watermark from Windows 11

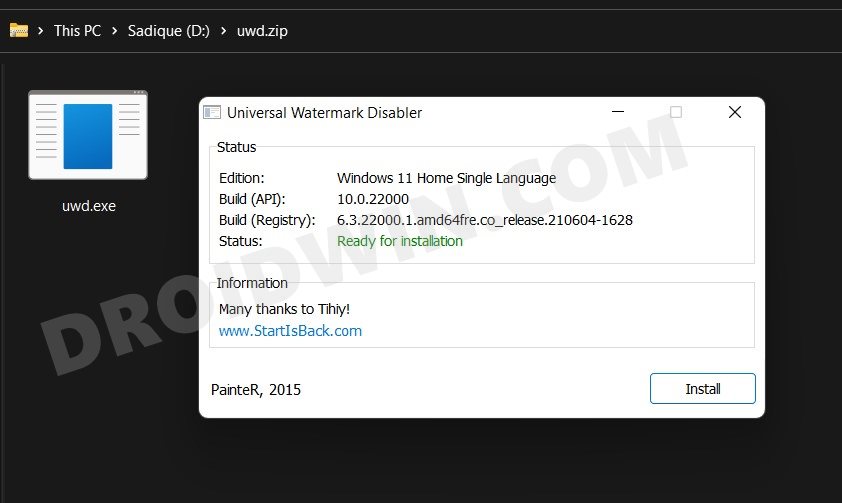
To carry out this task, we will be using a popular third-party app known as Universal Watermark Disabler. However, there’s a word of caution before you proceed with the usage of this app. To remove the watermark, it will directly modify two system files, namely basebrd.dll.mui, and shell32.dll.mui. This might prove to be a risky bet, considering that you are using it just for the sake of removal of a watermark. But if you have made up your mind and are ready to bid adieu to the Evaluation watermark, then let’s get started.
Instruction Steps
- To begin with, download the Universal Watermark Disabler.
- Then extract it to any convenient location on your PC.
- Now double click on the uwd.ee file to launch the tool.
- After that, click Install in the setup screen that appears.

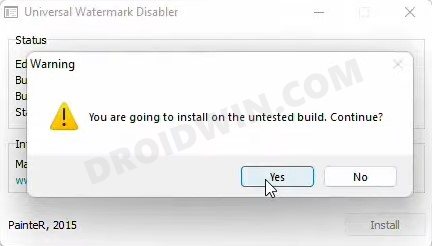
- Then click Yes in the confirmation dialog box.
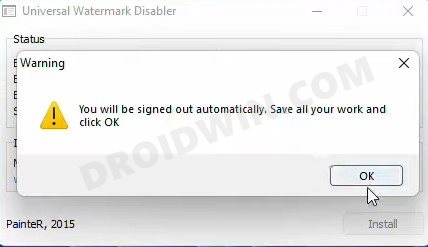
- Once the installation is complete, you will be signed out of your account.
- A pop-up will also notify you of the same, click OK to close it.
- Now sign back into your account and the watermark would have been removed.
That’s it. These were the steps to remove the evaluation copy watermark from your Windows 11 PC. If you have any queries concerning the aforementioned steps, do let us know in the comments. We will get back to you with a solution at the earliest.
How to Bring Back the Windows 11 Evaluation Watermark
If for some reason, you wish to get back this watermark, then it’s quite easy to do so. Here’s what needs to be done:
- Double-click on the uwd.ee file to launch the tool.
- Then click on the Uninstall button.
- Finally, hit OK in the confirmation dialog box.
The tool will now restore the files back to their original default state and you shall get back the watermark on the bottom right of your screen. So on that note, we round off this guide. Are you planning to give this app a shot or the watermark isn’t of much concern to you? Do share your valuable opinions with us in the comments section below.


harlock59
Hello, that method is working but is not permanent, i’ve tried it but every once a while i have to relaunch and reinstall uwd.exe… if someone could send me a permanent method ? or post it in the comments…