In this guide, we will show you the steps to install Kali Linux NetHunter on your Android device. This free and open-source mobile penetration testing platform for Android devices is based on Kali Linux and beholds a slew of networking tweaks. Some of the most noteworthy ones include the likes of Vulnerability Analysis, Database Assessment, Password Attacks, Passwords Attacks, Wireless Attacks, Reverse Engineering, Snipping and Spoofing, and Exploitation Tools.
Many large-scale companies use these tweaks in their favor to further strengthen their organization’s networking capabilities. While there’s no denying the fact that some malicious attackers use it for malicious purposes, but that is the case with the entire internet itself, so there’s no point in debating the pros and cons of such tweaks. Instead, we will keep our attention on the steps to install Kali Linux NetHunter on your Android device. So without further ado, let’s get started.
Table of Contents
How to Install Kali Linux NetHunter on any Android [Video]

We can’t stress enough the fact that the steps listed here should only be used for legal, non-malicious activities and at your own risk. Moreover, till Android 11, you don’t need a rooted Android device, but beginning with Android 12, your device might need to be rooted to overcome the Phantom Processes Killed bug. If you are using Android 12+ but your device is non-rooted, then you’ll still be able to install Kali Linux on your Android device, but that’s just about it.
You wouldn’t be able to make use of any of its features, thereby making it literally useless. So either use an Android 11 or Android 12+ rooted device. Droidwin and its members wouldn’t be held responsible in case of a thermonuclear war, your alarm doesn’t wake you up, or if anything happens to your device and data by performing the below steps.
- First off, download and install Termux from here.
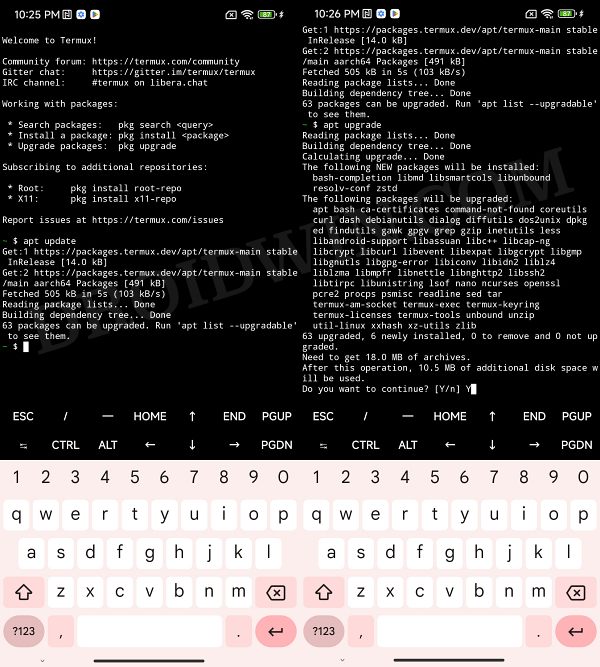
- Then launch it and execute the below command:
apt update
- Now type in the below command:
apt upgrade

- You’ll get a prompt: Do you want to continue, type in Y and hit Enter.
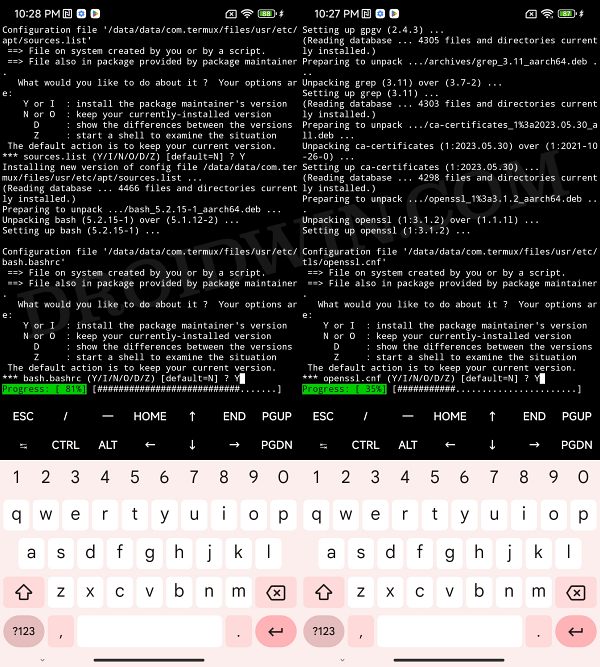
- You’ll again get a few prompts. Type in Y and hit Enter for all these prompts.
- Again, type in the below command to get wget package information:
apt update
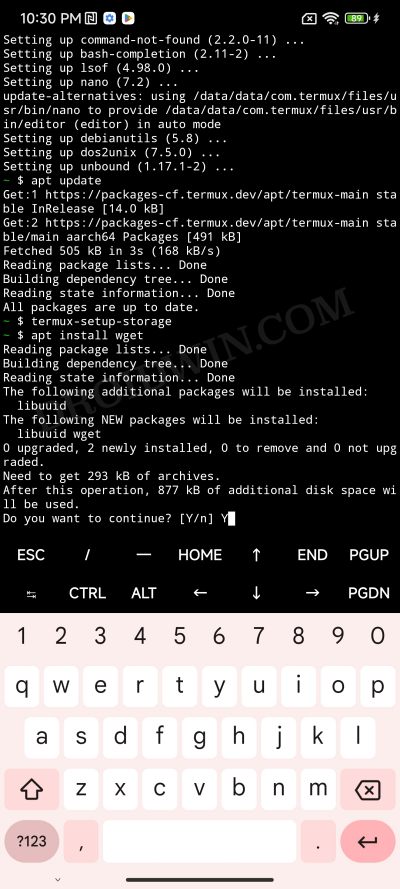
- Now type in the below command and grant Storage Access to Termux.
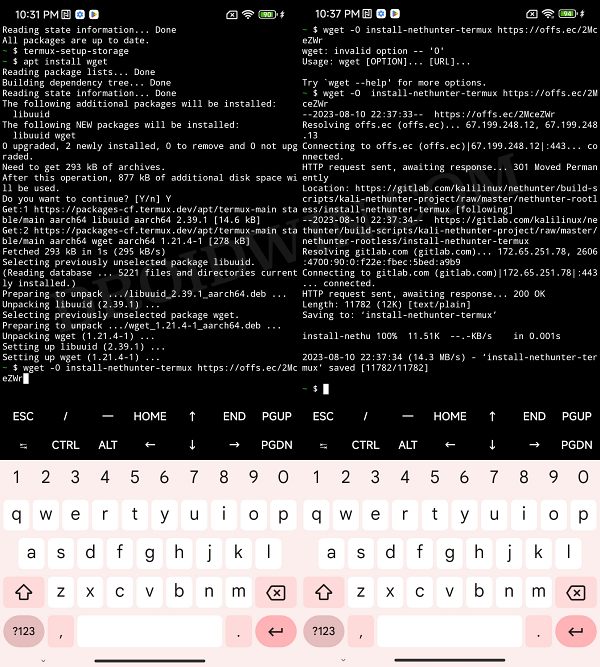
termux-setup-storage
- Then type in the below command. Type Y in the prompt and hit Enter.
apt install wget
- When asked, “Do you want to continue” press Y and Enter.
- Now input the below command to download the NetHunter Installer:
wget -O install-nethunter-termux https://offs.ec/2MceZWr
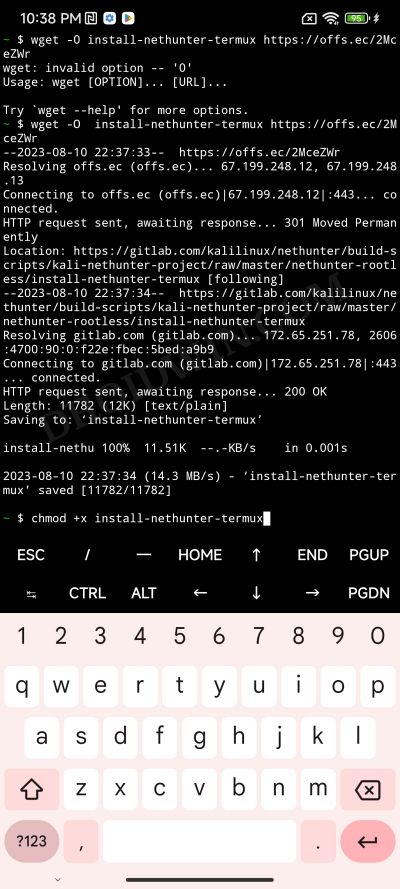
- Then change its permission via the below command:
chmod +x install-nethunter-termux
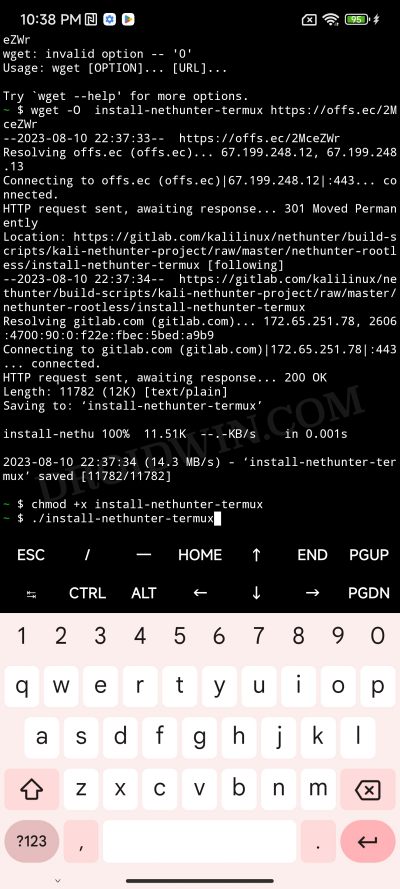
- Now launch the installer via the below command
./install-nethunter-termux
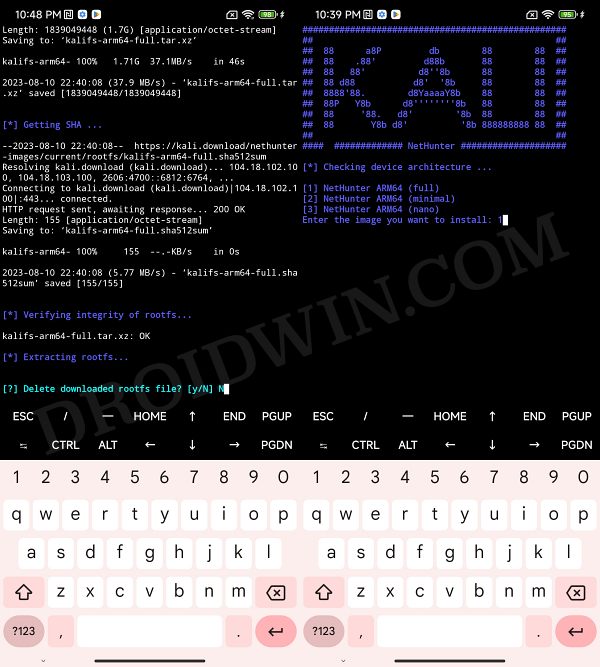
- The installation will take some time. When asked to delete rootfs, enter N.
- Once done, you’ll be taken to the Kali Linux home screen.
- From now onwards, you could replace NetHunter with nh interchangeably in all the commands.
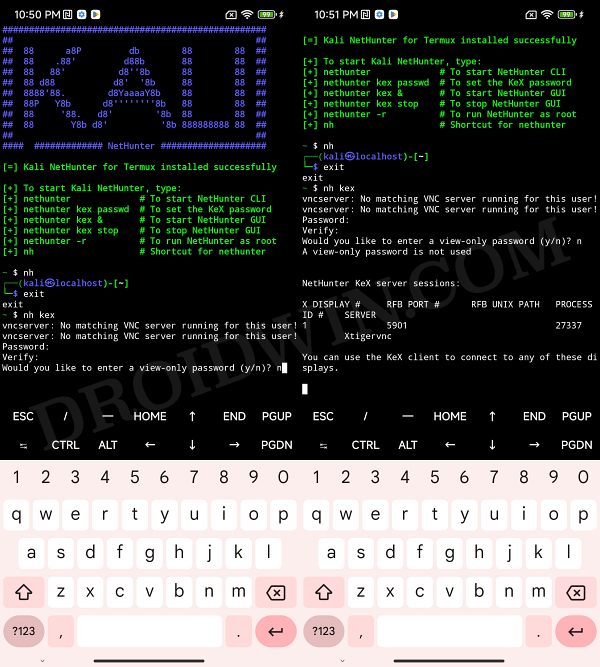
- Now type in the below command to set the password for KeX VNC. Note down the RFB Port Number.
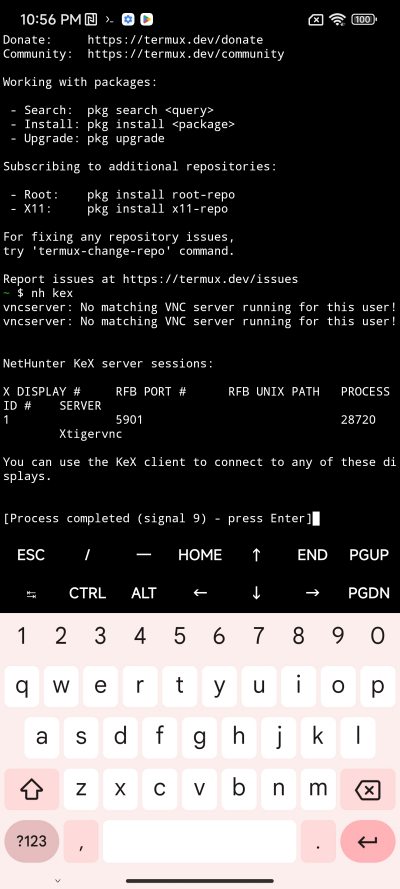
nh kex passwd
- NOTE for Android 12+: If you get Process Completed Signal 9 Error and Termux closes upon hitting Enter, then check out the next section.
- Now type in the below command to start the NetHunter Kex.
nh kex
- NOTE: If at any point in time, you want to stop NetHunter Kex, then just type nh kex stop
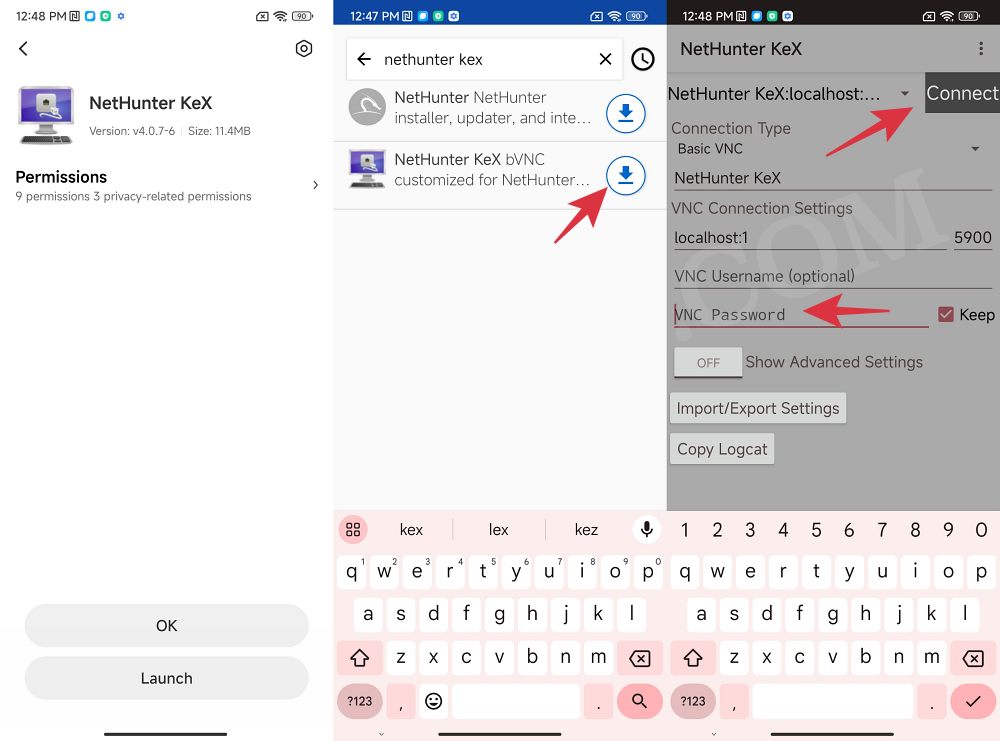
- Now go to the NetHunter website and download and install its Store App.
- Then launch it, search NetHunter KeX, and download and install it.
- Now launch NetHunter KeX, type in the VNC Password, and hit Connect. That’s it.
- Kali Linux will now launch on your device and you could carry out the desired task.


How to Fix Process Completed Signal 9 Error
Beginning with Android 12, you might get the Process Completed Signal 9 Error after setting/typing the password for KeX VNC and hitting Enter. As soon as that happens, the Termux will close suddenly and you wouldn’t be able to proceed ahead. To bypass this issue, you’ll have to root your device and execute “either” of the two below commands:
su -c "settings put global settings_enable_monitor_phantom_procs false"

OR
su -c "setprop persist.sys.fflag.override.settings_enable_monitor_phantom_procs false"
You could also make the system partition read/write and then execute the below command [without the need for su command]
adb shell "settings put global settings_enable_monitor_phantom_procs false"
Different Editions of Kali Linux NetHunter
| Feature | NetHunter Rootless | NetHunter Lite | NetHunter |
|---|---|---|---|
| App Store | Yes | Yes | Yes |
| Kali cli | Yes | Yes | Yes |
| All Kali packages | Yes | Yes | Yes |
| KeX | Yes | Yes | Yes |
| Metasploit w/o DB | Yes | Yes | Yes |
| Metasploit with DB | No | Yes | Yes |
| NetHunter App | No | Yes | Yes |
| Requires TWRP | No | Yes | Yes |
| Requires Root | No | Yes | Yes |
| WiFi Injection | No | No | Yes |
| HID attacks | No | No | Yes |
That’s it. These were the steps to install Kali Linux NetHunter on your Android device. If you have any queries concerning the aforementioned steps, do let us know in the comments. We will get back to you with a solution at the earliest.


