In this guide, we will show you the steps to install Linux [and its distros] and run Linux commands on your Windows 11 PC. Back in the early days, people usually associated Linux with programming and geek-related tweaks. However, that is no longer the task and you might need to interact with these commands on a more frequent basis nowadays. In this regard, one way to execute these commands is by installing a Virtual Machine, however, that is quite a time taking with a lot of technicalities involved.
Keeping all these points in mind, Microsoft introduced the Windows Subsystem for Linux in Windows 10 which allowed you to easily set up and run Linux just by executing a few lines of commands. And with Windows 11, the Redmonds giants have introduced the second iteration of this software [WSL 2] which comes with tons of additional benefits. While it installs Ubuntu by default, but you have the option to install and run its other distributions such as Debian Kali Linux, openSUSE 42, and SLES 12.
Moreover, you could carry out the entire setup either via CMD or using Microsoft Store. The command prompt method is the shorter of the two whereas the Store method will give you the GUI to complete the process. We would recommend you go through both these methods and then try out the one that is in sync with your requirement. So on that note, let’s get started with the steps to install Linux [and its distros] on your Windows 11 PC and hence run Linux commands.
Table of Contents
Install Linux in Windows 11 via Command Prompt

First off, let’s start off with installing Windows Subsystem for Linux 2 [WSL 2] on your Windows 11 PC, which in turn will also install Ubuntu.
Install Windows Subsystem for Linux 2 in Windows 11
- Head over to the Start Menu and launch Command Prompt as an administrator.
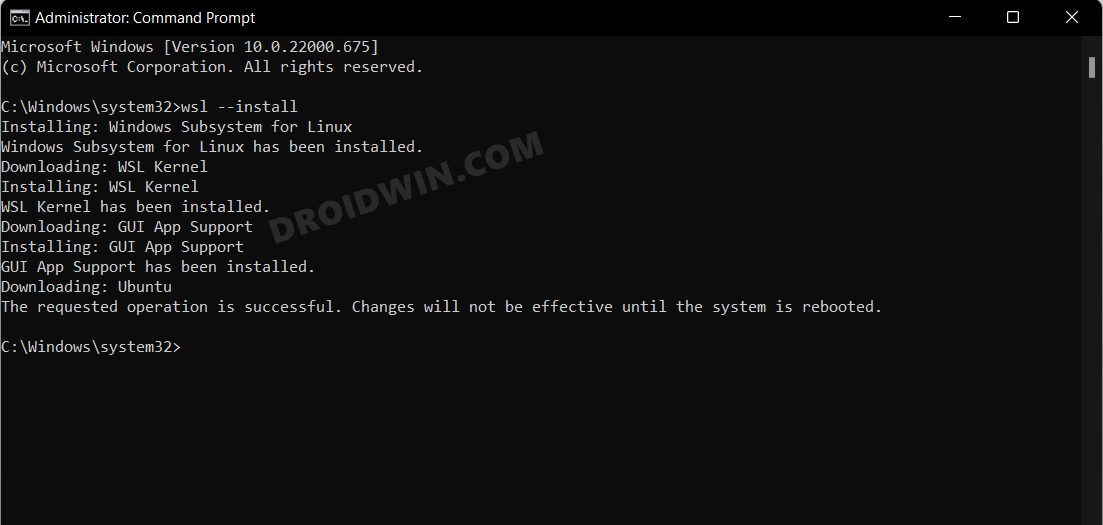
- Then execute the below command to install WSL 2 [as well as Ubuntu] on your PC
wsl --install

- After that, restart your PC for the changes to take place.
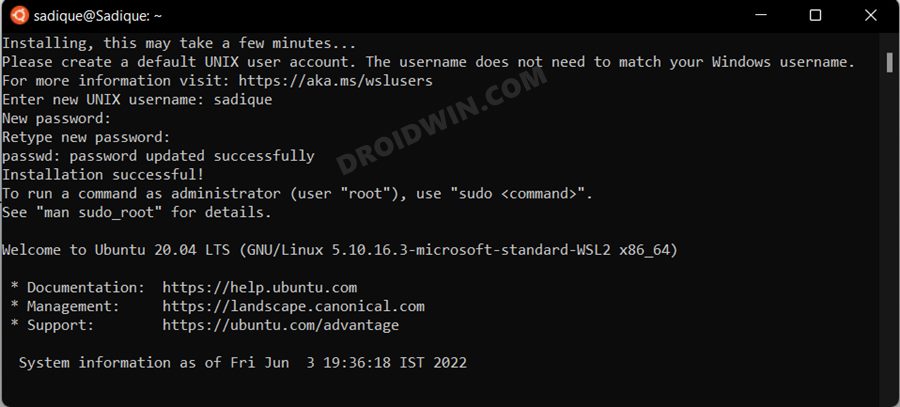
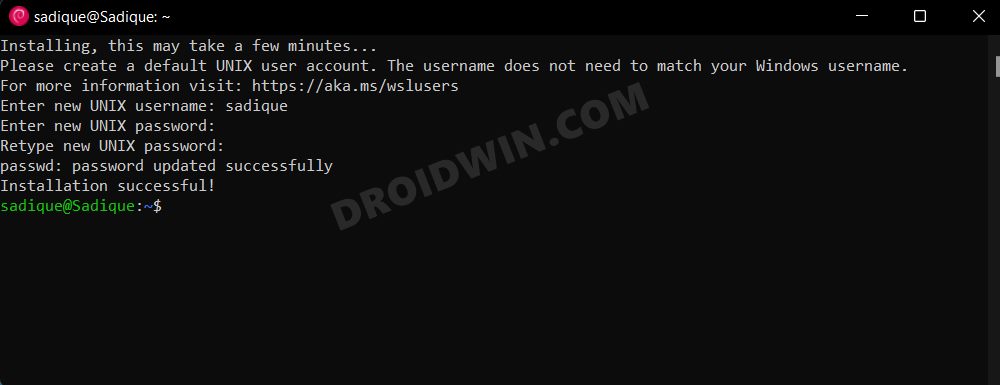
- Now launch Ubuntu and proceed with the on-screen instructions to complete the setup.
Check Available Linux Distros
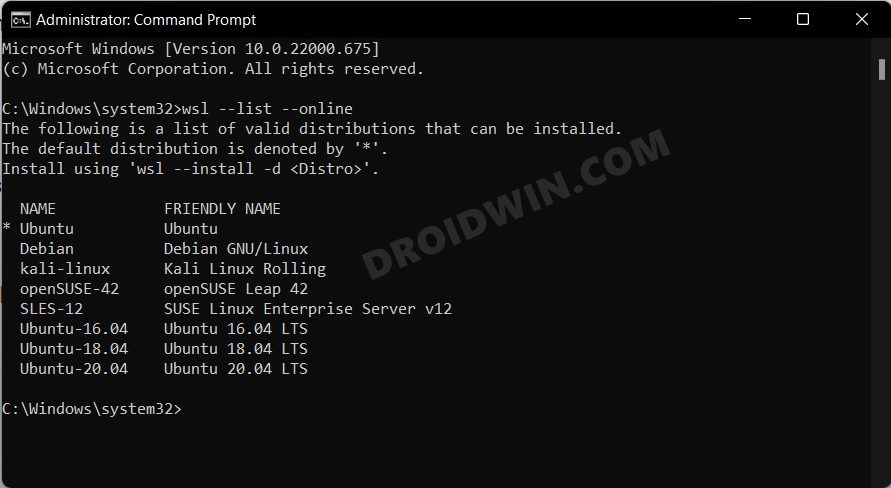
- Launch CMD as an admin and execute the below command
wsl --list --online
- This will bring up a list of all the available Linux distros for your Windows 11 PC.
How to Install Linux Distros in Windows 11
- Use the below command syntax to install the available distros.
wsl --install -d Destro-Name
- Make sure to replace Destro-Name accordingly. For example-
How to Install Debian in Windows 11
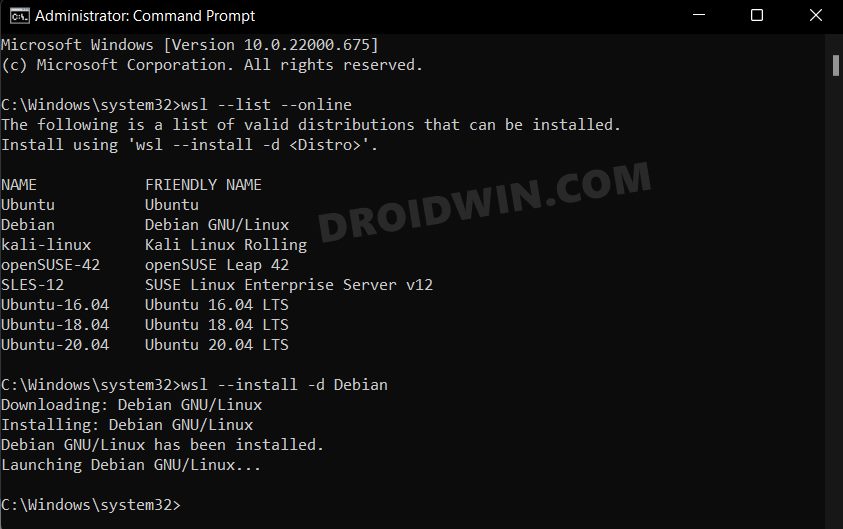
- Launch CMD as an admin and execute the below command
wsl --install -d Debian
- This will install Debian on your Windows 11 PC, which you could access from the Start menu.
- So launch it and then proceed with the on-screen instructions to set it up.
How to Update WSL in Windows 11
- Open CMD as an administrator and execute the below command
wsl --update
- Windows will now search for the available updates. If found, it will download and install them.
- You will then have to restart your PC for the changes to be implemented.

Install Linux in Windows 11 via Microsoft Store
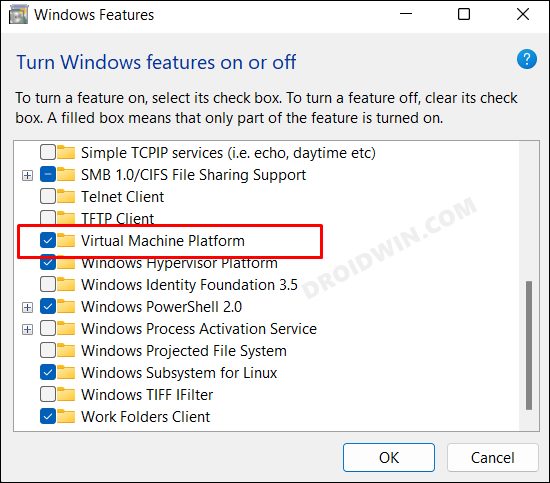
- Open ‘Turn Windows Features on or off’ from the Start Menu.
- Then enable Virtual Machine Platform and hit OK.
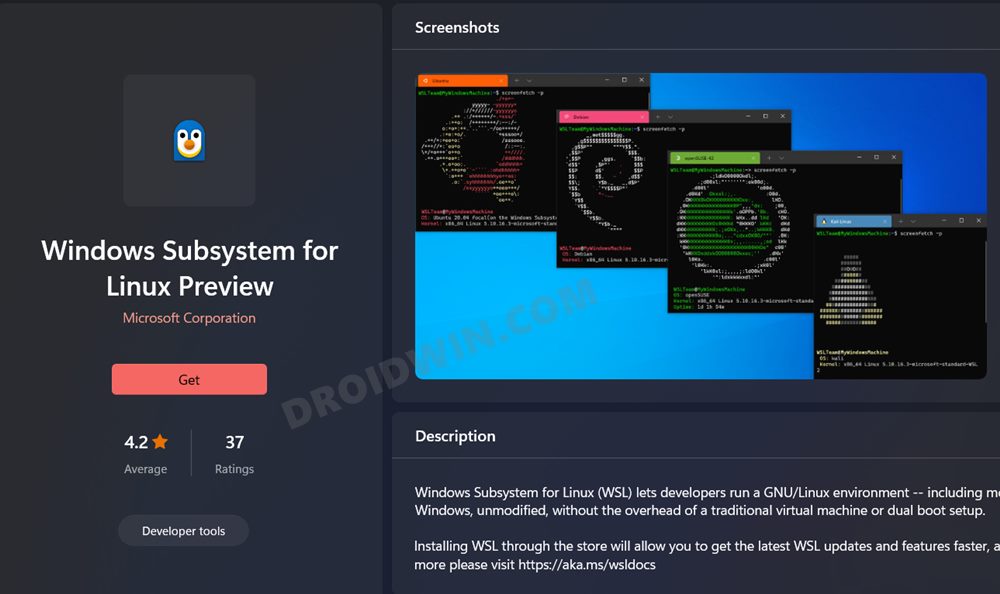
- After that, go to the Windows Subsystem for Linux page.
- Now click on Get > Open > Get and wait for the installation to complete.
- That’s it. You may now step into the GNU/Linux environment!
- As far as the update is concerned, you could directly do so from the Store page.
Fix WSL Error: 0x80070050 File Already Exists
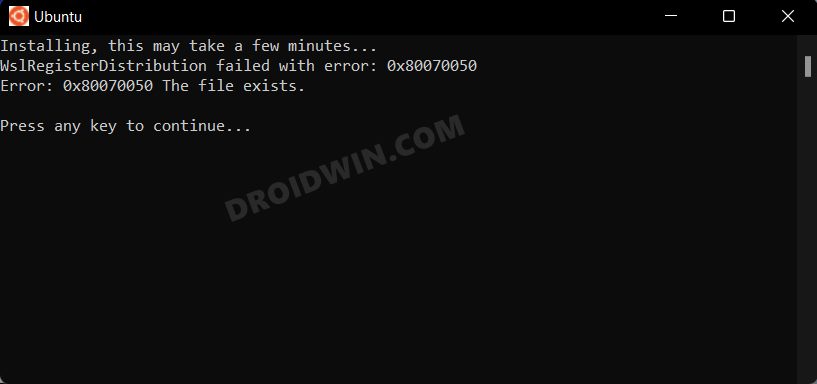
If you are getting the “Error: 0x80070050 File Already Exists” while trying to access Windows Subsystem for Linux or any of its distros, then it signifies that one of the system files related to that particular distro is missing. So you will have to uninstall that distro and then re-install it fresh instance from scratch. Here’s how:
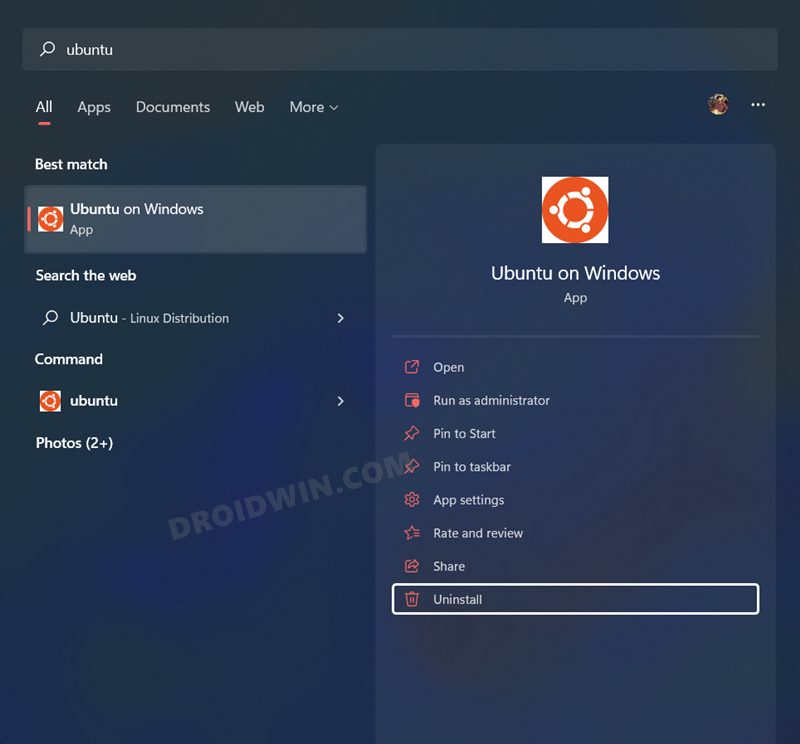
- Head over to the Start Menu, search the affected distro, and hit Uninstall.
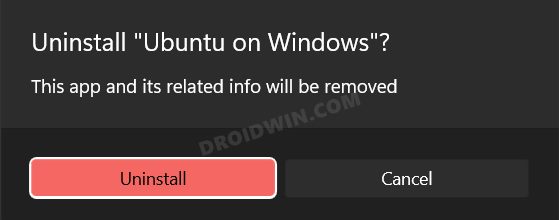
- Then click Uninstall in the confirmation dialog box that appears.
- Once done, re-install that distro using the instructions given above. That’s it.

So these were the steps to install Linux [and its distros] and run Linux commands on your Windows 11 PC. If you have any queries concerning the aforementioned steps, do let us know in the comments. We will get back to you with a solution at the earliest.


