In this guide, we will show you the steps to install Homebrew and its packages in Mac: macOS Ventura. Homebrew is open-source software that allows you to install modules and applications directly using the Mac’s Terminal window. And in this guide, we will show you how to do just that.
Moreover, we will also show you the steps to download and install a package using Homebrew and update that package. Likewise, the steps to update HomeBrew will also be discussed. After that, we will show you how to uninstall any package from Homebrew. Finally, we will show you how the steps to uninstall Homebrew from your Mac. So without further ado, let’s get started.
Table of Contents
How to Install Homebrew in Mac
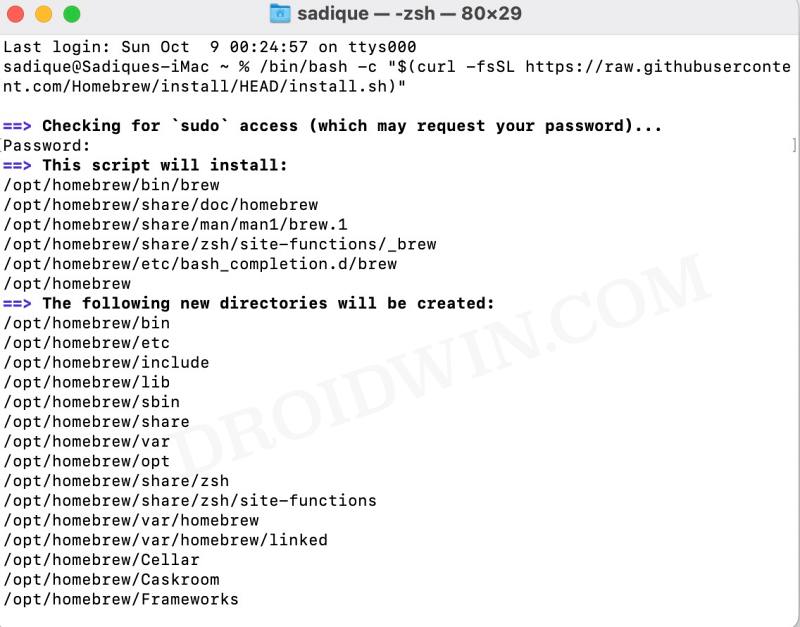
/bin/bash -c "$(curl -fsSL https://raw.githubusercontent.com/Homebrew/install/HEAD/install.sh)"
Command Source: https://github.com/Homebrew/brew
How to Install Command Line Tools (CLT) for Xcode
This is not needed by Homebrew but is required by various packages that you would install subsequently. If you have used the above command to install Homebrew, then you would have already downloaded this tool, granted you replied Yes in the confirmation that appeared.
xcode-select --installPackage Source: https://developer.apple.com/download/all/?q=Command%20Line%20Tools%20for%20Xcode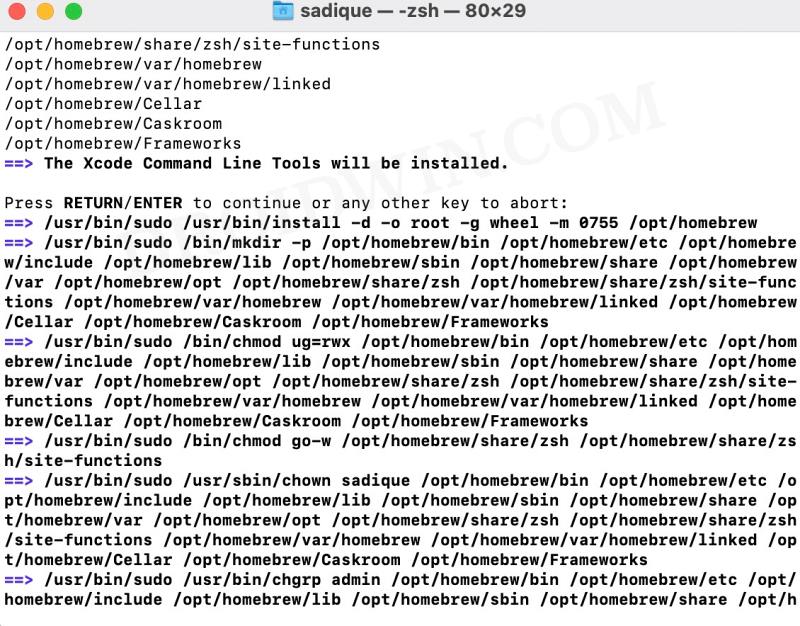
How to Add Homebrew to Path
Once you have installed Command Line Tools (CLT) for Xcode, the rest of the installation of Homebrew will also get completed and you will be notified of the same. Once that is done, you will then have to add the installation directory of HomeBrew to the path.
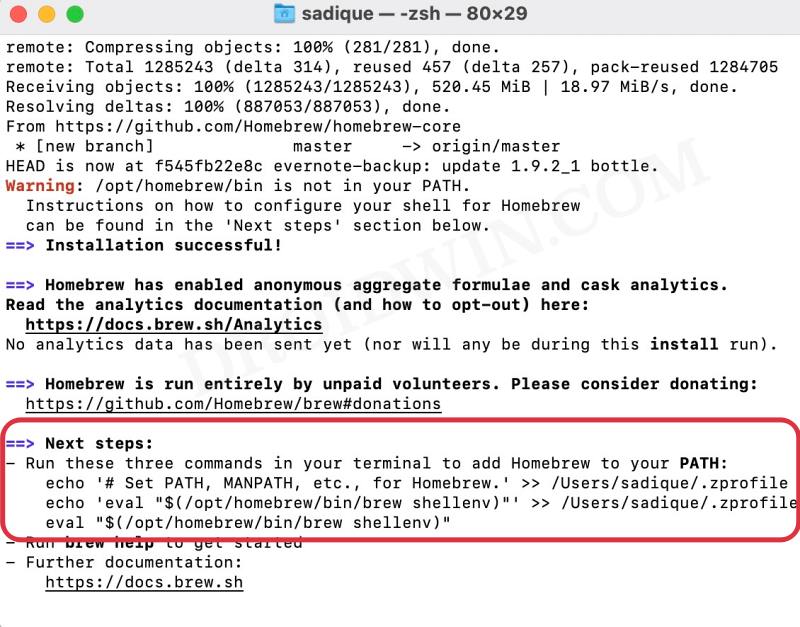
In this regard, the terminal will do most of the job for us as it will list out the necessary commands that you need to execute to add Homebrew to your path. So copy-paste each of the provided commands and wait for the process to complete. To verify that Homebrew has been successfully installed on your Mac, execute the below command
brew help
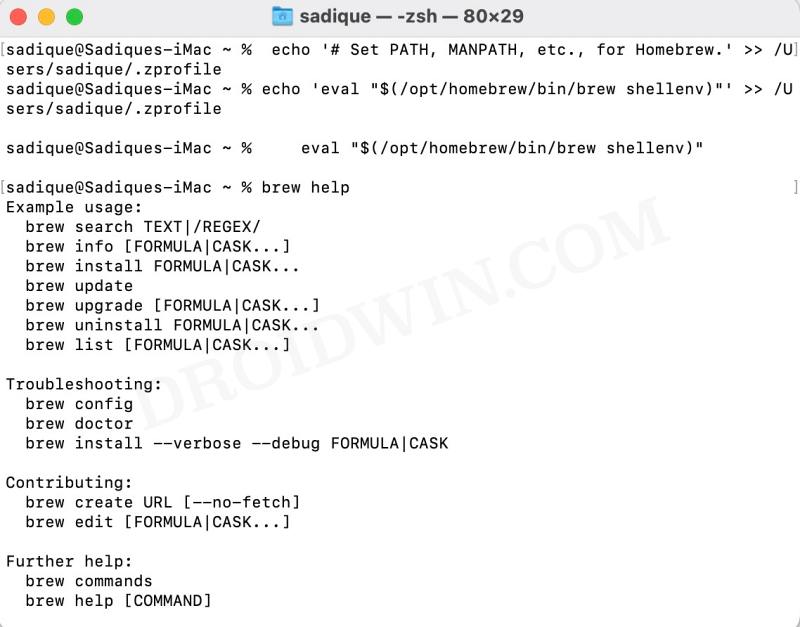
It should list out the Example usage and Troubleshooting tips, signifying that the installation has been successfully completed.
Install Homebrew Packages
You could view the list of all the available modules either from the Homebrew website or by executing a command in the Terminal window, as explained below:
STEP 1: View Packages List
Website:
https://brew.sh/Terminal:
brew formulae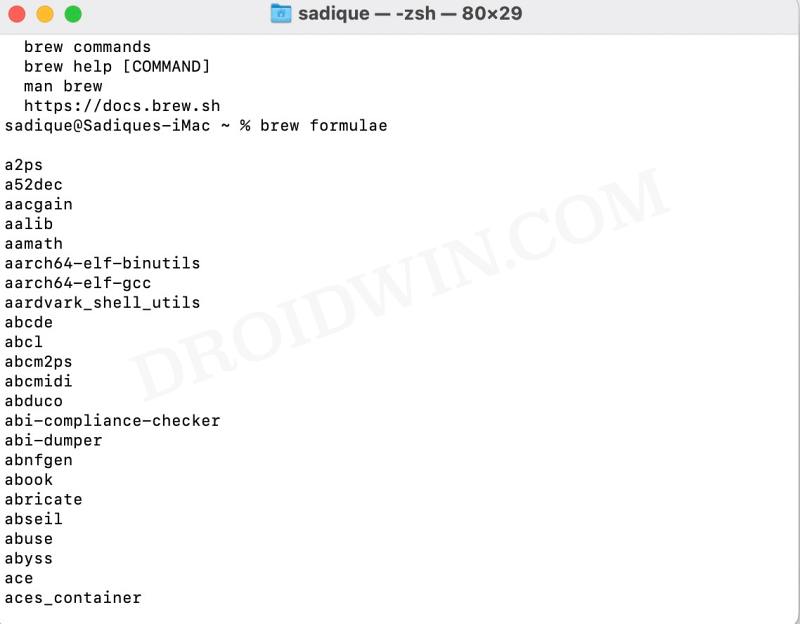
STEP 2: Install Packages
Once you have decided on the package that you wish to install, use the below command to install it [replace packagename accordingly]. As an example, we are installing the scrcpy package [see screenshot].
brew install packagename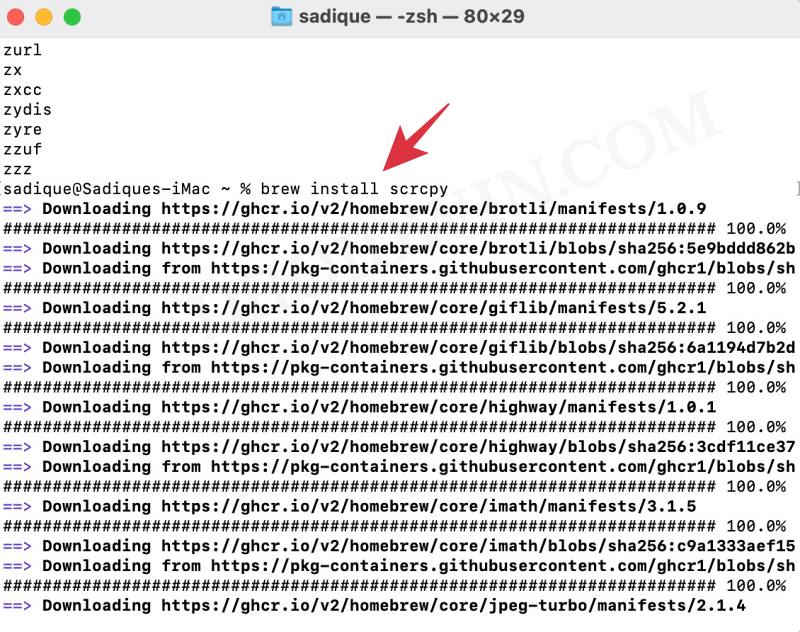
How to Update Homebrew Packages
use the below command to find out which packages need updating:
brew outdatedOr use the below command to update a specific package:
brew upgrade packagename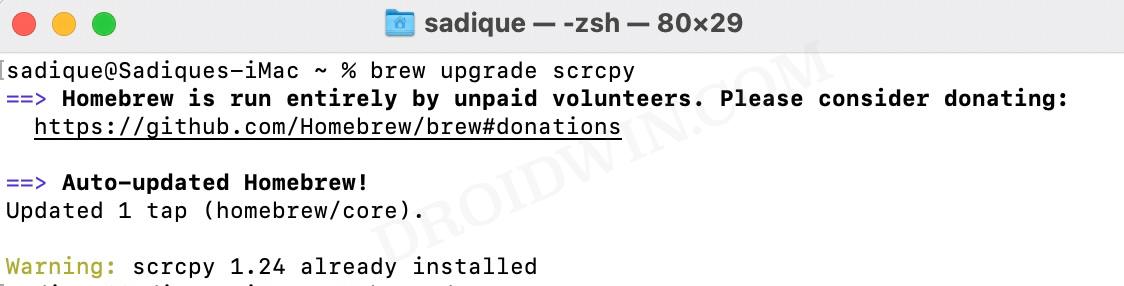
How to Update Homebrew on Mac
brew upgradeHow to Uninstall Homebrew packages
brew uninstall packagename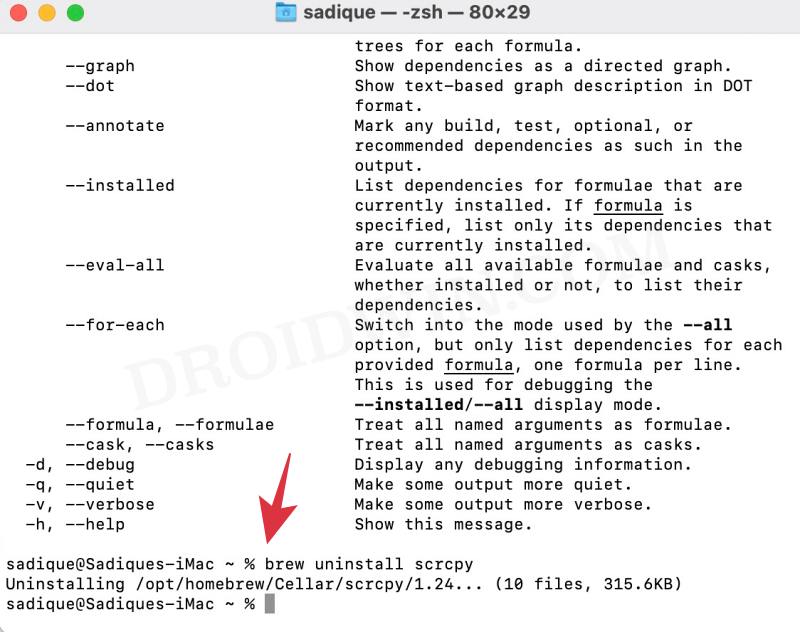
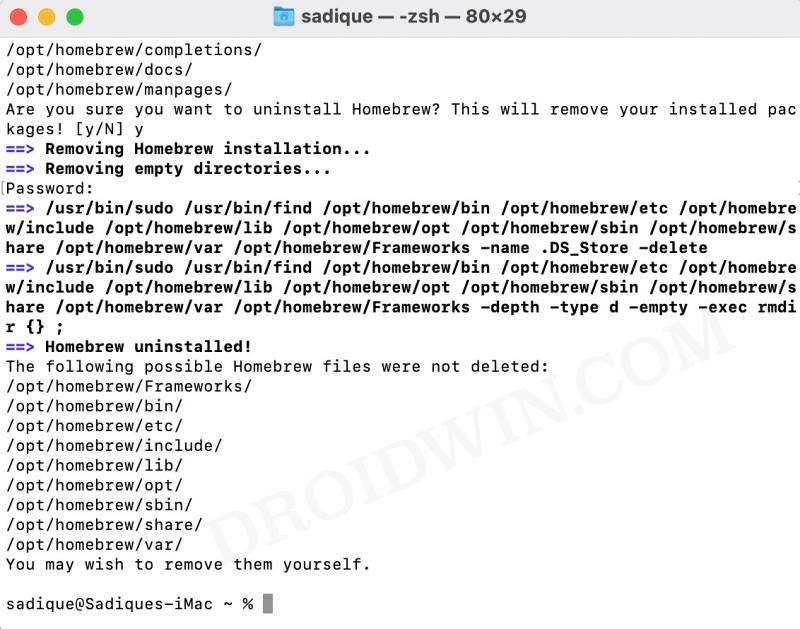
How to Uninstall HomeBrew on Mac
Use the below command to uninstall Homebrew on macOS Mojave and later versions [Catalina, Big Sur, Monterey]
/bin/bash -c "$(curl -fsSL https://raw.githubusercontent.com/Homebrew/install/HEAD/uninstall.sh)"
On the other hand, to uninstall Homebrew on macOS High Sierra and older [Sierra, El Capitan……], use the below command:
ruby -e "$(curl -fsSL https://raw.githubusercontent.com/Homebrew/install/master/uninstall)"
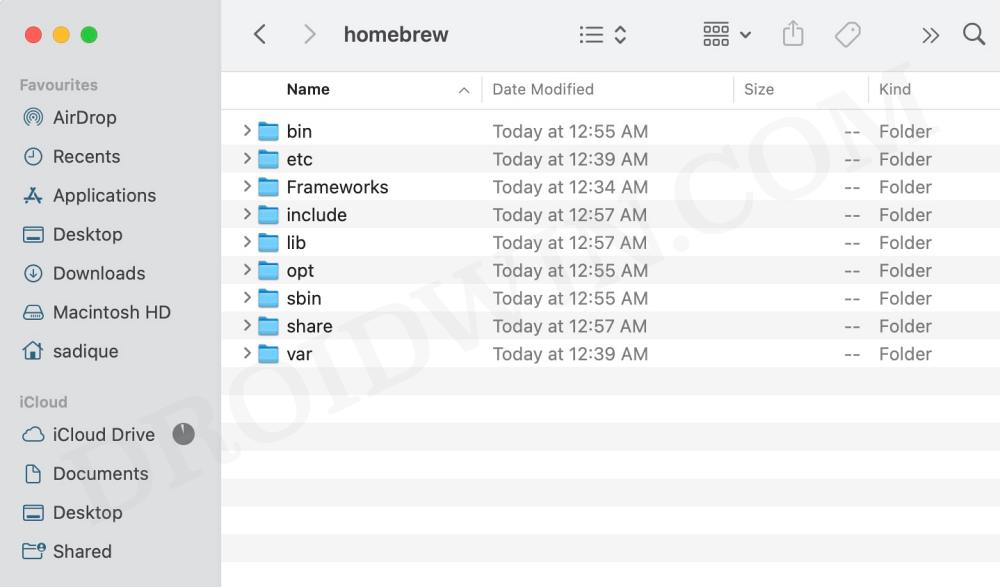
Note: As is evident from the above Command Prompt output, it was not able to remove all the files. So you will have to manually delete the remaining ones from the Finder.
That’s it. These were the steps to install Homebrew in Mac: macOS Ventura. If you have any queries concerning the aforementioned steps, do let us know in the comments. We will get back to you with a solution at the earliest.


