In this guide, we will show you two different methods to install a custom rom/GSI onto your OnePlus Nord N200 5G. This budget offering from the Chinese OEM manages to checkmark most of the prerequisites that we could have asked for from a device belonging to this price segment. Well, call it a blessing in disguise but you would still be getting the original OxygenOS 11 in its pure form as opposed to a unified code base with ColorOS in the form of OxygenOS 12.
On a serious note, it is never a good idea to remain on an older os build. While the security concerns are always there, it is also due to the fact that you would be missing tons of goodies. But for many users, the OxygenOS 12 isn’t in sync with their requirements, and that is completely understandable. This is the reason why we are witnessing many OnePlus device owners making a jump from the stock ecosystem over to the customized firmware section.
But when it comes to Nord N200, things stand a little bit surprising as there aren’t many custom ROMs available at this point in time. However, that shouldn’t be a cause of much concern as you could easily welcome a plethora of Generic System Images onto your device. These images would be offering near-about all the goodies that a custom ROM has in store for you. So on that note, let’s check out the steps to install a custom rom/GSI onto your OnePlus Nord N200 5G.
Table of Contents
How to Install Custom ROMs [GSI] on OnePlus Nord N200 5G

We will be listing two different methods through which you could carry out the said task- using a tool and via fastboot commands. You may try out the one that is in sync with your requirement. Moreover, take a complete device backup beforehand. Droidwin and its members wouldn’t be held responsible in case of a thermonuclear war, your alarm doesn’t wake you up, or if anything happens to your device and data by performing the below steps.
STEP 1: Install Android SDK

First and foremost, you will have to install the Android SDK Platform Tools on your PC. This is the official ADB and Fastboot binary provided by Google and is the only recommended one. So download it and then extract it to any convenient location on your PC. Doing so will give you the platform-tools folder, which will be used throughout this guide.
STEP 2: Enable USB Debugging and OEM Unlocking
Next up, you will have to enable USB Debugging and OEM Unlocking on your device. The former will make your device recognizable by the PC in ADB mode. This will then allow you to boot your device to Fastboot Mode. On the other hand, OEM Unlocking is required to carry out the bootloader unlocking process.
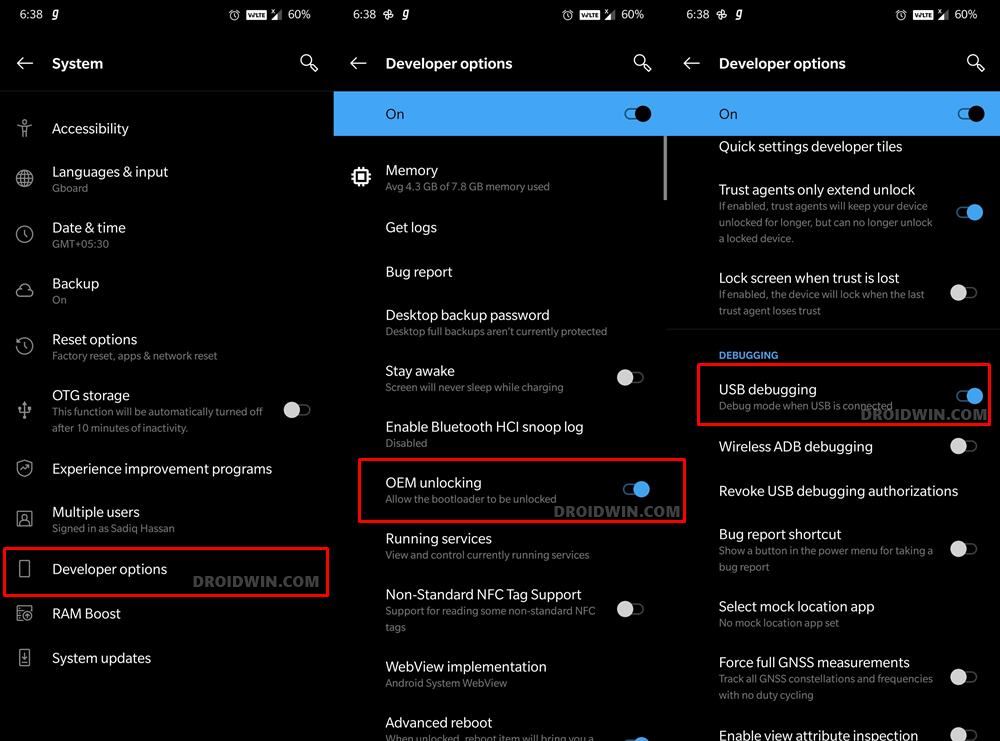
So head over to Settings > About Phone > Tap on Build Number 7 times > Go back to Settings > System > Advanced > Developer Options > Enable USB Debugging and OEM Unlocking.
STEP 3: Unlock Bootloader on OnePlus Nord N200 5G
Next up, you will also have to unlock the device’s bootloader. Do keep in mind that doing so will wipe off all the data from your device and could nullify its warranty as well. So if that’s all well and good, then please refer to our detailed guide on How to Unlock Bootloader on OnePlus Nord N200 5G

STEP 4: Download GSI ROM
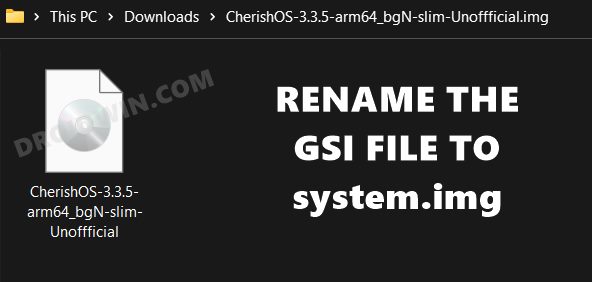
Now download the preferred GSI ROM of your choice from the below links. As for this guide, we are going ahead with the CherishOS, based on Android 12. Moreover, once you have downloaded the GSI ROM, extract it to any convenient location on your PC and rename it to system.img.
- CherishOS A12
- OctaviOS A12
- SuperiorOS A12
- ArrowOS A12
- Lineage 19 A12
- LeOS A12
STEP 5: Download GSI Fastboot Tool
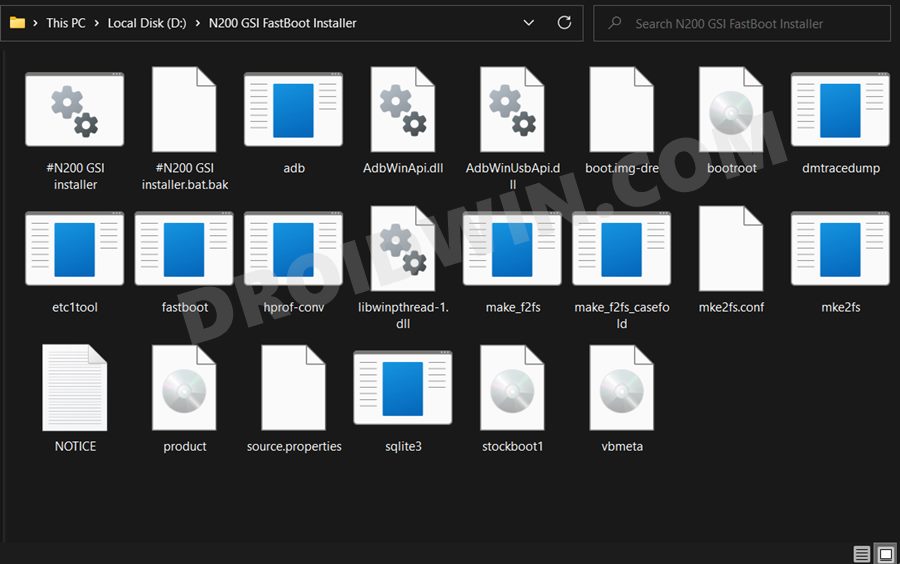
Next up, get hold of the GSI Fastboot Tool from the below link. This tool is needed for both methods [though in the case of the Fastboot method, we wouldn’t be launching the tool]. Once you have downloaded the tool, extract it to any convenient location on your PC.
N200_GSI_FastBoot_Installer.zip
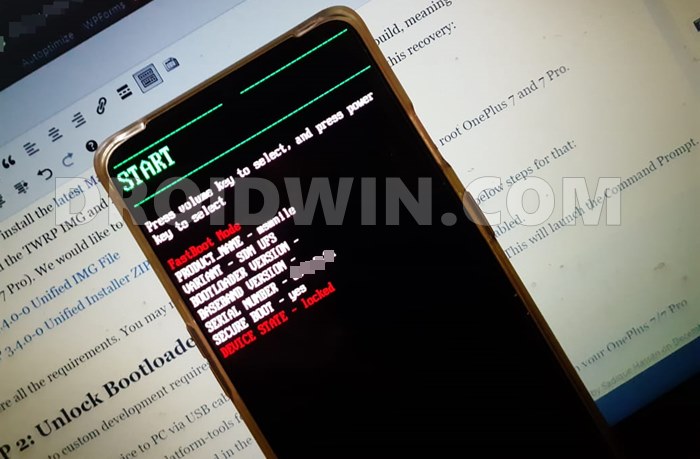
STEP 6: Boot OnePlus Nord N200 5G to Fastboot Mode
- Connect your device to the PC via USB cable. Make sure USB Debugging is enabled.
- Then head over to the platform-tools folder, type in CMD in the address bar, and hit Enter. This will launch the Command Prompt.
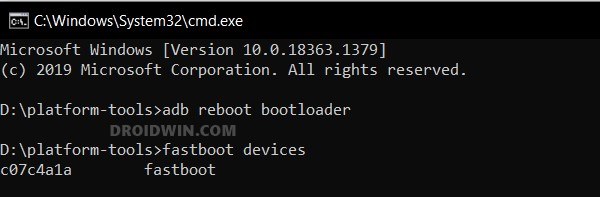
- Type in the following command in the CMD window to boot your device to Fastboot Mode
adb reboot bootloader

- Now type in the below command to verify the Fastboot Connection
fastboot devices
- If you get a device ID followed by the fastboot keyword, then the connection stands successful and you may now proceed ahead to unlock the bootloader on your OnePlus Nord N200 5G
STEP 7A: Install GSI ROM on OnePlus Nord N200 5G via Tool
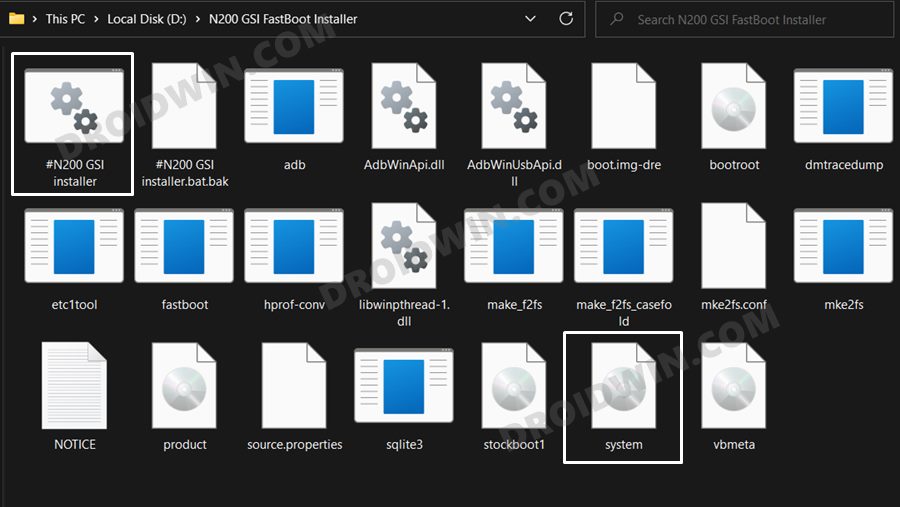
- Transfer the system.img file [GSI ROM] to the folder where you have extracted the GSI Fastboot Tool.
- Then double click to open the #N200 GSI installer batch file. The flashing process will now start.
- Once done, your device will boot to the newly installed Android 12 OS.
STEP 7B: Install GSI ROM on OnePlus Nord N200 5G via Fastboot Commands
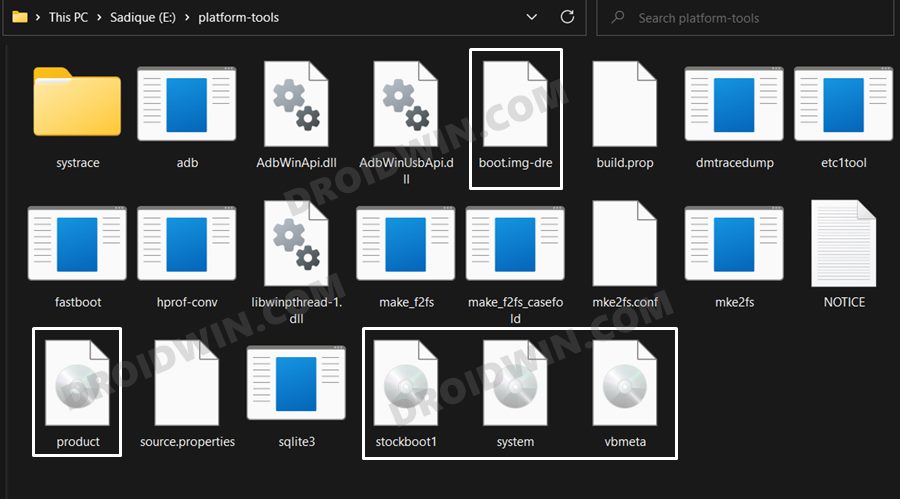
- Transfer the system.img file [GSI ROM] to the platform-tools folder.
- Likewise, transfer the boot.img-dre, stockboot1.img and vbmeta.img from the GSI Fastboot Tool to the platform-tools folder.
- Then head over to the platform-tools folder address bar, type in CMD in the address bar, and hit Enter.
- This will launch the Command Prompt. Type in the following command to flash the boot.img-dre file
fastboot flash boot boot.img-dre
- After that, execute the below command to boot your device to FastbootD Mode
fastboot reboot fastboot
- Now type in the below command to flash the product.img
fastboot flash product product.img
- Next up, disable the verity checks by flashing the vbmeta.img
fastboot --disable-verity --disable-verification flash vbmeta vbmeta.img
- After that, flash your GSI ROM [system.img] via the following command
fastboot flash system system.img
- Then execute the below command to flash the boot.img
fastboot flash boot stockboot1.img
- Finally, it is recommended to wipe the data via the following command
fastboot -w
- That’s it. You may now reboot the device to the newly installed OS using the below command
fastboot reboot

So these were the two different methods to install a custom rom/GSI onto your OnePlus Nord N200 5G. If you have any queries concerning the aforementioned steps, do let us know in the comments. We will get back to you with a solution at the earliest.


