In this guide, we will show you the steps to convert your OnePlus Nord N200 5G from T-Mobile to OEM via Fastboot Commands. Inspite of all the fiasco that this OEM is currently surrounded with, its Nord lineup has always managed to carve out a rich fanbase for itself. And same is the case with N200 as well. Being able to checkmark most of the prerequisites but without burning a hole in your pockets, well there’s not much left to ask. Likewise, it is quite an active player in custom development.
Be it for flashing custom ROMs/GSIs or gaining administrative privileges by rooting it via Magisk patched boot.img, the possibilities stand endless. But for a specific set of users who have unlocked their device bootloader, their top-most priority is to bid adieu to T-Mobile. After doing the conversion, some users did report a more fluid usage experience and were able to easily root it as well. So on that note, this guide will make you aware of the steps to convert your OnePlus Nord N200 5G from T-Mobile to OEM via Fastboot Commands. Follow along.
Table of Contents
How to Convert OnePlus Nord N200 5G from T-Mobile to OEM

The below instructions are listed under separate sections for ease of understanding. Make sure to follow in the exact same sequence as mentioned. Droidwin and its members wouldn’t be held responsible in case of a thermonuclear war, your alarm doesn’t wake you up, or if anything happens to your device and data by performing the below steps.
STEP 1: Install Android SDK

First and foremost, you will have to install the Android SDK Platform Tools on your PC. This is the official ADB and Fastboot binary provided by Google and is the only recommended one. So download it and then extract it to any convenient location on your PC. Doing so will give you the platform-tools folder, which will be used throughout this guide.
STEP 2: Extract OnePlus Nord N200 Payload.bin
- To begin with, download the stock firmware for your device.
- Then extract it to any convenient location on your PC.
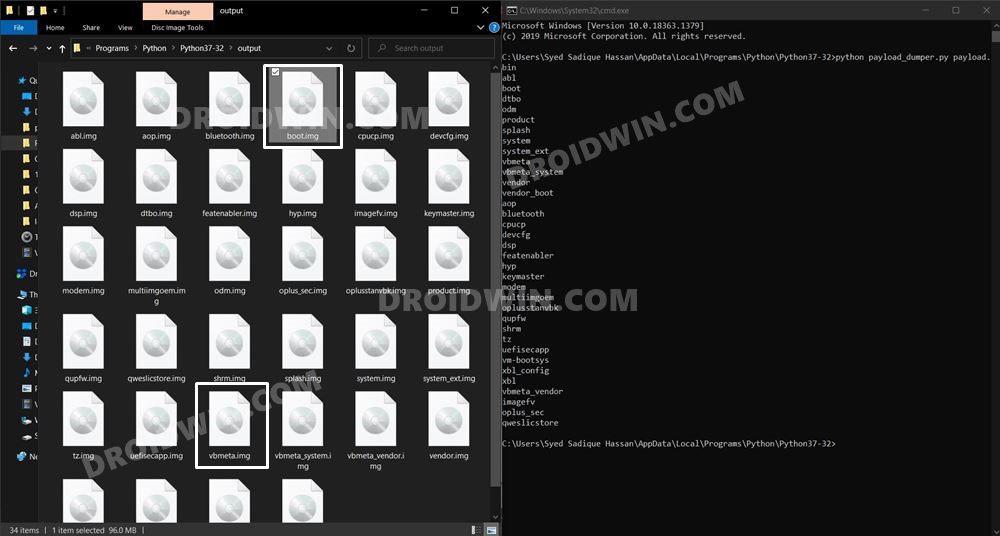
- Doing so shall give you a couple of files, including the payload.bin.

- You will now have to extract this payload file to get the required partition files.
- So refer to our guide on How to Extract OnePlus payload.bin.

- Once the extraction is complete, transfer all the files to the platform-tools folder.
STEP 3: Enable USB Debugging and OEM Unlocking
Next up, you will have to enable USB Debugging and OEM Unlocking on your device. The former will make your device recognizable by the PC in ADB mode. This will then allow you to boot your device to Fastboot Mode. On the other hand, OEM Unlocking is required to carry out the bootloader unlocking process.
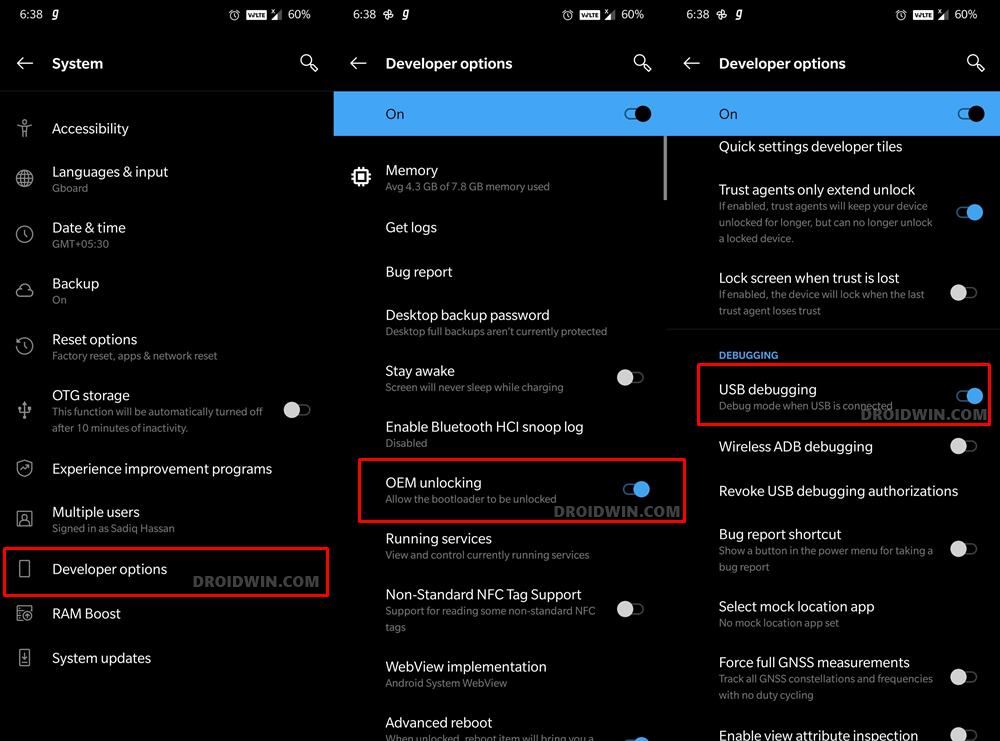
So head over to Settings > About Phone > Tap on Build Number 7 times > Go back to Settings > System > Advanced > Developer Options > Enable USB Debugging and OEM Unlocking.
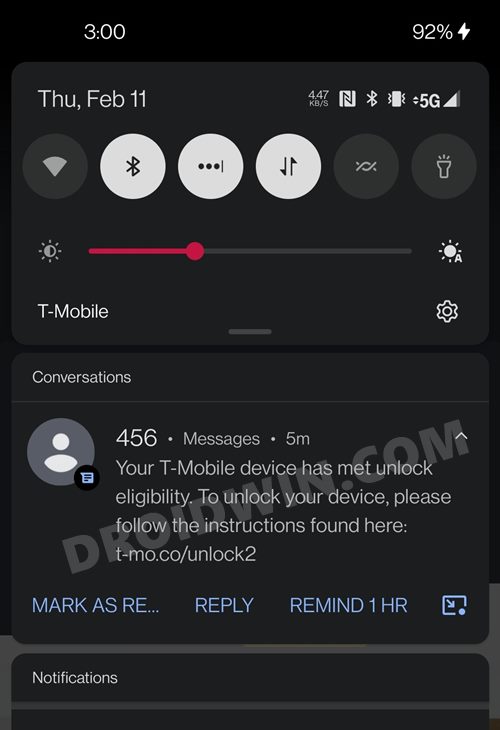
STEP 4: Unlock Bootloader on T-Mobile Nord N200 5G
Next up, you will also have to unlock the device’s bootloader. Do keep in mind that doing so will wipe off all the data from your device and could nullify its warranty as well. So if that’s all well and good, then please refer to our detailed guide on How to Unlock the Bootloader on any OnePlus T-Mobile Device.
STEP 5: Boot to Fastboot Mode
- Connect your device to the PC via USB cable. Make sure USB Debugging is enabled.
- Then head over to the platform-tools folder, type in CMD in the address bar, and hit Enter. This will launch the Command Prompt.
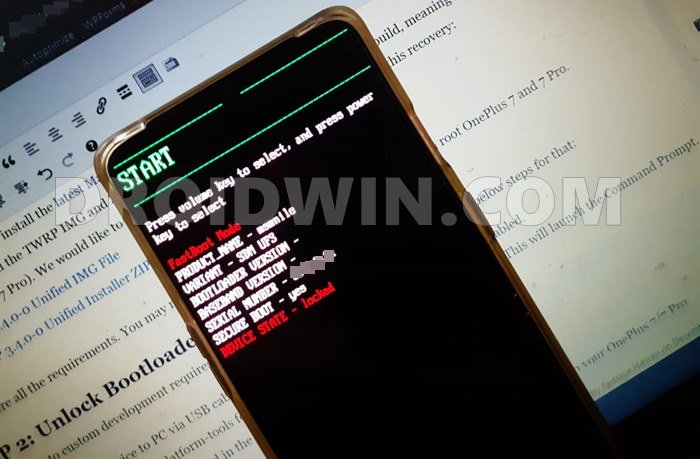
- After that, type in the following command in the CMD window to boot your device to Fastboot Mode
adb reboot bootloader

- To verify the Fastboot connection, type in the below command and you should get back the device ID.
fastboot devices

STEP 6: Convert OnePlus Nord N200 5G from T-Mobile to OEM
To convert your OnePlus Nord N200 5G from T-Mobile to OEM, you will now have to execute the below fastboot commands. Make sure to input these commands one at a time and inside the Command Prompt window that is opened in the platform-tools folder [also verify that you have placed all the firmware files inside this folder]. Furthermore, during the process, your device will boot to Fastboot and FastbootD Modes, which is completely normal. [Credits: XDA Member winnower-amber]
fastboot reboot fastboot

fastboot delete-logical-partition system_a-cow
fastboot delete-logical-partition odm_a
fastboot delete-logical-partition system_a
fastboot delete-logical-partition system_ext_a
fastboot delete-logical-partition product_a
fastboot delete-logical-partition vendor_a
fastboot create-logical-partition odm_a 0x37ED000
fastboot create-logical-partition system_a 0x6342E000
fastboot create-logical-partition system_ext_a 0x55225000
fastboot create-logical-partition product_a 0x6BD93000
fastboot create-logical-partition vendor_a 0x3ED70000

fastboot flash boot boot.img
fastboot flash dtbo dtbo.img

fastboot reboot fastboot

fastboot flash --slot=all boot boot.img
fastboot flash --slot=all dtbo dtbo.img
fastboot flash --slot=all abl abl.img
fastboot flash --slot=all bluetooth bluetooth.img
fastboot flash --slot=all devcfg devcfg.img
fastboot flash --slot=all dsp dsp.img
fastboot flash --slot=all featenabler featenabler.img
fastboot flash --slot=all hyp hyp.img
fastboot flash --slot=all imagefv imagefv.img
fastboot flash --slot=all keymaster keymaster.img
fastboot flash --slot=all logo logo.img
fastboot flash --slot=all modem modem.img
fastboot flash --slot=all qupfw qupfw.img
fastboot flash --slot=all tz tz.img
fastboot flash --slot=all uefisecapp uefisecapp.img
fastboot flash --slot=all xbl_config xbl_config.img
fastboot flash --slot=all xbl xbl.img
fastboot flash --slot=all core_nhlos core_nhlos.img
fastboot flash --slot=all oplusstanvbk oplusstanvbk.img
fastboot flash --slot=all rpm rpm.img
fastboot flash --slot=all vendor_boot vendor_boot.img

fastboot flash odm odm.img
fastboot flash system system.img
fastboot flash system_ext system_ext.img
fastboot flash product product.img
fastboot flash vendor vendor.img

fastboot flash --slot=all vbmeta vbmeta.img
fastboot flash --slot=all vbmeta_system vbmeta_system.img
STEP 7: Wipe Cache from Recovery
- Now execute the below command to boot your device to stock recovery from the Fastboot Mode:
fastboot reboot recovery

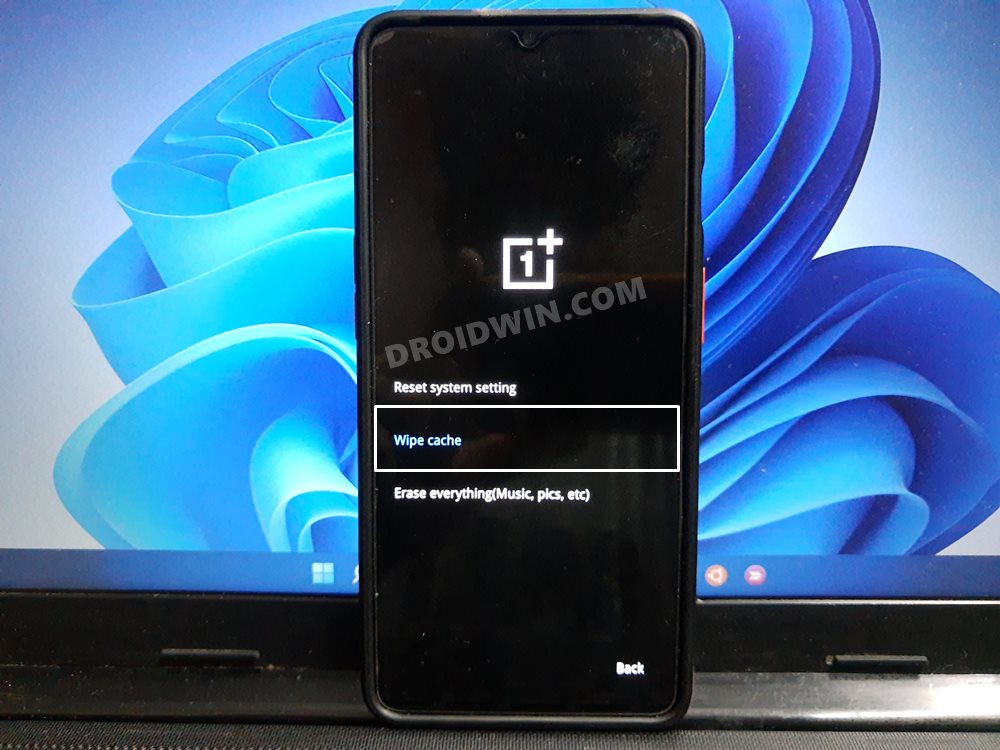
- Once booted to recovery, wipe the device’s cache and reset system settings.
- Once both these tasks are done, you may now reboot the device to the OS.
That’s it. These were the steps to convert your OnePlus Nord N200 5G from T-Mobile to OEM via Fastboot Commands. If you have any queries concerning the aforementioned steps, do let us know in the comments. We will get back to you with a solution at the earliest.

