Ever since Open AI’s ChatGPT was made public, numerous tools and services came forward to adopt its API and create their own offerings. However, it goes without saying that the Auto-GPT is the best one out there that uses OpenAI’s GPT-4 and ChatGPT application programming interface (API) models to perform numerous autonomous tasks. So with that said, let’s make you aware of the steps to install and use AutoGPT on your PC right away.
Table of Contents
How to Install and Use AutoGPT
Auto-GPT works best with ChatGPT 4 API. However, if you don’t have it and don’t wish to join the waitlist either, then you could also use the free GPT-3.5 API [as it worked quite well with this free API too]. So on that note, let’s get started.
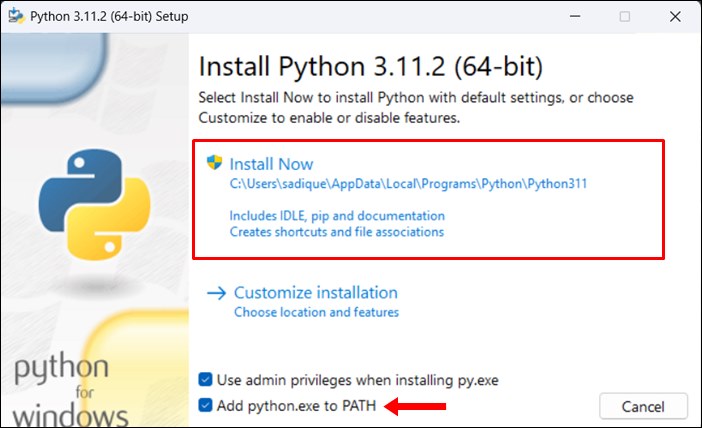
STEP 1: Install Python
- To begin with, download and install Python from here. Make sure to checkmark Add Python to Path before installing.

- Now go to the folder where you have installed Python. The default location is [change username accordingly]:
C:\Users\username\AppData\Local\Programs\Python\Python311
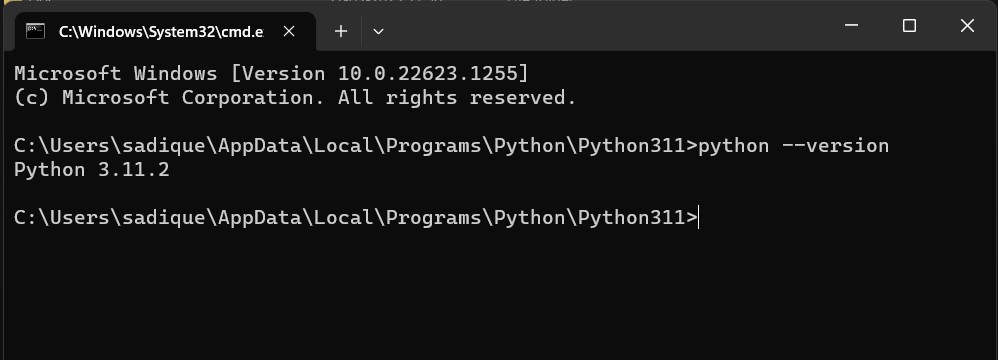
- Go to that folder’s address bar, type in CMD, and hit Enter. This will launch Command Prompt.
- Now type in the below command and make sure you are getting the same version that you had earlier installed:
python --version
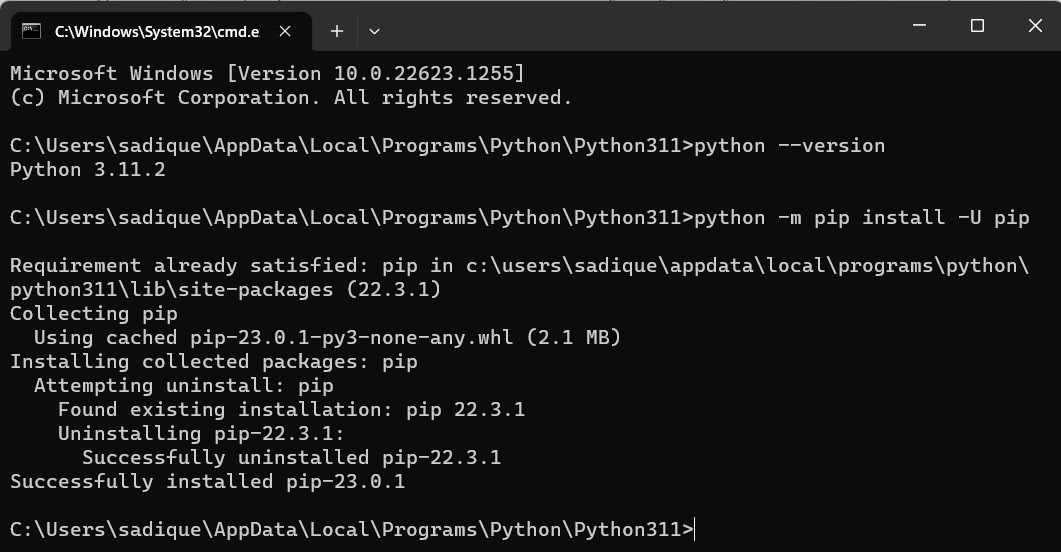
- You will now have to upgrade PIP, so type in the below command:
python -m pip install -U pip
STEP 2: Set UP AutoGPT
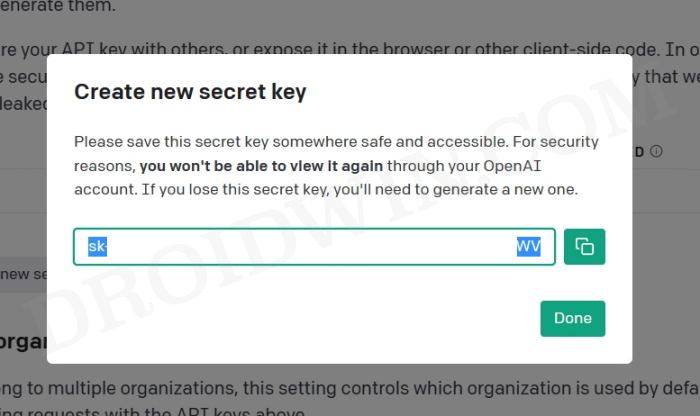
- First off, go to OpenAI’s website and click on “Create a new secret key“.
- Copy this key to a safe place as you wouldn’t be able to view it again.
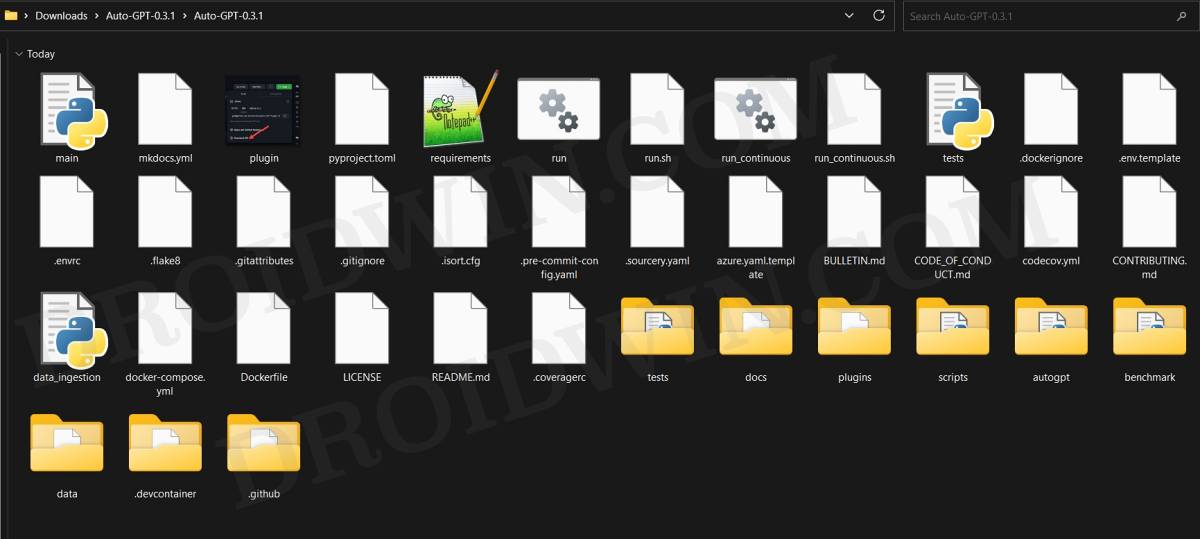
- Then download and extract the Source Code of AutoGPT on your PC.
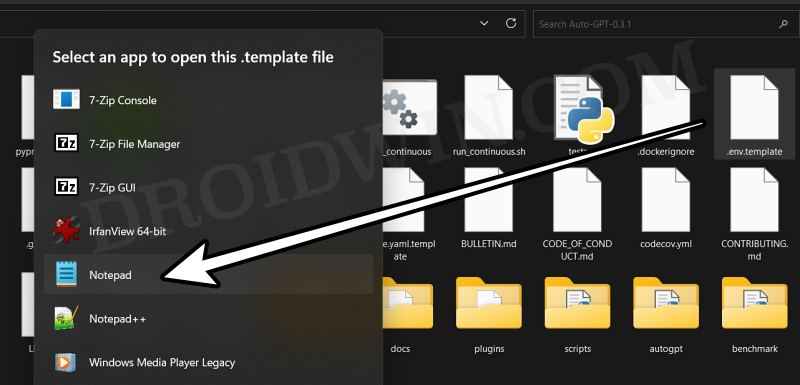
- After that, go to the extracted folder and you’ll see .env.template file.
- Then right-click on it and select Open With > Notepad.
- Now go to the OPENAI_API_KEY section and paste your key next to it.
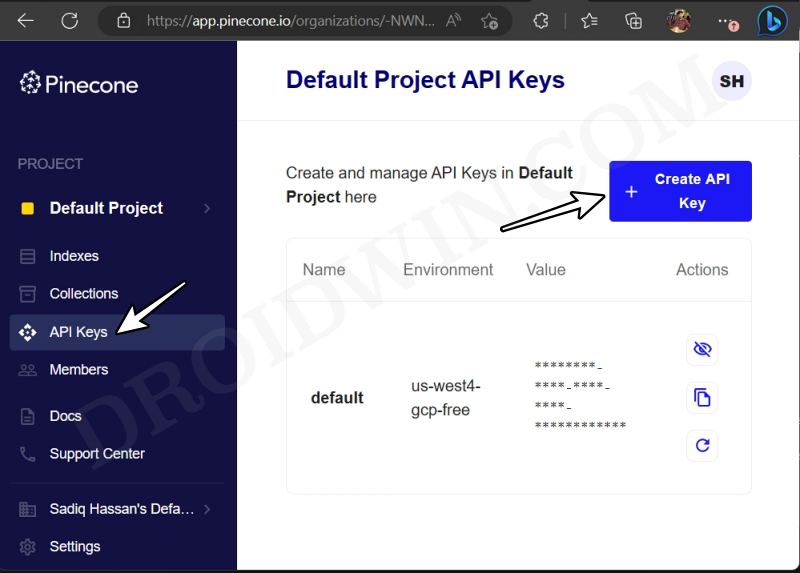
- Then go to the Pinecone website and sign up [it’s free].
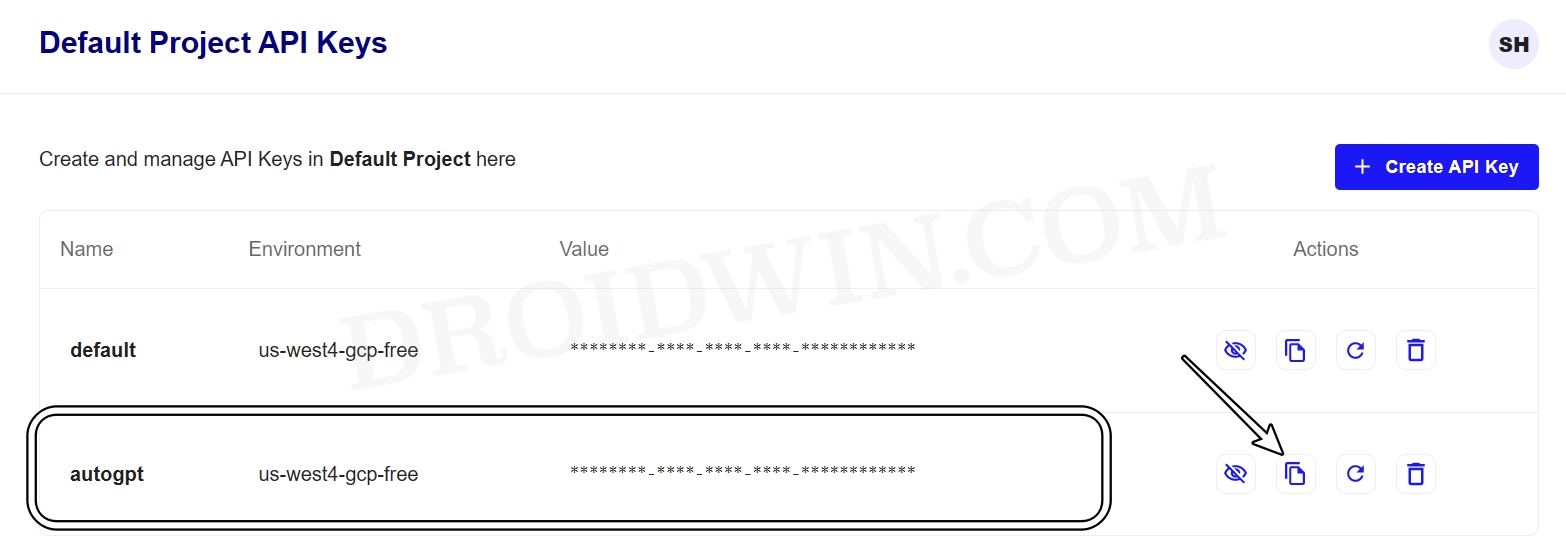
- Now click on click “API Keys” on the left and then click on “Create API Key” on the right.
- Name it autogpt and hit Create Key. Now copy this key.
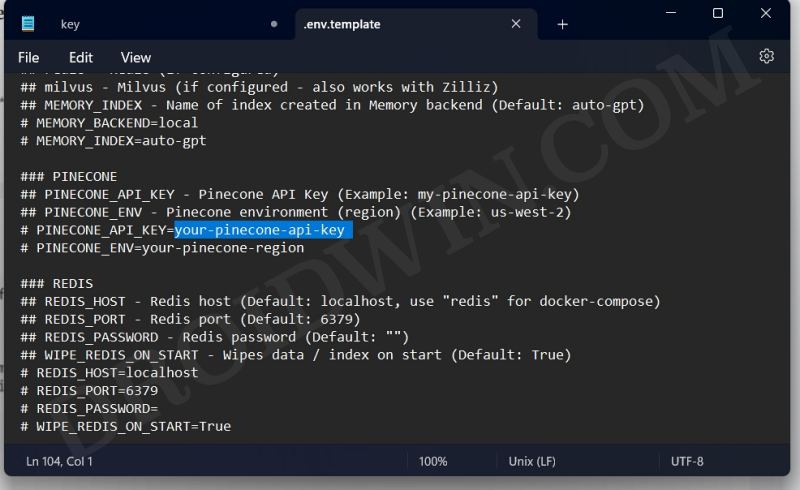
- Then go back to the .env.template file and paste this key next to PINECONE_API_KEY.
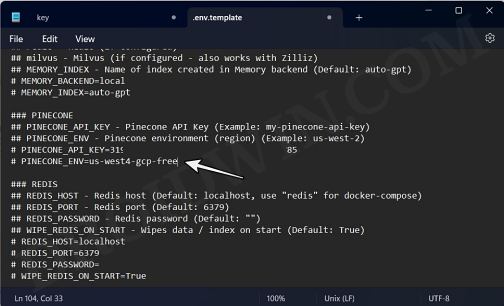
- Next up, copy the Environment value from Pinecone.
- Likewise, paste it next to PINECONE_ENV in the .env.template file. Once done, hit Ctrl+S to save the changes.
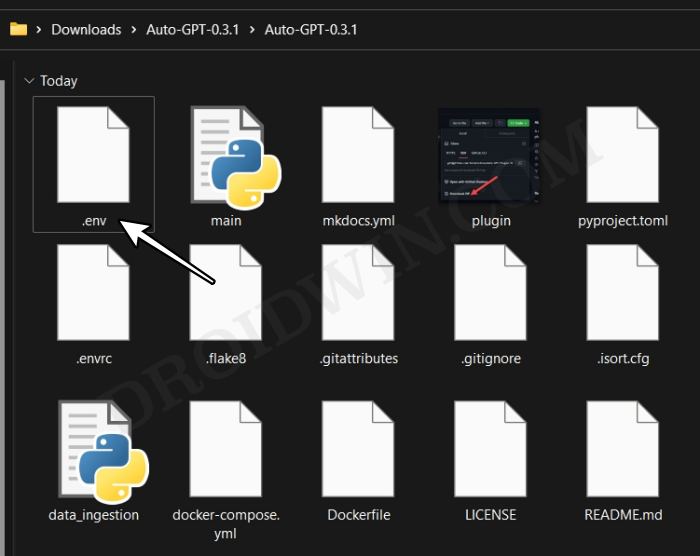
- Finally, rename the .env.template file to .env.

STEP 3: Install AutoGPT
- Right-click on the AutoGPT folder and select Copy as > Path.
- Now open Command Prompt as an admin and type in the below command [replace path accordingly]
cd path
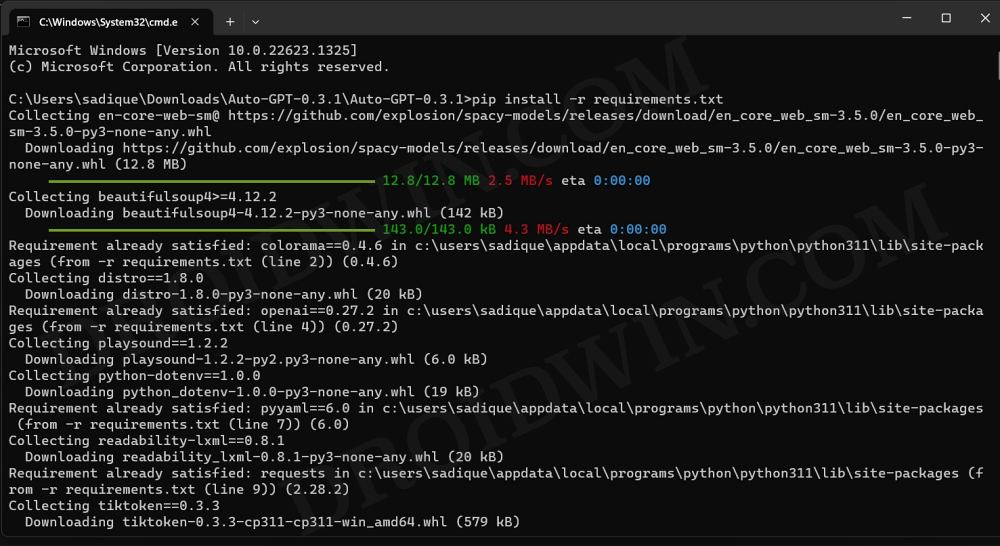
- Then type in the below command to install the libraries needed to run AutoGPT
pip install -r requirements.txt
- Finally, type in the below command to start Auto-GPT
start Auto-GPT
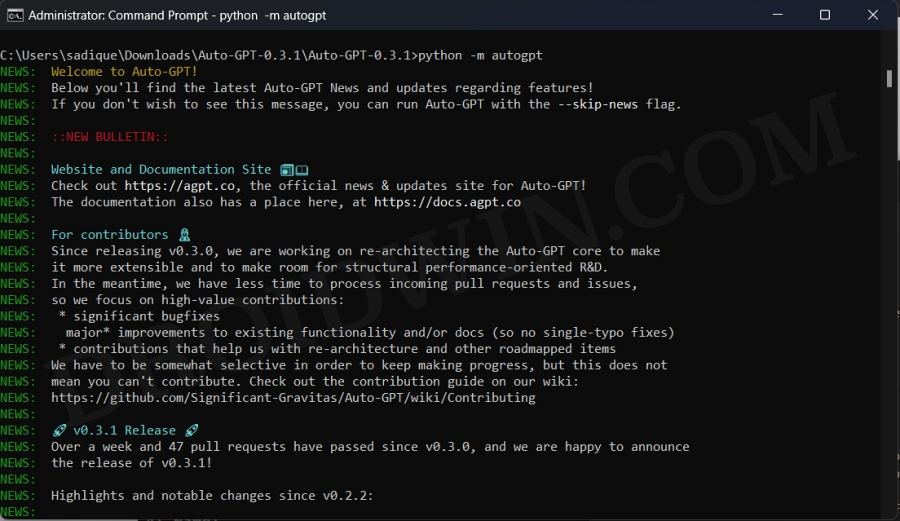
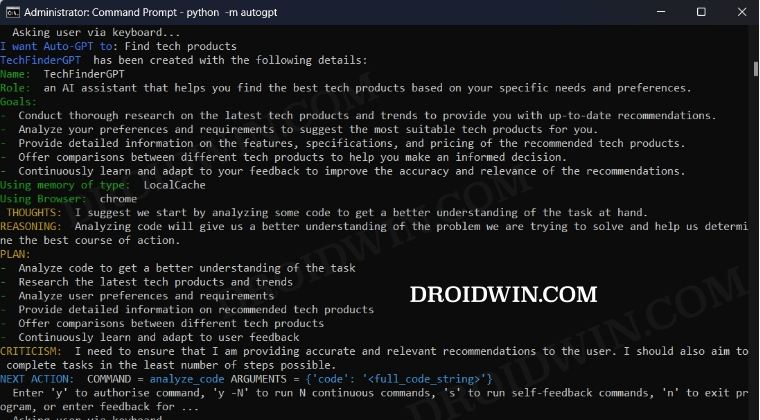
STEP 4: Run AutoGPT
- AutoGPT carries on its entire search in Chrome, so make sure to launch it beforehand.
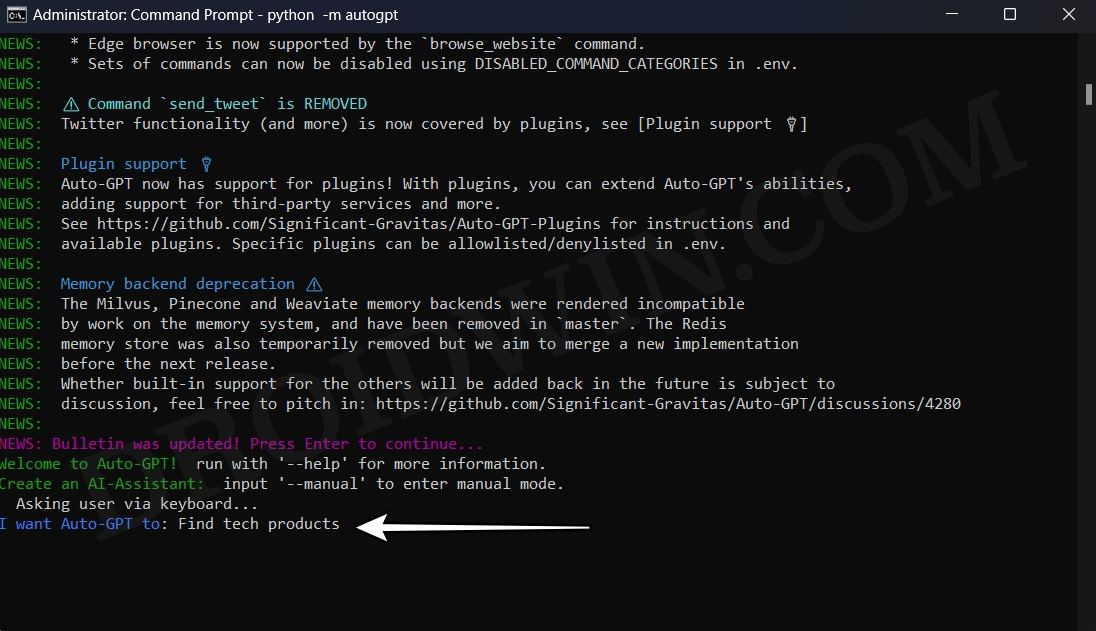
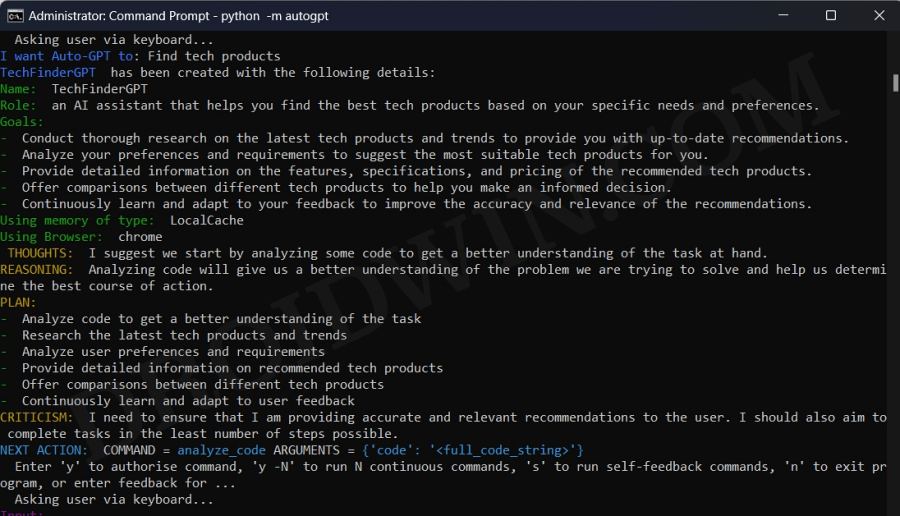
- It will now ask you to give it a name and assign a task. Then assign it a set of goals to achieve.
- During the course of action, it will ask you to authorize commands, type in y and hit Enter.
- If you don’t want to authorize after every prompt, then reply with y -n where n is the number of prompts for which it doesn’t need any authorization.
- That’s it. You may now proceed ahead and explore the unchartered domain of this artificial intelligence beast!

That’s it. These were the steps to install and use AutoGPT on your PC. If you have any queries concerning the aforementioned steps, do let us know in the comments. We will get back to you with a solution at the earliest.


