In this guide, we will show you the steps to create your own AI chatbot using ChatGPT. Ever since OpenAI released its artificial intelligence bot to the public, it has managed to grab the attention of the masses. While it was always along the expected lines that AI will grab the limelight one day or the other, but the sudden release of this tool and that too with such scary precision has left everyone stumped.
Moroever, it has recently rolled out its fourth iteration which has taken the game to an altogether different level. And with Microsoft incorporating it into Bing search, and a plethora of other tools making use f ti API for WhatsApp, Apple Watch, Android/iOS, and even Linux, we are about to witness an astronomical growth of AI that has never been seen before. So why should we be left behind? Let’s jump into the AI bandwagon and create our very own AI chatbot using ChatGPT!
Table of Contents
How to Create your own AI Chatbot with ChatGPT [Video]
STEP 1: Install Python, OpenAI, Gradio
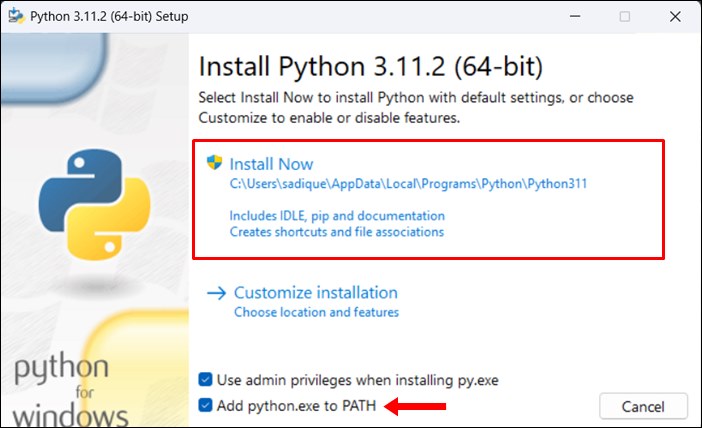
- To begin with, download and install Python from here. Make sure to checkmark Add Python to Path before installing.

- Now go to the folder where you have installed Python. The default location is [change username accordingly]:
C:\Users\username\AppData\Local\Programs\Python\Python311
- Go to that folder’s address bar, type in CMD, and hit Enter. This will launch Command Prompt.
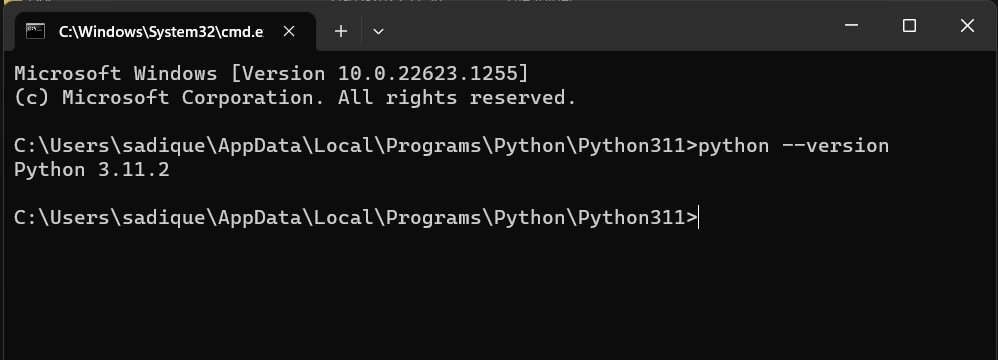
- Now type in the below command and make sure you are getting the same version that you had earlier installed:
python --version
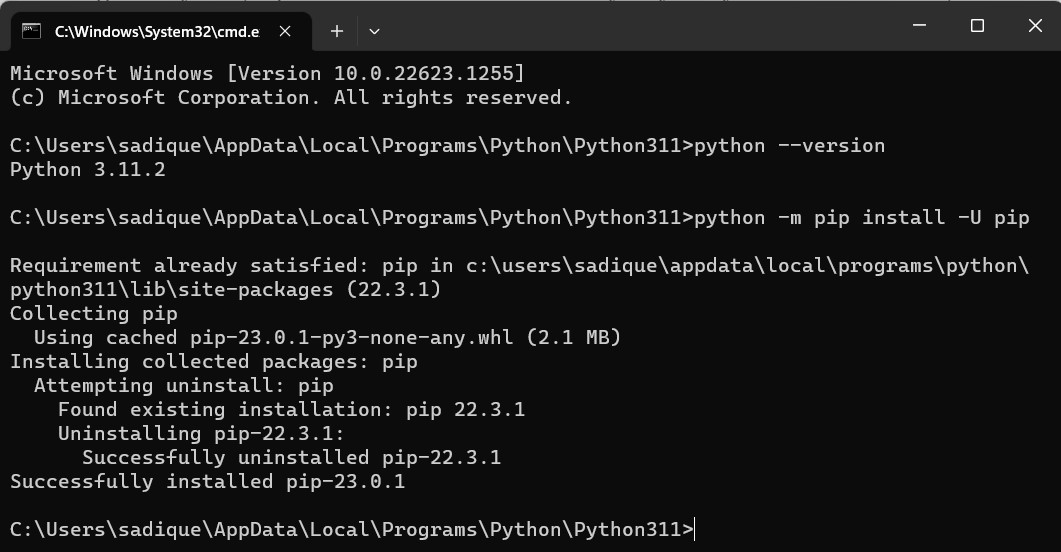
- You will now have to upgrade PIP, so type in the below command:
python -m pip install -U pip
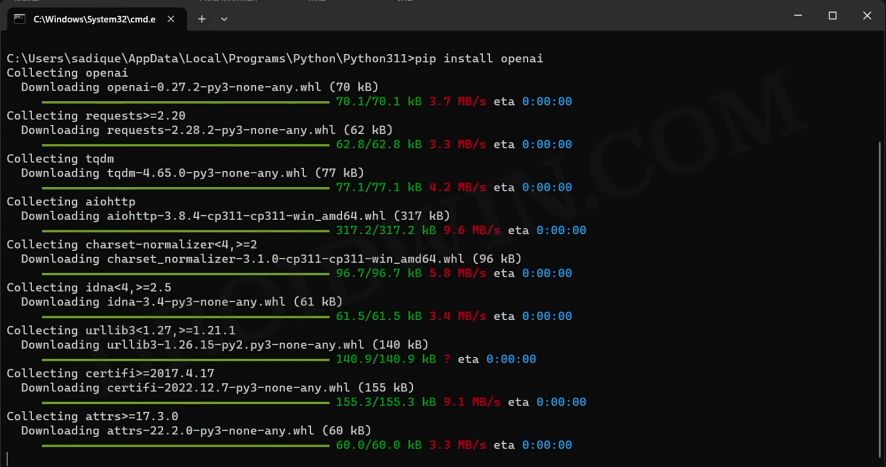
- Then execute the below command to install the OpenAI Library:
pip install openai
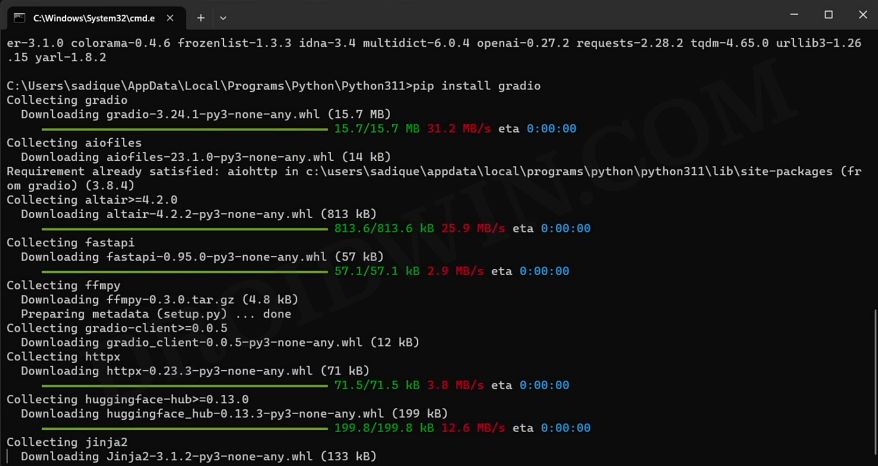
- After that, type in the below command to install Gradio
pip install gradio
- Finally, download and install an advanced text editor app like Notepad++.
STEP 2: Get your OpenAI API Key
- Head over to the OpenAI website and create a new account or sign in to an existing one.
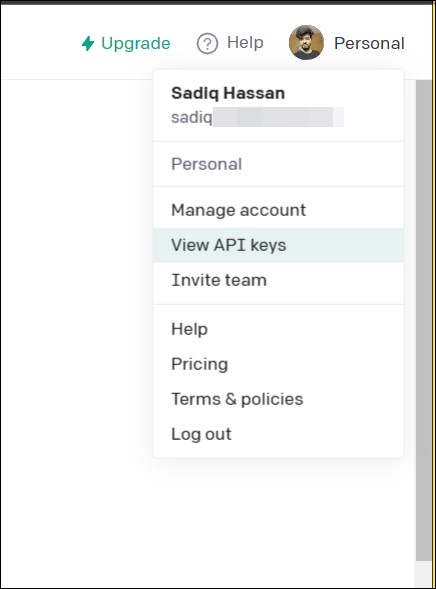
- Then click on your profile icon at the top right and select View API Keys.
- Now copy-paste the generated API key into a safe place as you wouldn’t be able to access it again.

STEP 3: Create your ChatGPT via ChatGPT API and Gradio
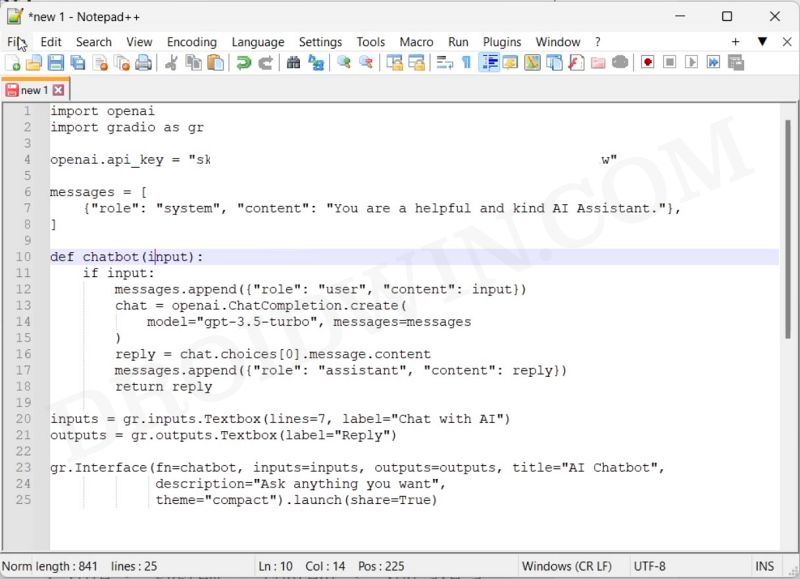
- Open Notepad++ and copy-paste the below command [replace API key with your own key]
import openai import gradio as gr openai.api_key = "Your API key" messages = [ {"role": "system", "content": "You are a helpful and kind AI Assistant."}, ] def chatbot(input): if input: messages.append({"role": "user", "content": input}) chat = openai.ChatCompletion.create( model="gpt-3.5-turbo", messages=messages ) reply = chat.choices[0].message.content messages.append({"role": "assistant", "content": reply}) return reply inputs = gr.inputs.Textbox(lines=7, label="Chat with AI") outputs = gr.outputs.Textbox(label="Reply") gr.Interface(fn=chatbot, inputs=inputs, outputs=outputs, title="AI Chatbot", description="Ask anything you want", theme="compact").launch(share=True) - Now go to File > Save As > Change Save As Type to All Files.
- Give it any name of your choice but keep the extension py [such as test.py].
- Select the save location as the folder where you have installed Python.
STEP 4: Test your Newly Created ChatGPT Bot
- Open Command Prompt where you have installed Python.
- Then type in the below command to launch your ChatGPT AI bot
python test.py
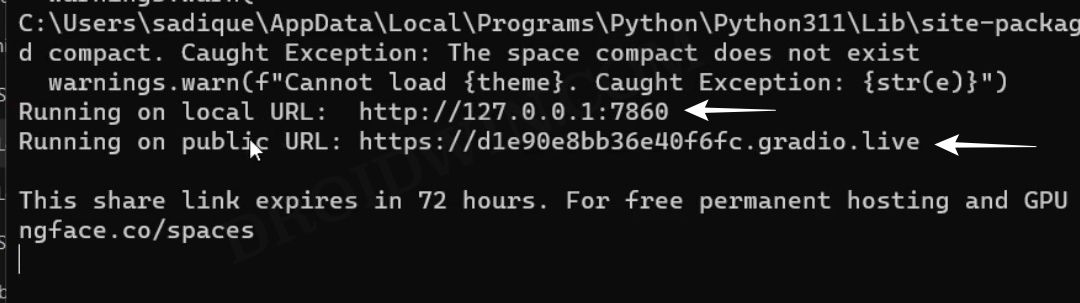
- The file will now run and give you a public and local URL.
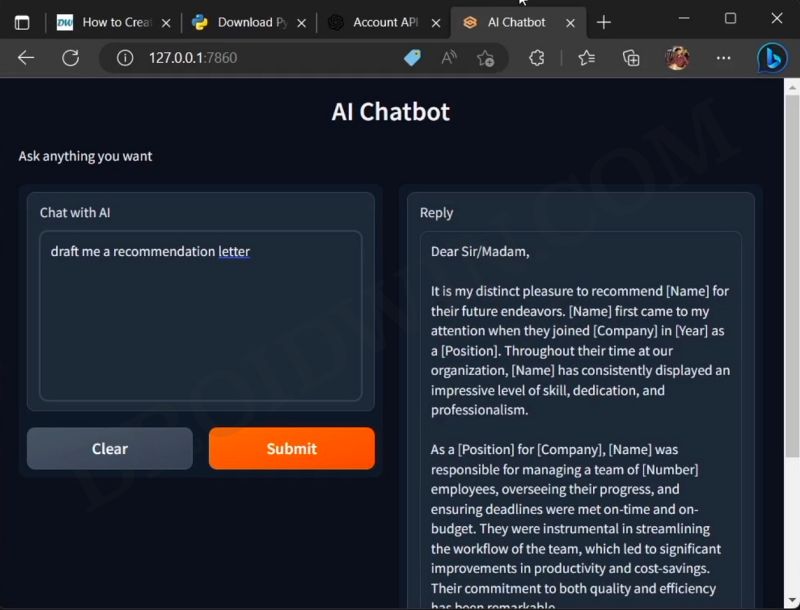
- Copy the local URL and paste it into your browser. That’s it.
- Go ahead and ask your favorite questions with your own AI!
Some Important points to remember
- If you want to share your bot with others, please use the public URL [instead of the local URL]. This public URL will be live for 72 hours, however, you’ll have to keep your PC turned on during this time frame for the AI to be active [this is because the AI is hosted on your PC itself!].
- On the other hand, if you want to stop the server, then go to the CMD window and hit Ctrl+C.
- However, if you want to restart the AI, then simply relaunch the python file [test.py in our case]. The local URL will be the same upon every restart, but the public URL will be different.
How to Customize your AI Chatbot
You could further customize this chatbot and make it focus on a specific subject. For example, you could tweak it to just concentrate on the tech-related query. So if you ask it a food-related question, then it would politely decline because its expertise lies only in the tech domain. To carry out this task, here;’s what you need to do:
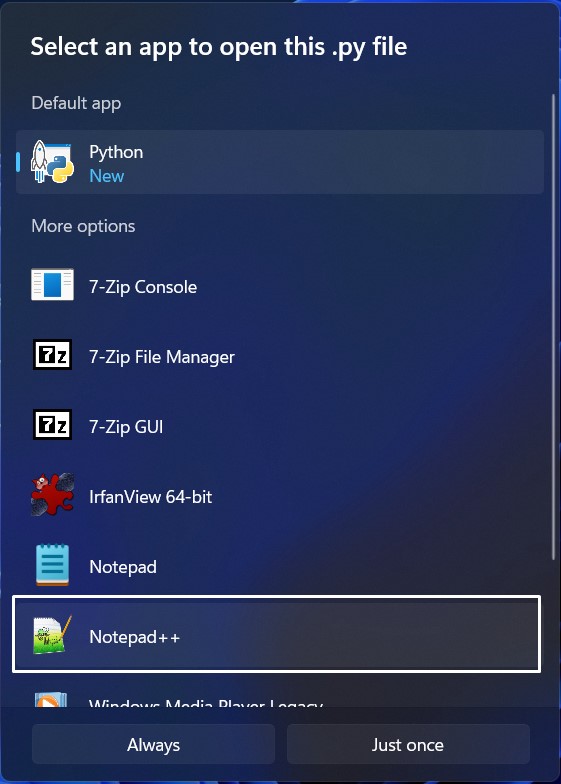
- Right-click on your Python bot file and select Open with > Notepad++.
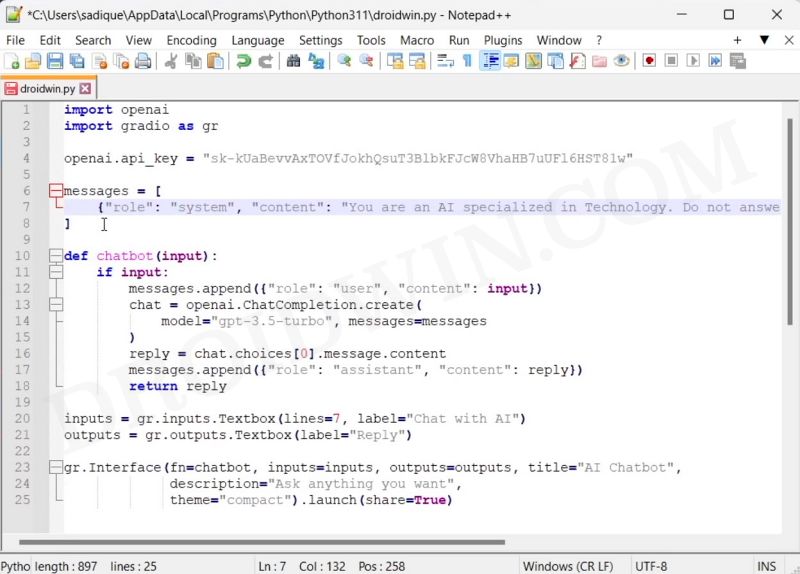
- Then change the contents inside the message body from “You are a helpful and kind AI Assistant” to
"You are an AI specialized in Technology. Do not answer anything other than tech-related queries.
- Now hit the Ctrl+S to save the changes. Then relaunch your modified Chatbot via the test.py file and test out the result!
That’s it. These were the steps to create your own AI chatbot using ChatGPT. If you have any queries concerning the aforementioned steps, do let us know in the comments. We will get back to you with a solution at the earliest.