In this guide, we will show you three different methods to enable Hardware Acceleration in Windows 11. Your PC comes with quite a dedicated hardware component, each aimed at a particular task. These include the likes of Vidoe Card, GPU, Sound Card, etc. In this regard, when you launch an app, most of its resource requirements would be met by the CPU itself. However, in instances such as when you are running graphics-intensive applications, software requiring high rendering needs, or high-end games, the CPU might not be able to checkmark the required processing power.
As a result, that application might not be able to function along the expected lines and you would notice lags, stutters, and freezes inside that app, and in some instances, its effect could be felt across the system as a whole as well. This is where the Windows Hardware Acceleration feature comes in handy. For example, when you are running a high-end game, then the Hardware Acceleration would offload some work from the CPU and give it over to the GPU.
Likewise, in the case of rendering software, the work might be shared between CPU, GPU, and the Video Card. The main motive in all these cases is to free up some load from the CPU so that it could function on essential system processes and provide you with a smooth and lag-free environment. So with this, you might have got a decent idea regarding how this feature works, let’s now turn our attention to the all-important question- how to enable Hardware Acceleration in Windows 11? Well, there exist three different methods for the same. Let’s check them out.
Table of Contents
How to Enable Hardware Acceleration in Windows 11 [3 Methods]
There exist three different approaches to get this job done- the first one is via the Display Settings menu whereas the other two are via Registry Editor. We have listed the benefits and risks with all these three methods, so go through them once and then try out the one that is in sync with your requirement. [NOTE: it is highly recommended that you start with the first method].
Method 1: Via Display Settings
This is the most straightforward and easiest method and is also the recommended one as it will let you know beforehand whether your PC display supports Hardware Acceleration or not. And as you might have guessed, its downside is that as compared to Registry Editor, this method wouldn’t let you force-enable Hardware Acceleration on unsupported PCs (which infact might be a good thing). So on that note, let’s get started.
- Bring up the Settings menu via Windows+I shortcut keys.
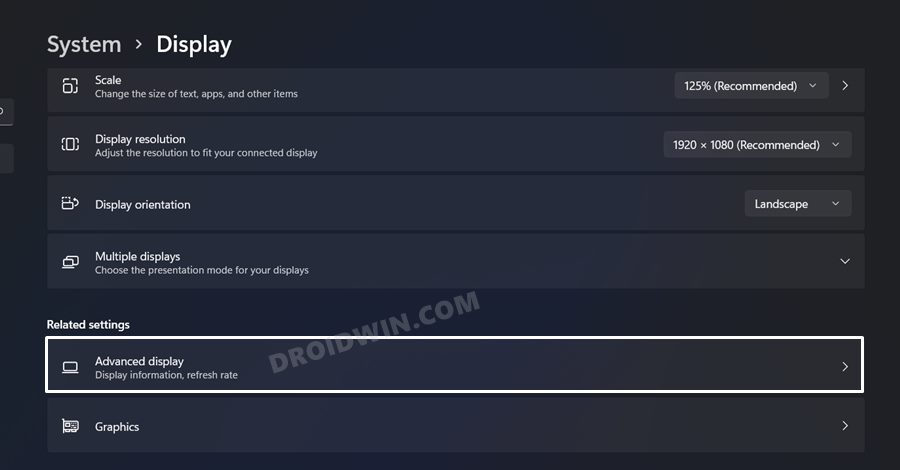
- Then go to System > Display > Advanced Display.

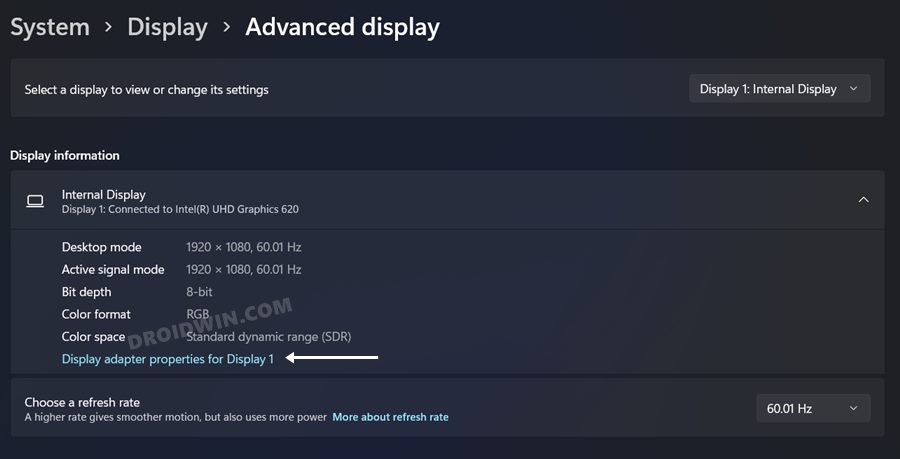
- After that, click on Display adapter properties for display 1.
- The Graphics Properties dialog box will now open, go to its Troubleshoot tab [Tab missing? See note below].
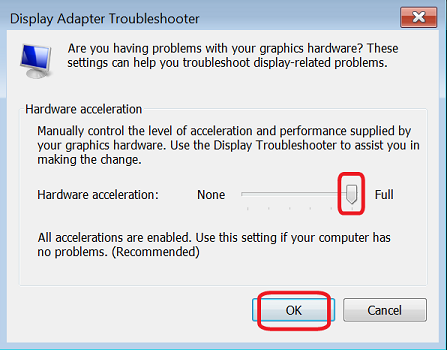
- Now click on Change Settings [Button greyed out? See note below] and go to the Display Adapter Troubleshooter bar.
- Finally, turn on the toggle or slide it to the extreme right to enable Hardware Acceleration on your Windows 11 PC.
NOTE: If the Troubleshoot tab is missing in the Graphics Properties dialog box (see below image) or if the Change Settings button under Troubleshoot is greyed out, then both these cases mean that your PC doesn’t support Hardware Acceleration. So your only option is to force enable it via Registry Editor, as explained in the below two methods.

Method 2: Via Registry Editor
The advantage of this method is that it allows you to enable hardware Acceleration on PCs that don’t support it. And this could be its downside as well. Forcefully enabling this functionality on your unsupported PC could do more harm than good. Anyways, if you are willing to give it a try, then take a registry backup beforehand and then hop onto the below steps [try at your own risk].
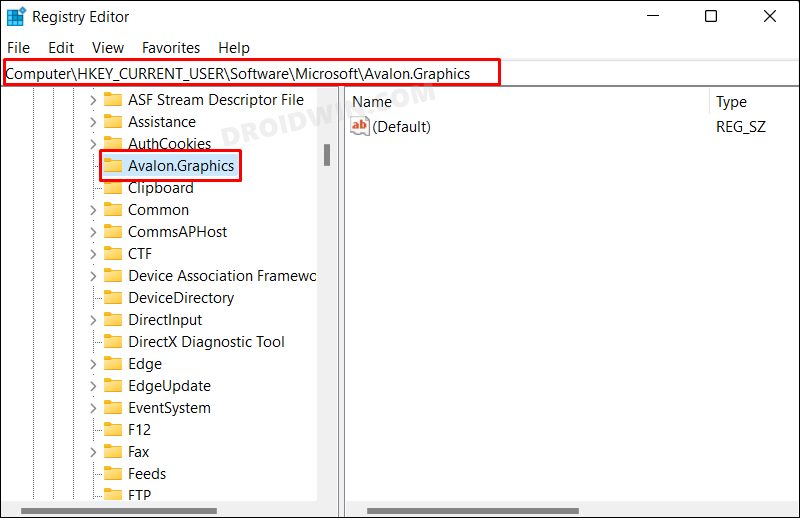
- Launch Registry Editor and copy-paste the below location in its address bar:
Computer\HKEY_CURRENT_USER\Software\Microsoft\Avalon.Graphics
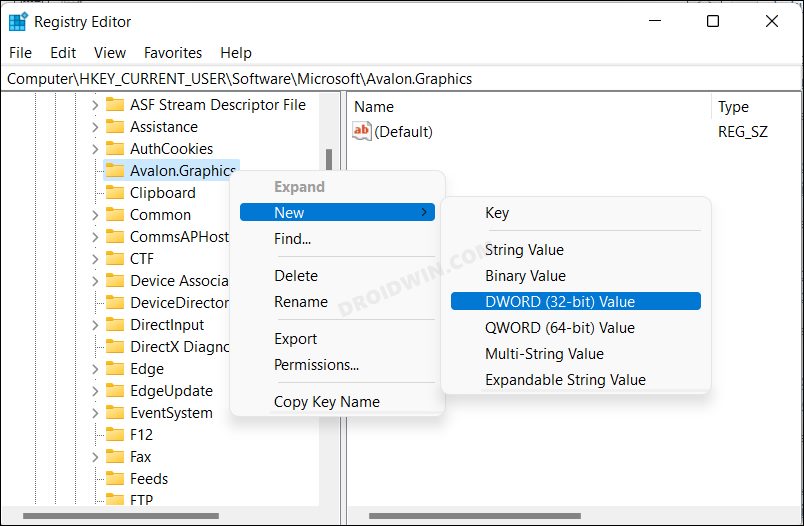
- Now right-click on Avalon.Graphics and select New > DWORD (32-bit) Value.
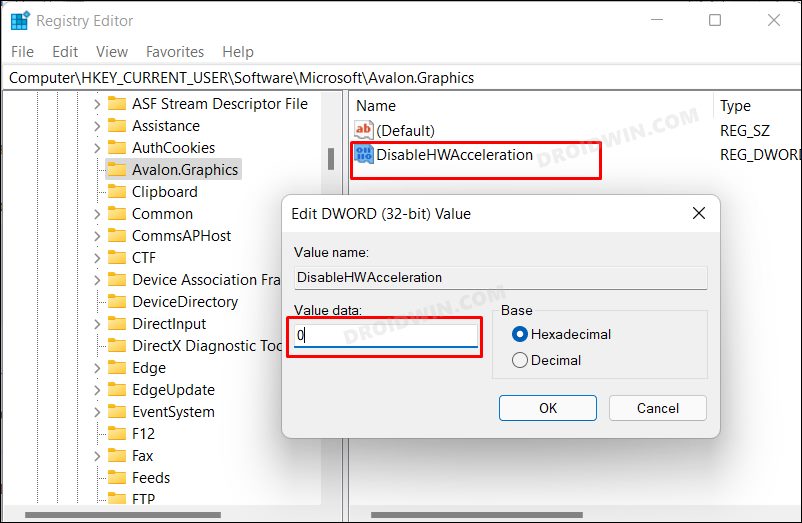
- Name it DisableHWAcceleration and double-click to open it.
- Then type in 0 in the Value Data field and hit OK to save it. That’s it.
- This will enable Hardware Acceleration on your Windows 11 PC.
Method 3: Via Registry Editor
If the first Registry Editor method didn’t spell out success for you, then you could give this one a shot. It shares the same drawback and perks as the earlier one and you should take a registry backup before trying out the below steps [at your own risk].
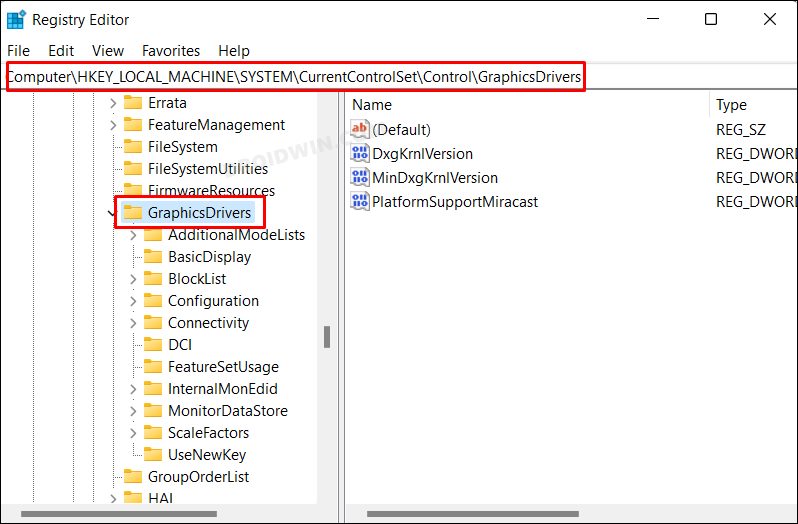
- Launch Registry Editor and copy-paste the below location in its address bar:
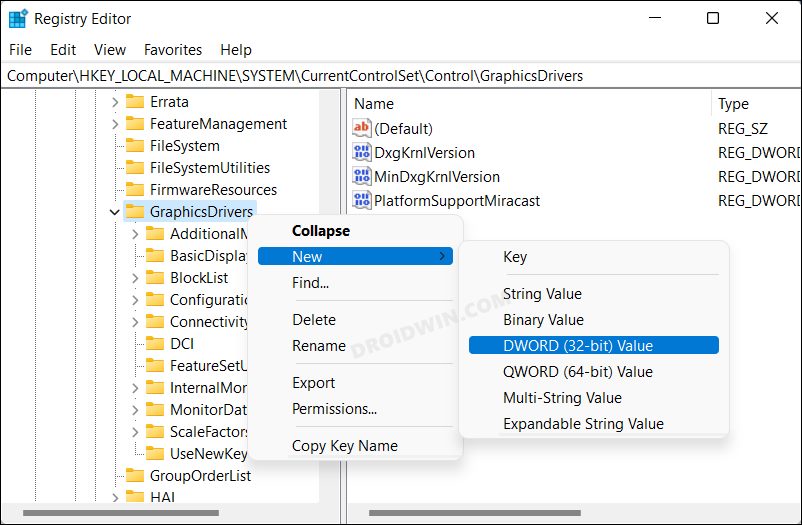
Computer\HKEY_LOCAL_MACHINE\SYSTEM\CurrentControlSet\Control\GraphicsDrivers
- Now right-click on the GraphicsDrivers file and select New > DWORD (32-bit) Value.
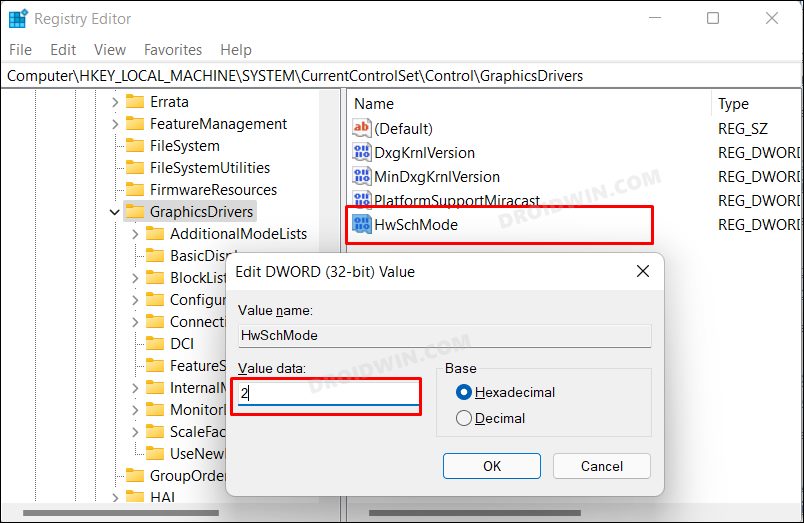
- Name it HwSchMode and double click to open it.
- Then type in 2 in the Value Data field and hit OK to save it. That’s it.
- This will enable Hardware Acceleration on your Windows 11 PC.
With this, we round off the guide on how you could enable Hardware Acceleration in Windows 11. We have listed three different methods for the same. Do let us know in the comments which one you ultimately decided to try out. Likewise, all your queries are welcomed in the comments section below.


