In this guide, we will show you the steps to downgrade Google Chrome on your Windows 11 PC. Google recently hit the century mark with its update cycle and the fears regarding the Y2K being revisited were constantly looming around. While thankfully that didn’t happen. but there were still a few bugs and underlying issues that users were greeted to.
And truth be told, this isn’t the first time and wouldn’t be the last time either. With every new update, a bug or two usually creeps in as well. Depending on its intensity, sometimes it might only result in an issue of minuscule nature whereas, in rare instances, it could spell out trouble for the end-users. And when the latter happens, your first course of action is to try out the basic workarounds.
These include the likes of restarting the browser, deleting cache and data, disabling /uninstallation third-party add-ons, and reinstalling the browser. However, if none of these methods spells out success for you, then you will have to take the nuclear approach of downgrading the browser to the earlier sable build. And in this guide, we will show you how to do just that. Given here are the detailed steps to downgrade Google Chrome on your Windows 11 PC. Follow along.
Table of Contents
How to Downgrade Google Chrome on Windows 11
The below instructions are listed under separate sections for ease of understanding. Make sure to follow the same sequence as mentioned. Moreover, make sure that you are signed in to your Google Account in Chrome and that the sync has been turned on as well. If that is not the case, then do so right away from the chrome://settings/syncSetup page.
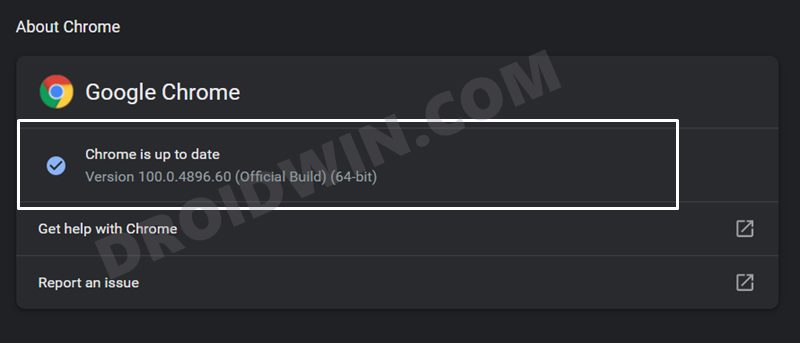
STEP 1: Check Current Chrome version
- Launch Chrome, copy-paste the below location in its address bar, and hit Enter:
chrome://settings/help

- Now note down the current browser version.
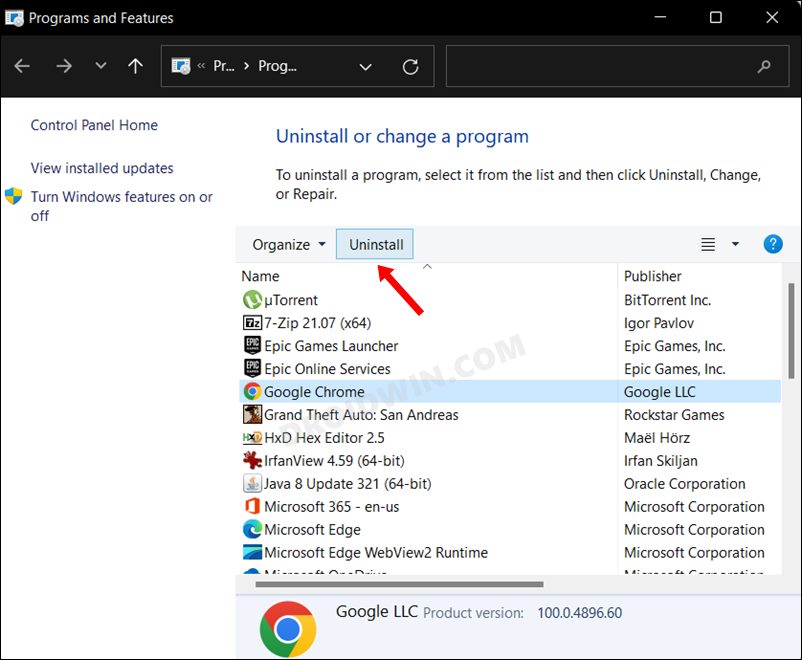
STEP 2: Uninstall Chrome
- Head over to the Start menu, search Chrome, and hit Uninstall.
- You will now be taken to the Control Panel. Select Google Chrome and hit Uninstall.
- Follow the on-screen instructions to complete the uninstallation process.
STEP 3: Delete Chrome Data
Even after you have uninstalled Chrome, some of its browser data and configuration settings might still be left on your PC. So you will have to manually remove them from your PC. Here’s how:
- Open File Explorer via Windows+E shortcut keys.
- Then copy-paste the below location in its address bar:
%LOCALAPPDATA%\Google\Chrome\User Data
- Select all the remaining files/folders via Ctrl+A.
- Finally, hit the Del key to remove them from your PC.

STEP 4: Download and Install Old Chrome
You will now have to get hold of the older version of the Chrome browser. Since Google doesn’t officially host the older browser versions, you will have to download it from a third-party site. Also double-check the last browser version that you had installed via STEP 1.
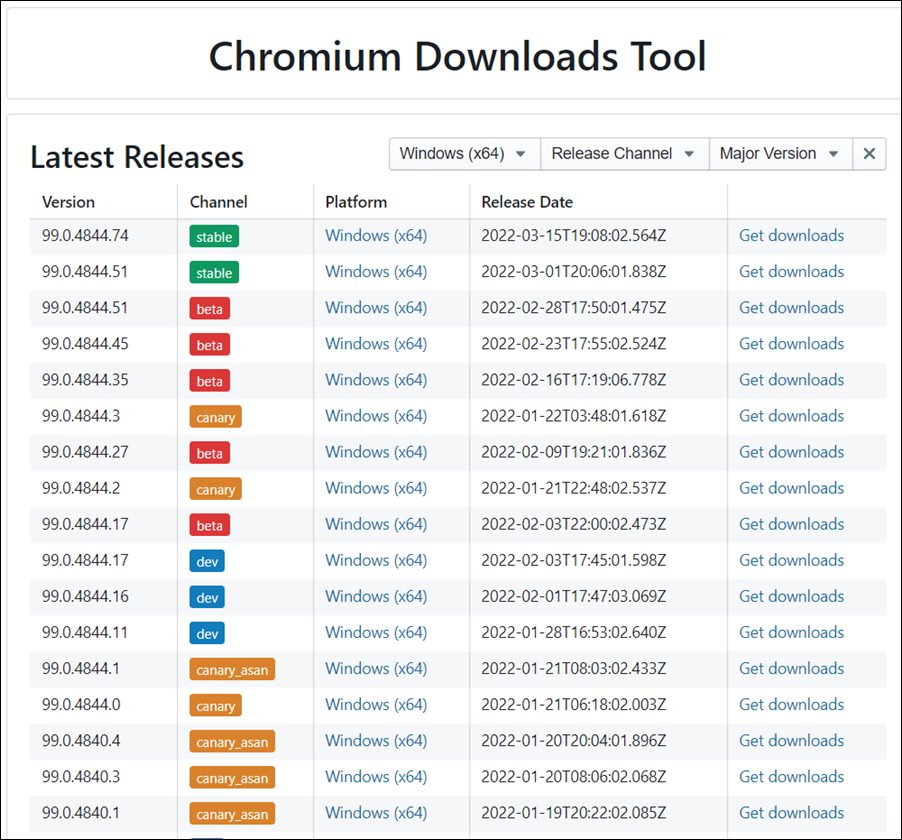
Moving on, once you have downloaded the setup, launch it and then proceed with the on-screen instructions to install it. Once installed, do not open it now but rather move over to the next step.
STEP 5: Disable Chrome Auto-Updates
As soon as you launch the browser for the first time, Chrome will automatically update it to the latest build. That is the reason why we advised not to launch it after installing it in STEP 4. So your next course of action should be to disable Chrome’s auto-update services, which could be carried out using the instructions given below:
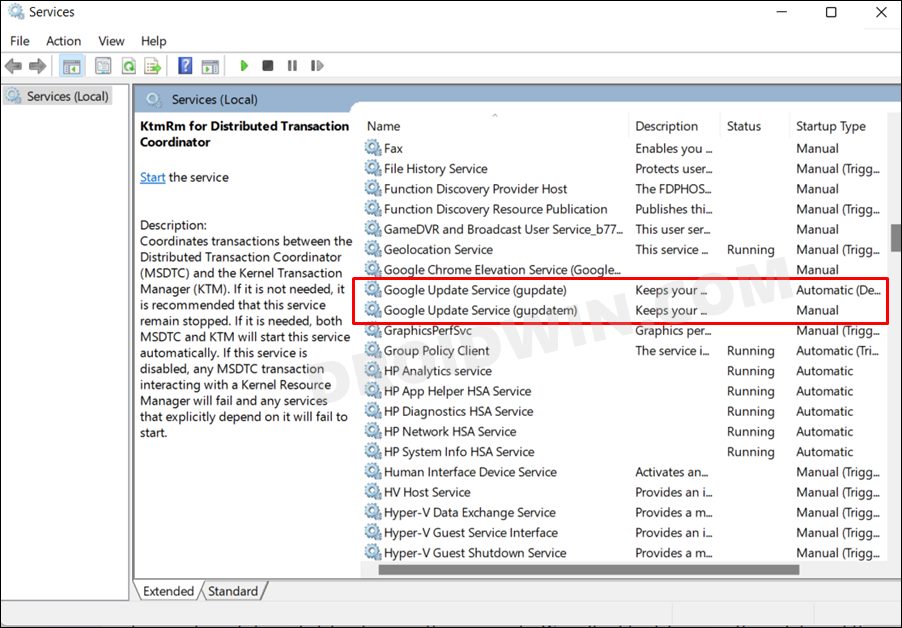
- To begin with, head over to the Start Menu, search Services, and open it.
- Then select Google Update Service (gupdate), right-click on it, and hit Stop.
- Likewise, select Google Update Service (gupdatem), right-click on it, and Stop it as well.
- Once both the services have been stopped, you may launch Chrome and start using it right away.
That’s it. These were the steps to downgrade Google Chrome on your Windows 11 PC. If you have any queries concerning the aforementioned steps, do let us know in the comments. We will get back to you with a solution at the earliest. On that note, let’s now address an important query, namely:
When Should I Update Chrome or Restart Chrome Update Service?
Using the bug-free older version of Chrome is well and good, however, after a point in time, you should consider updating the browser. But when will that time come? Well, the best bet to determine that is to keep a tab on Chrome’s Twitter and Reddit forum and get hold of the news as to when the underlying issue (that initially lead to this downgrade) will be resolved.
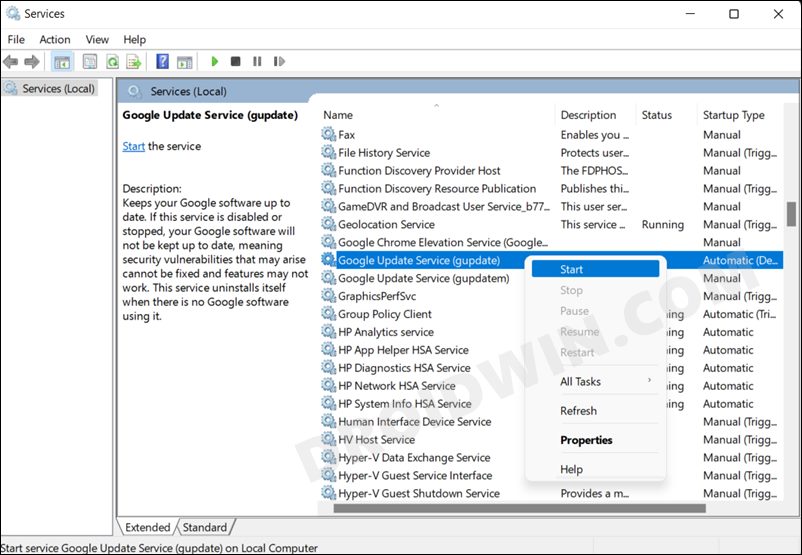
And when that browser build s released, wait for a few days, get the first-hand user report from these forums and if they are in sync with your requirement, then consider updating the browser right away, Likewise, also consider starting both the Google Update Service (gupdate) and Google Update Service (gupdatem) services (just right-click on them via the Services menu and select Start).


