In this guide, we will show you the steps to disable the ads, analytics, Firebase, and Crashlytics on your Android device. Both the system as well as user installed apps have their services running in the background, hogging valuable data from your device, and sending it to their server for what they call to provide an enhanced and improved usage experience, though we all know it’s mostly intended for all sorts of tracking and ad handling.
In other words, these data are used to send you curated ads based on your activity, so that they possess a high chance of interaction from your end. Likewise, these data also come in handy for the companies to mold their products in sync with your personal requirements. Unfortunately, most of this stuff happens in the backend without the user having an iota of an idea. Well, not anymore!
You now have the option to disable the ads, analytics, Firebase, and Crashlytics on your Android device once and for all. So without further ado, let’s show you how this could be carried out.
Table of Contents
How to Disable Ads/Analytics/Firebase/Crashlytics on Android

The below instructions are listed under separate sections for ease of understanding. Make sure to follow the same sequence as mentioned.
Flash the Mdoule
- First and foremost, you’ll have to root your device via Magisk.
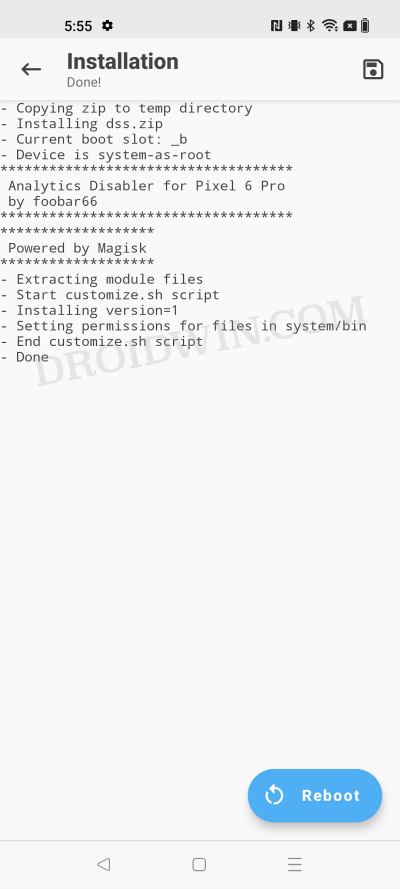
- Then download the dss.zip module from here. Now launch Magisk and go to Modules.

- Tap on Install from Storage and select the mod. It will now be flashed. Once done, hit Reboot.
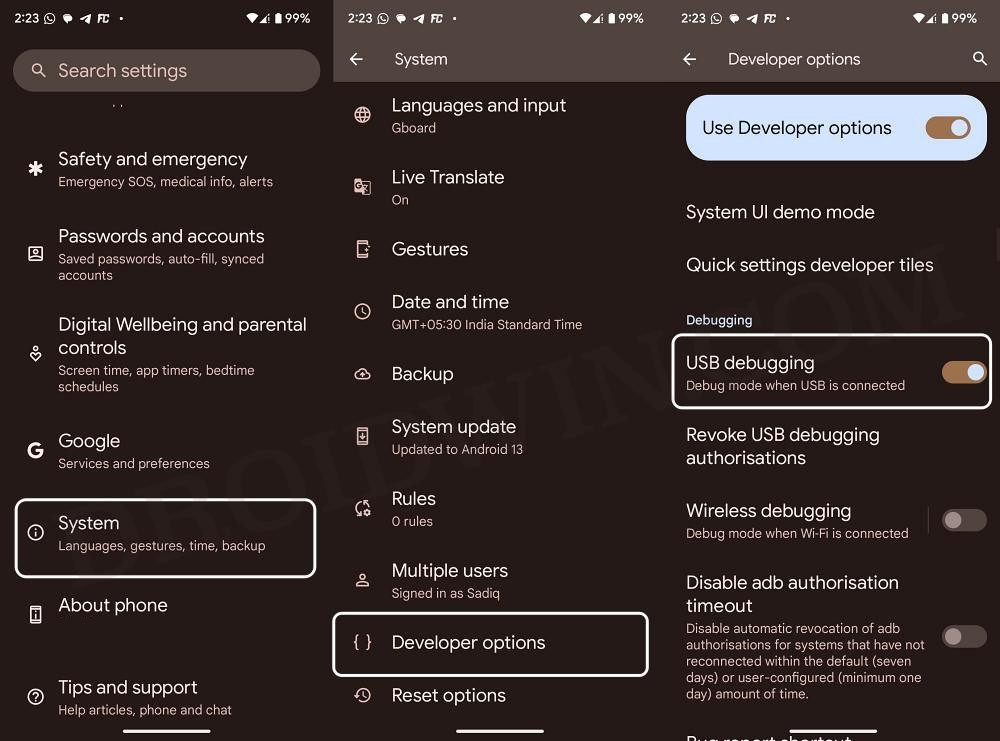
- Now enable USB Debugging on your device and connect it to your PC via a USB cable.
- Then download and extract the Android SDK Platform Tools on your PC.
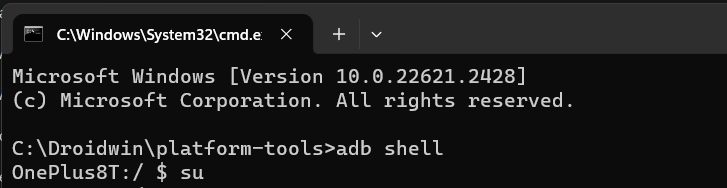
- Now type in cmd in its address bar and hit Enter. This will launch Command Prompt.
- Then type in the below two commands. You’ll get a SuperUser request, tap on Grant.
adb shell
su
- Finally, use the below syntax to enable/disable the desired app’s tracking [explained below]
- dss {disable|enable} {user|system} <package-name>
Disable Tracking from All System Apps
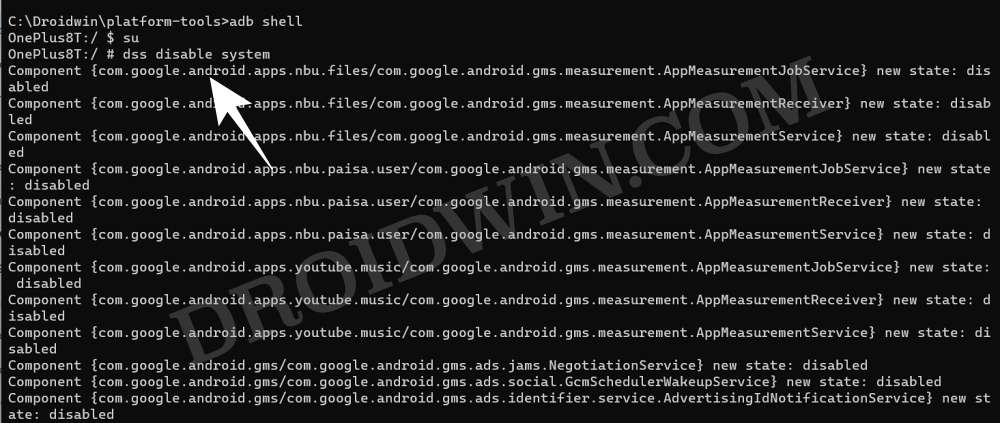
If you wish to disable the tracking from all the system apps, then using the aforementioned syntax, the command will transform to:
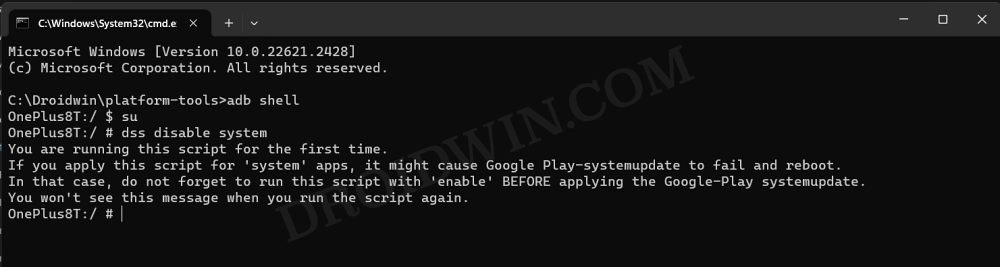
dss disable system
Disable Tracking from All User Apps
Using the above syntax, the command to disable tracking from all user apps will be:
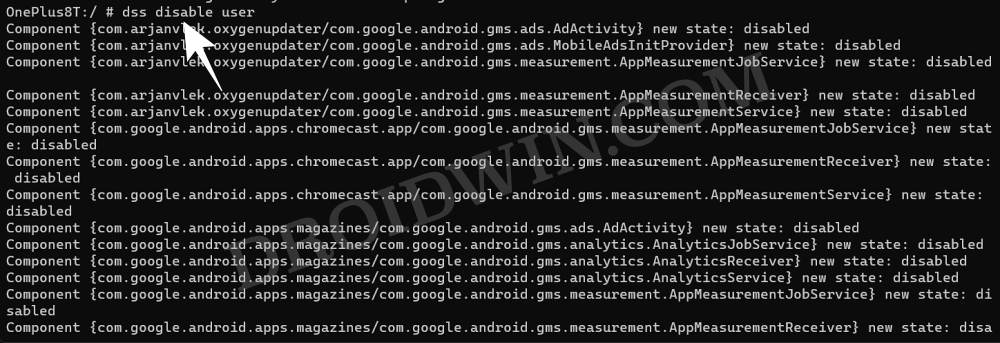
dss disable user
Disable Tracking for Particular System App
If you wish to disable tracking from an individual system, then get hold of that app’s package name and then put it in the syntax. For instance, if we wish to do so for Google Contacts [a system app on many Android phones], then the command will be:
dss disable system com.google.android.contacts
Disable Tracking for Particular User App
To disable tracking from a specific user-installed app, such as Facebook with the app package name, the command will become:
dss disable user com.facebook.katana
How to Re-Enable Tracking
If for some reason, you wish to re-enable tracking, then here are the commands pertaining to all scenarios:
Enable Tracking from All System Apps
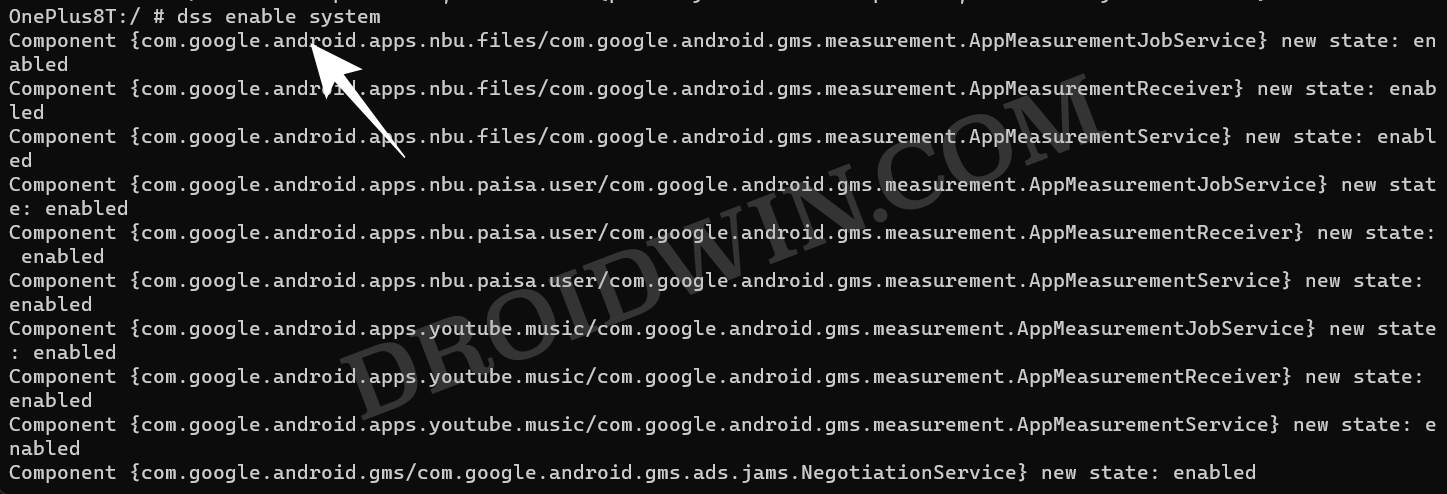
dss enable system
Enable Tracking from All User Apps
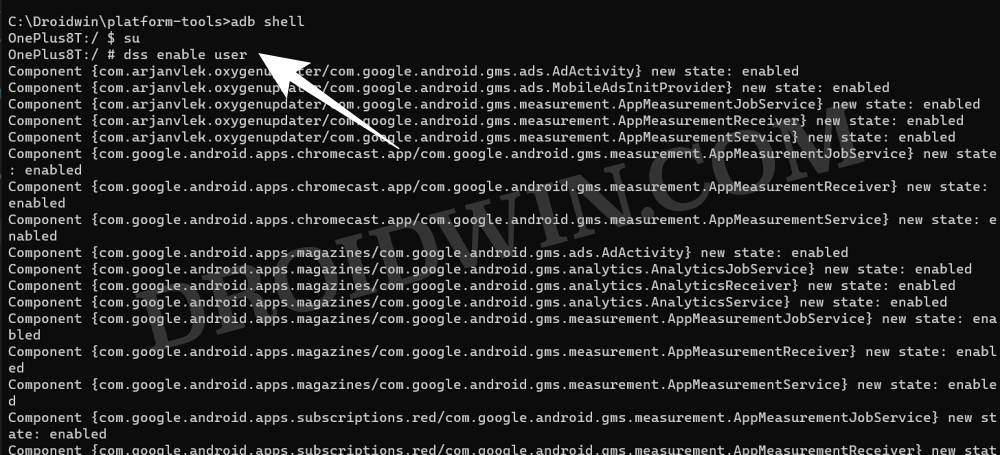
dss enable user
Enable Tracking for Particular System App
dss enable system app-package-name
Enable Tracking for Particular User App
dss enable user capp-package-name
An Important Note
Before installing a Google Play System Update, you should re-enable all the system app tracking via the dss enable system command. If you don’t do so, then your device might end up in a bootloop. Once you have installed the update, you may then once again disable all the system app tracking via the dss disable system command.
So on that note, we round off this guide on how you could disable the ads, analytics, Firebase, and Crashlytics on your Android device. If you have any queries concerning the aforementioned steps, do let us know in the comments. We will get back to you with a solution at the earliest.


