In this guide, we will show you the steps to add the Image Preview option in the Windows 11 Context Menu. The latest iteration of the OS has bought in quite a few intriguing features and changes to the fore. Along the same lines, the default photo viewing app has also undergone a major redesign. With the introduction of the Photos app, there is now a new visual design, new ways to view images, and even an updated photo editing toolbar.
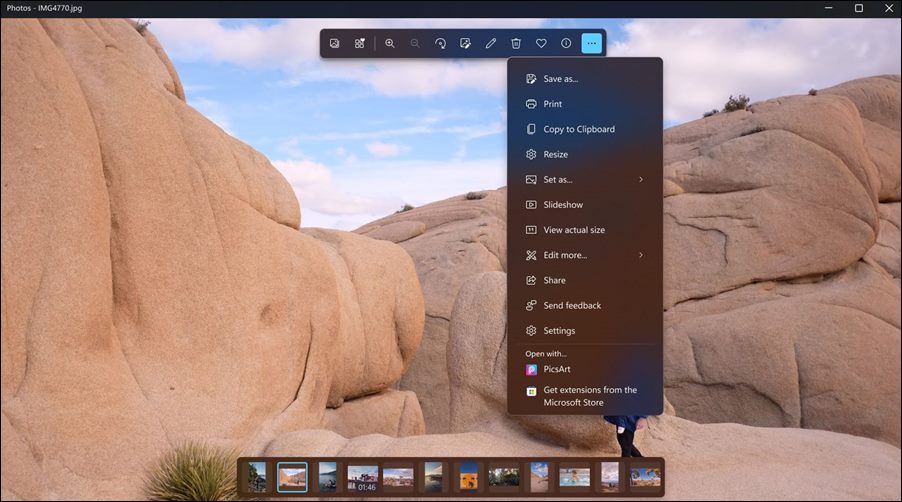
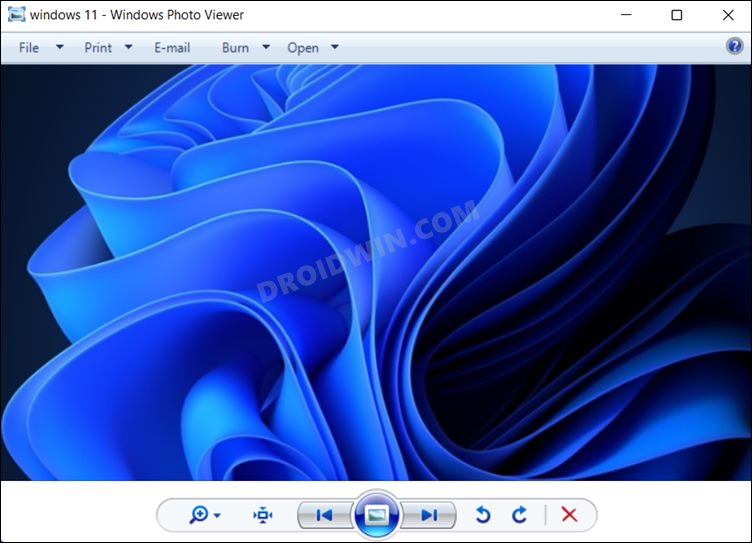
And this is where things begin to go south for some, myself included. Don’t get me wrong. The new addition definitely gives it an aesthetically pleasing outlook but at the same time, it also takes a couple of seconds longer in loading an image. This is in stark contrast to its predecessor, the Windows Photos Viewer, which though looks a tad outdated in terms of the user interface, still does its most important task of letting us preview images at a much quicker rate.
And truth be told, for me, all those customizations and bloated features are of no use if the app isn’t doing the job efficiently for which it was originally designed. To counter this issue, there are two different routes that you could take- either replace the Windows Photos Viewer with the new Photos app or have both on your PC, but change the way you could access them. And we would be going for the latter in this guide.
So you could still view the desired image in the new Photos app, and at the same time, view it via the Windows Photos Viewer from the right-click menu. The best part of this tweak is that even though Photos will be your default image viewing app, you will still be able to view the desired images via the Windows Photos Viewer app as well! So on that note, let’s check out the steps to add the Image Preview option in Windows 11 Context Menu and hence give back the Photos Viewer app its reclaimed glory.
How to Add Image Preview Option in Windows 11 Context Menu
- To begin with, download the Image Preview Registry Editor ZIP file. Then extract it to any convenient location on your PC.
- You should see two registry files: Image Preview and Undo Image Preview. As of now, we would need the Image Preview file.
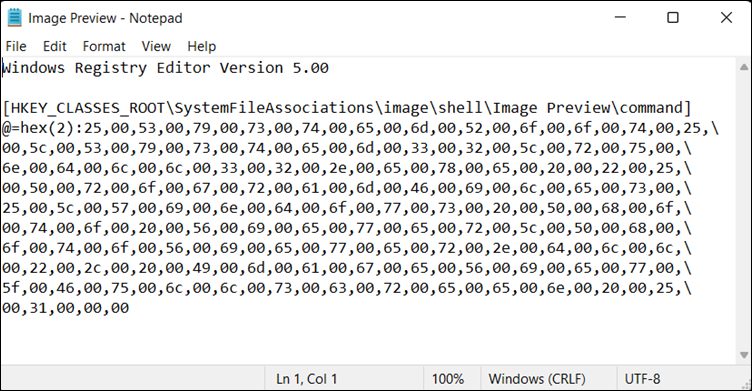
- You could also check out its file’s contents just to be on the safer side. So right-click on it and select Open With > Notepad.

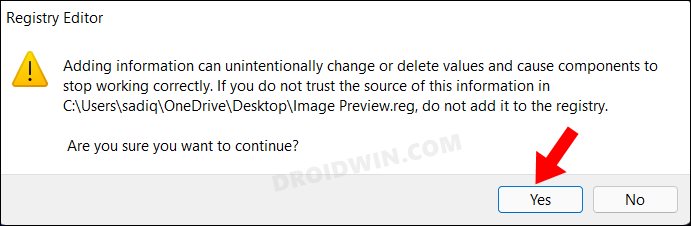
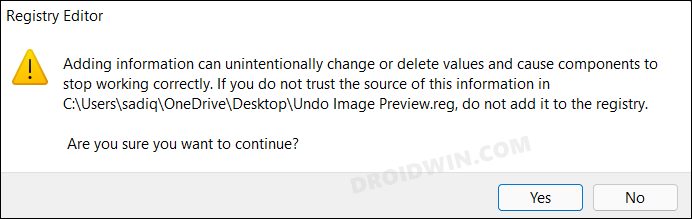
- Moving on, now double-click on the Image Preview registry file. You will now get a confirmation dialog box, click Yes.
- The keys will now be added and you will be notified of the same. Once done, let’s now put it to the test.
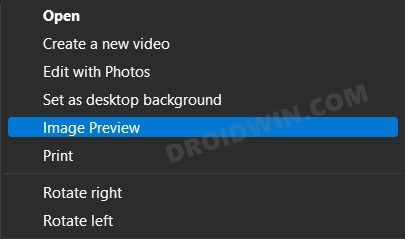
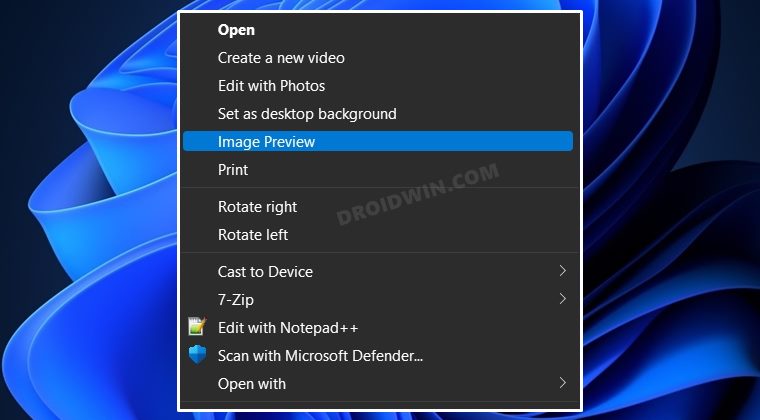
- So right-click on an image and select Show More Options > Image Preview. The image will now be loaded into the Windows Photos Viewer app.
That’s it. These were the steps to add the Image Preview option in the Windows 11 Context Menu. As already mentioned before, one additional benefit of this tweak is the fact that you could have two image viewer apps active at the same time.
How to Remove Image Preview Option in Windows 11 Context Menu
If you wish to remove the Image Preview option from the right-click menu, then proceed with the below-instructions steps:
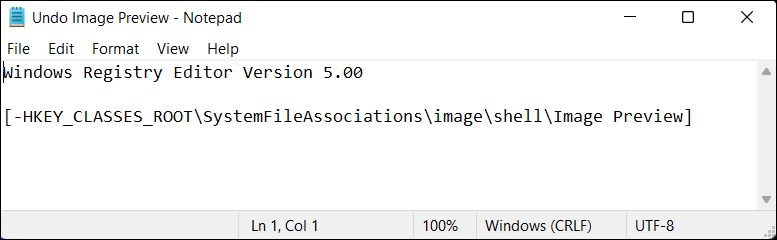
- First off, to check the contents of that file, right-click on Undo Image Preview file and select Open With > Notepad.
- Then double click on the Undo Image Preview file. After that, click YES in the confirmation dialog box.
- That’s it. It will now remove the registry values and hence the Image Preview option from the context menu.
So with this, we conclude the tutorial. If you have any queries concerning the aforementioned steps, do let us know in the comments. We will get back to you with a solution at the earliest.


