In this guide, we will show you various methods to fix the issue of Galaxy S24 Ultra being unable to connect to 5GHz WiFi. The newest addition to the Galaxy family beholds a slew of intriguing features, nifty AI tweaks, and a power-packed specs sheet. On the flip side though, a few bugs and issues have also managed to creep in as well. While the just surrounding the dreaded grey line display was yet to settle down, a new one has already made its way.
As of now, numerous users have voiced their concern that they cannot connect their Galaxy S24 Ultra to a 5GHz WiFi network, even though they could easily do so with 2.4GHz. They have tried switching over to a different 5GHz SSID, but the end result is still the same. If you are also getting bugged by this issue, then this guide will make you aware of numerous workarounds that should help you resolve this bug. So without further ado, let’s check them out.
Table of Contents
Fix Galaxy S24 Ultra Cannot Connect to 5GHz WiFi
It is recommended that you try out each of the below-mentioned workarounds and then see which one spells out success. So with that in mind, let’s get started.
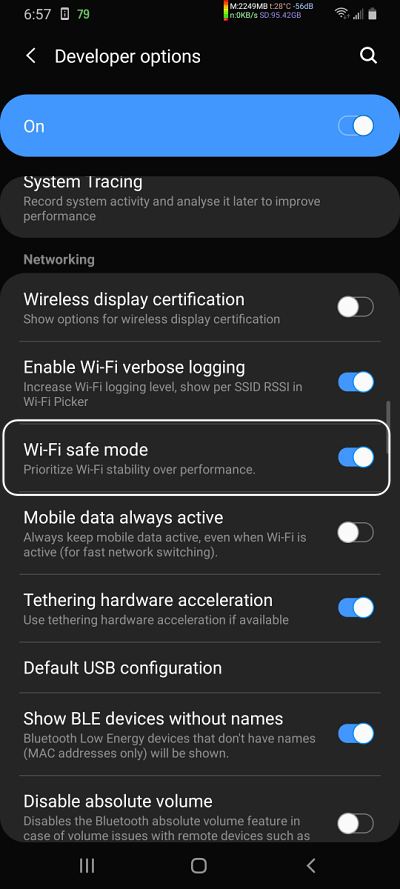
FIX 1: Enable WiFi Safe Mode
- Delete the saved WiFi network to which you are trying to connect.
- Then tap on Build Number 7 times to enable Developer Options.
- Now go to Developer Options and enable WiFi Safe Mode.

- Then select your Wi-Fi network, set a static IP address, and select Use Phone’s MAC.
- Finally, restart your Galaxy S24 Ultra and check if it can connect to WiFi 5GHz.
FIX 2: Switch to Private DNS
Some users were able to rectify this issue after switching over to a private Domain Name Server instead of the one provided by their ISP. So you could opt for Google, Cloudflare, or AdGuard’s DNS using the instructions given below and then check if your Galaxy S24 Ultra is able to connect to WiFi 5GHz.
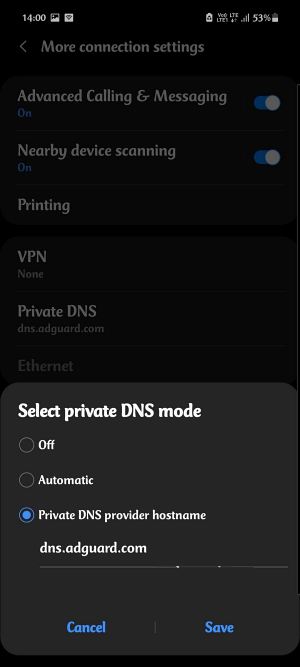
- Head over to Settings > Connections > More Connection Settings.
- Then go to Private DNS and select Private DNS provider hostname.
- Now type in any of the three below listed DNS addresses and hit Save.
Google DNS: dns.google Cloudflare DNS: 1dot1dot1dot1.cloudflare-dns.com AdGuard: dns.adguard.com - Now check if your Galaxy S24 Ultra is able to connect to WiFi 5GHz.
FIX 3: Turn off Intelligent WiFi
For some, the Intelligent WiFi feature turned out to be the culprit and upon disabling it, the issue was rectified. So give it a try using the below-given instructions and check if it spells out success for you or not.
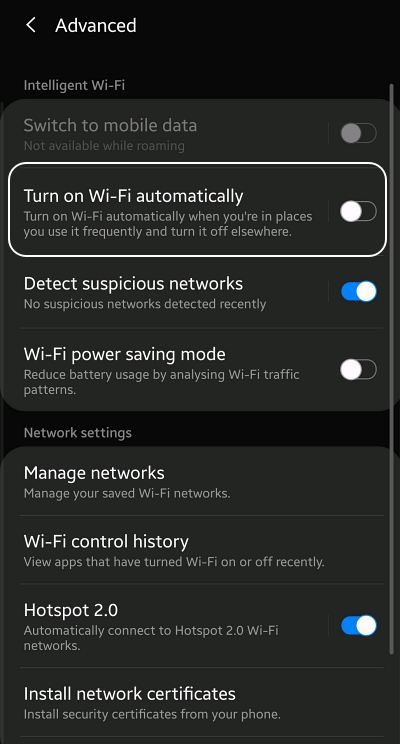
- Go to Settings > Connections > WiFi > tap on the overflow icon at the top.
- Then choose Advanced and you will be taken to the Intelligent WiFi page.
- From there, simply disable the toggle next to Turn on WiFi automatically.
FIX 4: Reset Network
If none of the aforementioned spelled out success for you, then your last course of action should be to reset the network settings on your device. Doing so will revert all the network settings to their default state. Moreover, it will also remove all the paired Bluetooth devices and the saved WiFi passwords. so make sure to sync those passwords with your account before proceeding with the below steps.
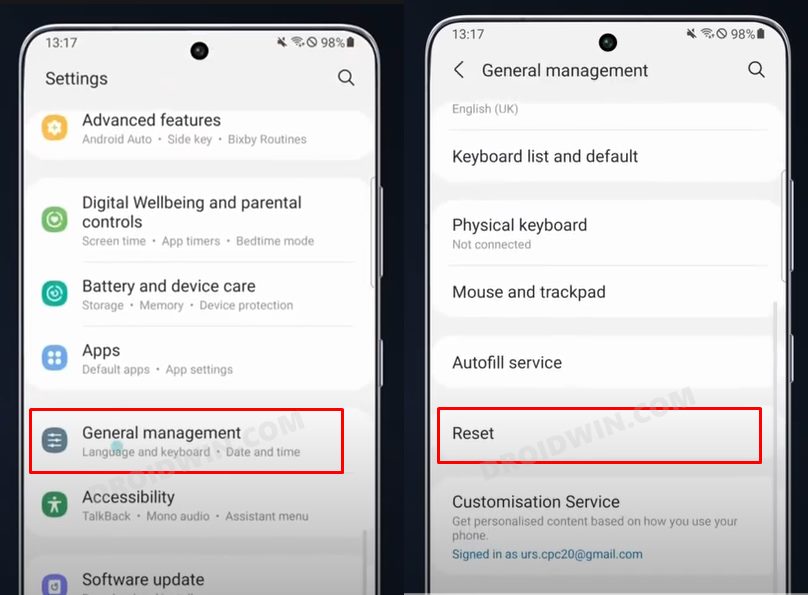
- To begin with, head over to Settings > General Management.
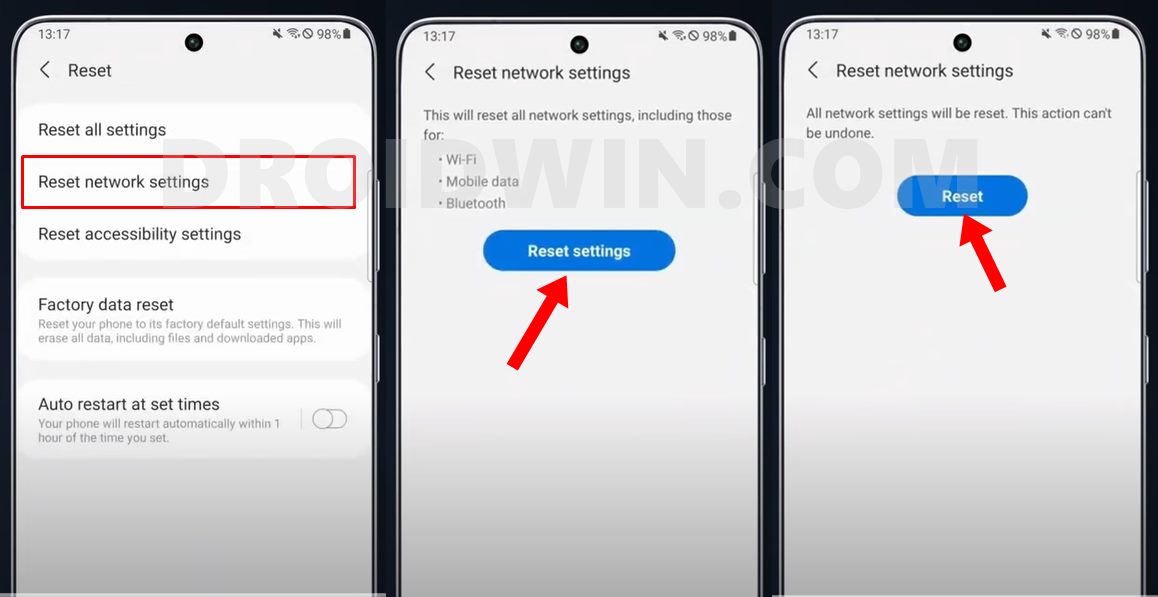
- Then go to Reset Network Settings and tap on Reset Settings.
- Finally, hit the Reset button and wait for the process to complete.
- Now reconnect with the WiFi and check out the results.
That’s it. These were the four different methods that should help you fix the issue of Galaxy S24 Ultra being unable to connect to WiFi 5GHz. As far as the official stance on this matter is concerned, the developers are yet to acknowledge this issue, let alone give out any ETA for the rollout of a fix. As and when any of these two things happen, we will update this guide accordingly. In the meantime, the aforementioned workarounds are your best bet.


