In this guide, we will show you the steps to fix the issue of not being able to pass the CTS Profile on a locked bootloader. Issues like not passing SafetyNet due to CTS Profile Mismatch and Baisc Integirty failing or the inability to pass Play Integrity Tests are quite common on devices that have an unlocked bootloader, are rooted, and/or running a custom ROM.
However, some users have voiced their concern that their device is falling CTS Profile even on a locked bootloader! Their device is completely stock with no modifications whatsoever but despite that, they cannot pass this test, which is quite astonishing, to say the least. So why is this happening?
Well, it could be because your device has lost the TEE attestation keys, possibly due to incorrect flashing of the persist partition on your phone. With that said, there does exist a nifty method that should help you rectify this issue. So without further ado, let’s check it out.
Table of Contents
Fix CTS Profile not passing on Locked Bootloader

The below process will wipe off all the data from your device, so take a backup beforehand. Moreover, the original keys that your phone may include in the TEE will be lost. Droidwin and its members wouldn’t be held responsible in case of a thermonuclear war, your alarm doesn’t wake you up, or if anything happens to your device and data by performing the below steps.
STEP 1: Install Android SDK

First and foremost, you will have to install the Android SDK Platform Tools on your PC. This is the official ADB and Fastboot binary provided by Google and is the only recommended one. So download it and then extract it to any convenient location on your PC. Doing so will give you the platform-tools folder, which will be used throughout this guide.
STEP 2: Enable USB Debugging and OEM Unlocking
Next up, you will also have to enable USB Debugging and OEM Unlocking on your device. The former will make your device recognizable by the PC in ADB mode. This will then allow you to boot your device to Fastboot Mode. On the other hand, OEM Unlocking is required to carry out the bootloader unlocking.
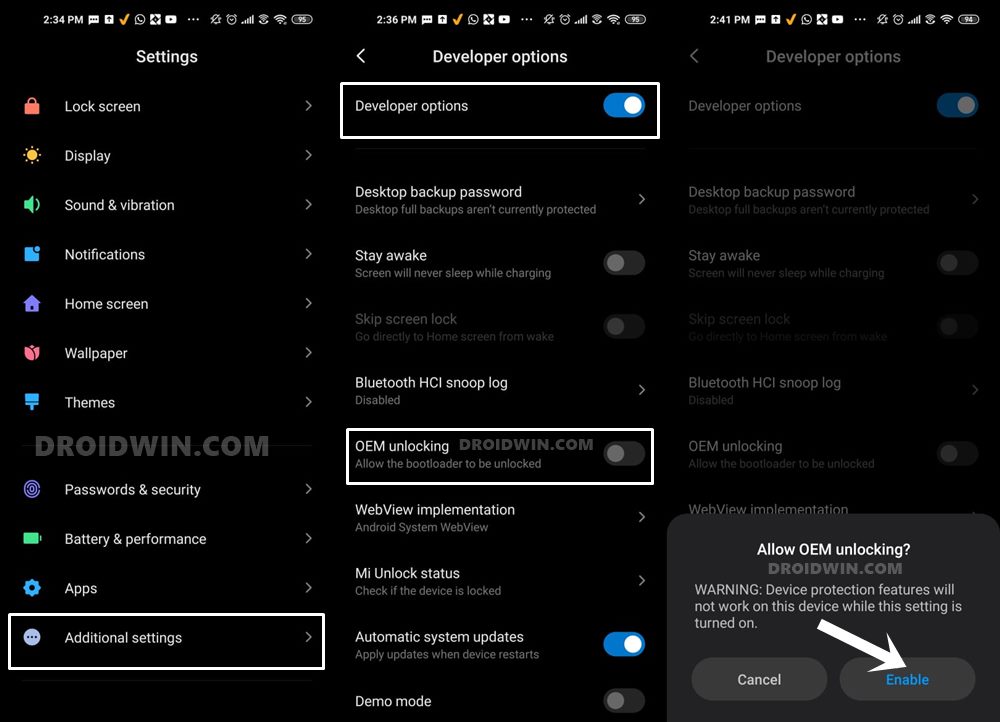
So head over to Settings > About Phone > Tap on MIUI Number 7 times > Go back to Settings > System > Advanced > Developer Options > Enable USB Debugging and OEM Unlocking.
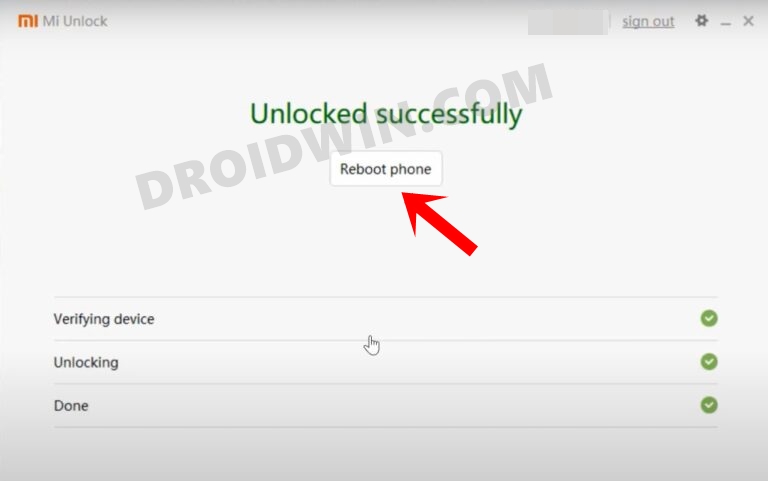
STEP 3: Unlock Bootloader
Next up, you will need to unlock the device’s bootloader. However, doing so will wipe off all the data and could nullify the device’s warranty as well. So if that’s all well and good, then please refer to our guide on How to Unlock Bootloader of Any Android Device. [And don’t worry, we will relock the bootloader once the entire process is complete].
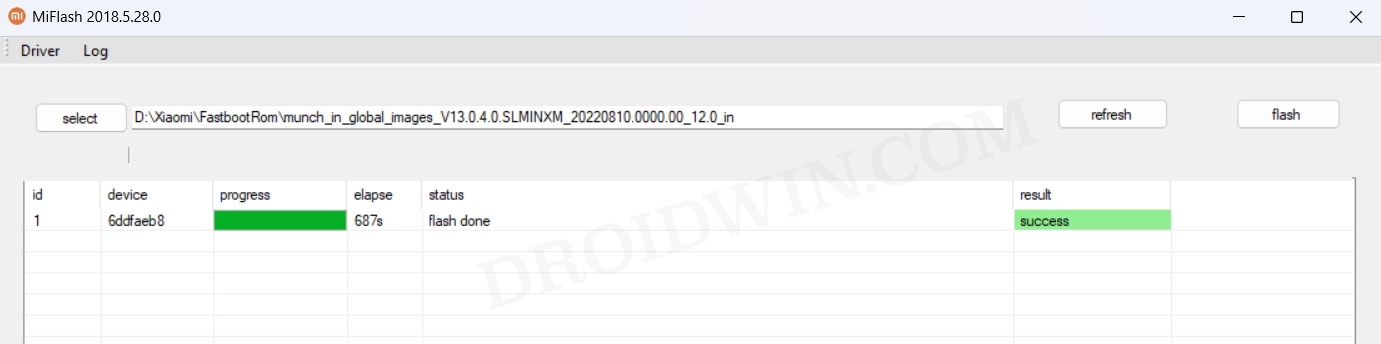
STEP 4: Flash Xiaomi Engineer Firmware
Next up, you will have to download and install the Engineer firmware for your device. Make sure to download the same version that is currently installed on your device (you could verify the same from your device’s Build Number). As far as the downloading source is concerned, make sure to get it from a trusted third-party site. Once downloaded, flash the ROM via the Mi Flash Tool.
STEP 5: Get Keybox.XML
You’ll now have to get hold of the keybox.xml file for your device. If you are using Poco X3 Pro, then you could use this keybox.xml file [Credits: chiteroman].
STEP 6: Execute Commands
Open Command Prompt inside platform-tools and execute the below commands in the same order as listed:
adb root
adb disable-verity
adb reboot
adb root
adb remount
adb shell
mkdir –p /data/nativetest64/qti_keymaster_tests/
exit
adb push keybox.xml /data/nativetest64/qti_keymaster_tests/
adb shell
cd /data/nativetest64/qti_keymaster_tests/
STEP 7: Set the Library Path
- First off, verify if your device is Strongbox by checking out this link [all the devices listed there are Strongbox].
- If your device is StrongBox, then use the below syntax:
LD_LIBRARY_PATH=/vendor/lib64/hw KmInstallKeybox {KEYBOX FILE} {KEYBOX DEVICE ID} {ATTEST PROPS?} {KEYBOX FILE} {KEYBOX DEVICE ID} {ATTEST PROPS?} - If your device is not StrongBox, then use the below syntax:
LD_LIBRARY_PATH=/vendor/lib64/hw KmInstallKeybox {KEYBOX FILE} {KEYBOX DEVICE ID} {ATTEST PROPS?} - Here are the values that you need to replace in the aforementioned syntax
{KEYBOX FILE}: Should be "keybox.xml" {KEYBOX DEVICE ID}: Open keybox file and search for "DeviceID". The one that we have used for Poco X3 Pro uses "X705F100000000" {ATTEST PROPS?}: It has a Boolean value, either true/false. It's recommended to set it as true [if it gives any error, only then use false]. - So placing these values in the syntax for a Strongbox device, the command transforms to:
LD_LIBRARY_PATH=/vendor/lib64/hw KmInstallKeybox keybox.xml X705F100000000 true keybox.xml X705F100000000 true
- On the other hand, for non-Strongbox devices, the command will be:
LD_LIBRARY_PATH=/vendor/lib64/hw KmInstallKeybox keybox.xml X705F100000000 true
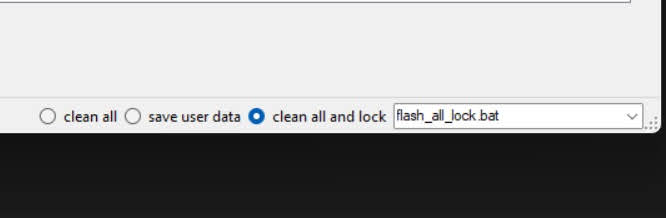
STEP 8: Relock Bootloader
Your final course of action should be to relock the bootloader on your device. For that, please check out our detailed guide on How to Relock Bootloader on Xiaomi Devices [Video].
That’s it. These were the steps to fix the issue of not being able to pass the CTS Profile on a locked bootloader. If you have any queries concerning the aforementioned steps, do let us know in the comments. We will get back to you with a solution at the earliest.


Techno Physics
Keybox is blacklisted now it’s no use now