In this guide, we will show you various methods to fix the issue of being unable to connect your Android/Pixel device to your Mac. There couldn’t be a better horror story than the relationship between the devices from the Silicon Valley giant and the PC from the Cupertino giant. Neither Google focuses on its devices being compatible with the Apple ecosystem, nor does the latter exert any effort from its end either. Ultimately, it’s the end users that turn out to be the sufferers.
![]()
Right from the first iteration of the Pixel all the way up to the latest one, it is always a challenging task to successfully connect an Android, or to be more specific, a Pixel device with Mac. In our testing, OnePlus and Samsung still manage to establish a connection [albeit after a couple of tries] but the ones from Google spells out failure more often than not. But we did manage to find out a couple of nifty workarounds that shall help you address this issue. So without further ado, let’s check them out.
Table of Contents
Fix Cannot Connect Android/Pixel to Mac
![]()
It is recommended that you try out each of the below-mentioned workarounds and then see which one spells out success for you. So with that in mind, let’s get started.
FIX 1: Verify USB Type
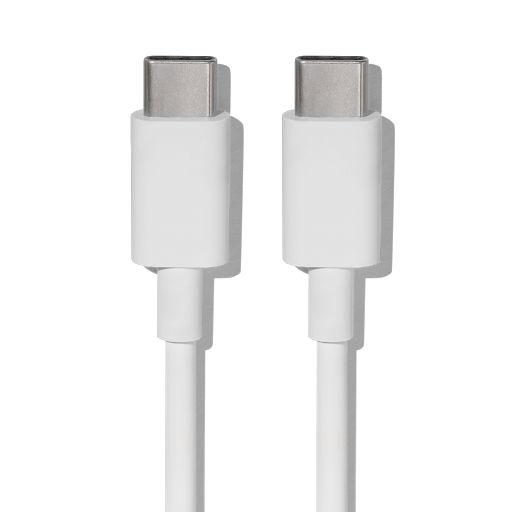
There are two types of USB cables- one is just made for charging whereas the other one supports both charging and data transfer. So you should always use the latter one. The one that comes with your device [USB Type C to Type C] comes with data transfer compatibility, so give it a try using that cable and then check out the results.
FIX 2: Enable USB Debugging
USB Debugging is a hidden mode on Android that is used to execute ADB Commands and is disabled by default. Some users did report that they were able to successfully connect their Android/Pixel device with their Mac after enabling this mode. So let’s give it a try and check out the results:
- Head over to Settings > About Phone and tap on Build Number 7 times.
- This will enable Developer Options. So go to Settings > System > Developer Options.

- Now enable the toggle next to USB Debugging and connect your Pixel to your Mac.
- You will now get a Debugging prompt on your device, tap Allow/OK.
- Now check if the Finder window is able to identify your device or not.
FIX 3: Revoke USB Authorization
if you have previously established a Debugging connection with another PC, then its fingerprint might conflict with the one from Mac. So you should consider removing the previously connected PC’s fingerprint so that Mac is able to create a fresh connection from scratch. Here’s how it could be done:
- To begin with, connect your device to your Mac via a USB cable.
- Then enable Developer Options on your device as explained in FIX 2.
- Now tap on Revoke USB Authorization and unplug your device.

- Then replug your device and you will get a Debugging prompt, tap OK.
- After that, you will get a fingerprint prompt, tap on Allow.

- Now check if your Mac is able to identify your Pixel/Android device.
FIX 4: Change Default USB Configuration
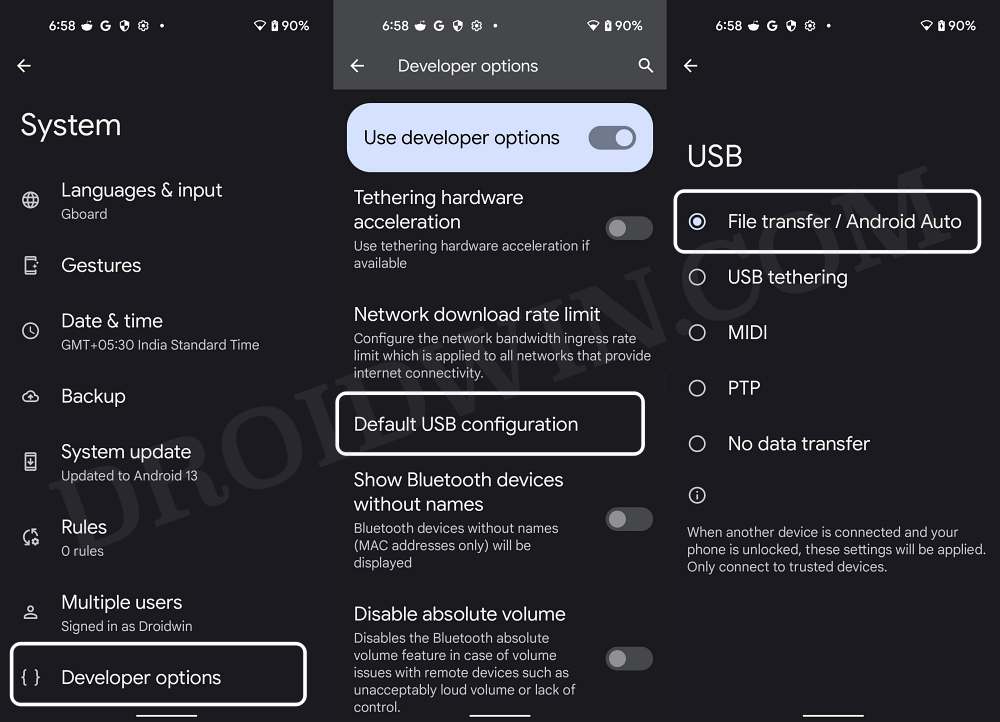
In most Android devices, the default USB configuration is set to “No Data Transfer”. As a result of which, your PC [let alone Mac, even Windows] will not be able to identify the connected device]. So let’s change this configuration to File Transfer and check out the results.
- To begin with, connect your device to your Mac via a USB cable.
- Then enable Developer Options on your device as explained in FIX 2.
- Now go to Default USB Configuration and set it to File Transfer.

- Check if your Android/Pixel device is visible in Mac’s Finder or not.
- If it’s not, then change the mode to MIDI or PTP and check out the result.
- [You will only be able to transfer media files in MIDI and only photos in PTP].
FIX 5: Use Android File Transfer
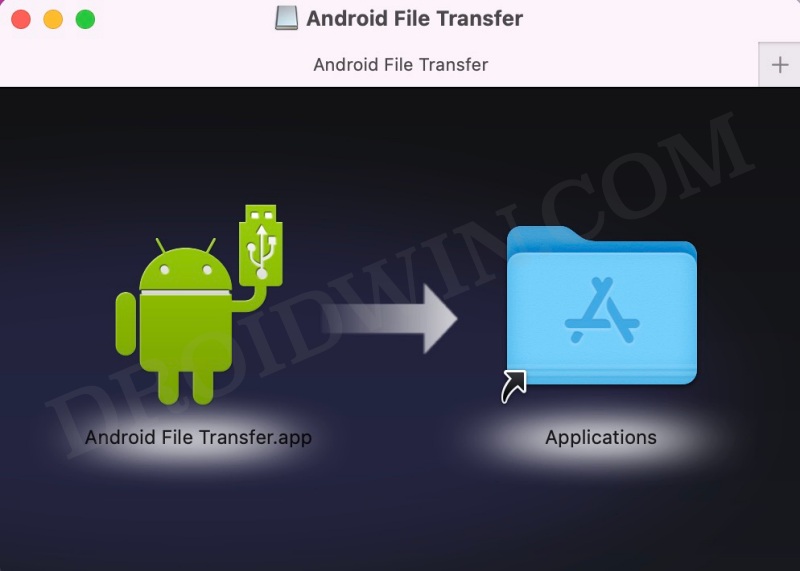
This is the official tool created by Google for transferring files from an Android device to Mac. So why have we mentioned it in the end? Well, it’s because it requires you to carry out all the aforementioned tweaks before you could give a shot this software. Now that we have already executed the above fixes, let’s try out this tool.
- Download and install the Android File Transfer on your Mac.

- Then connect your device to your Mac via a USB cable.
- Now go to Settings > System > Developer Options > Default USB Configuration and set it to File Transfer.


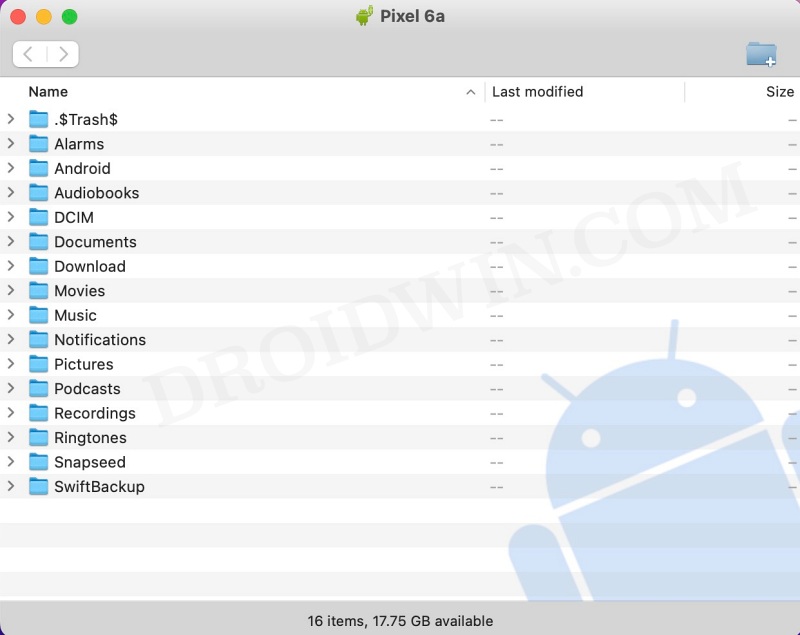
- Then launch the Android File Transfer. It should now identify your device and bring up the Internal Storage.

- if your device is still not readable by your Mac, then restart your Mac and retry the process. It should work now.
That’s it. These were the various methods to fix the issue of being unable to connect your Android/Pixel device to your Mac. If you have any queries concerning the aforementioned steps, do let us know in the comments. We will get back to you with a solution at the earliest.
Connect Pixel to Mac via Third-Party Apps
While I am usually not a fan of using third-party apps when we have a native option at hand, but this time around it’s an exception, all thanks to the pathetic functioning of the Android File Transfer. While it is able to read and identify every other Android device, but when it comes to Pixel, it gives out a nightmarish experience. So with no other default options, I searched for a few third-party apps and found two outstanding players in this domain:
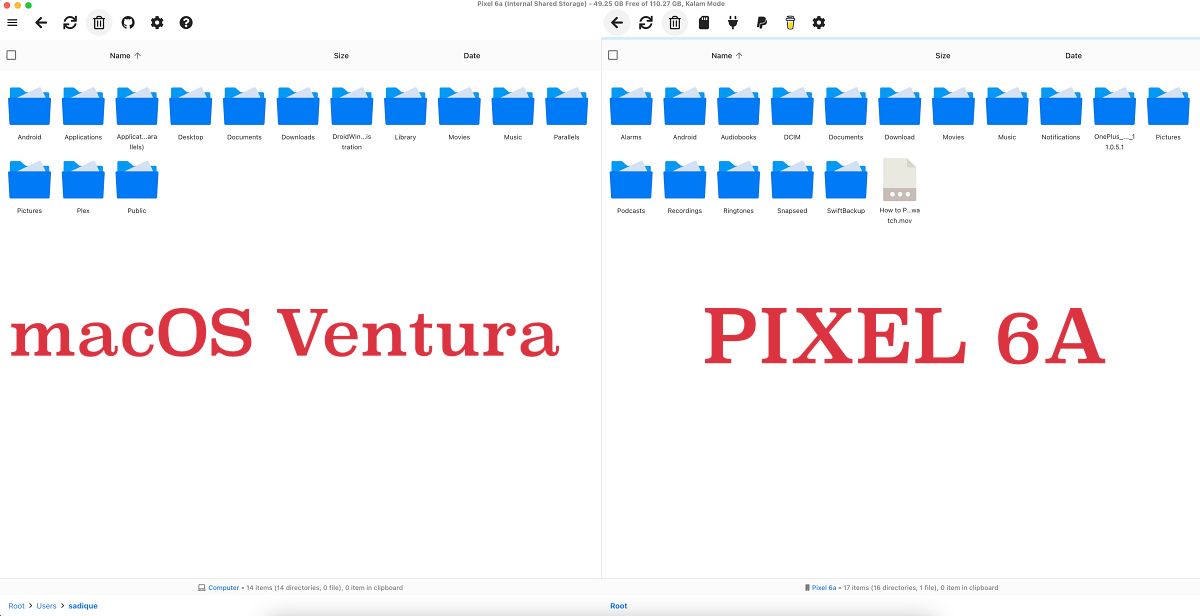

OpenMTP [Open source and Free] and MacDroid [Paid, Free Trail for 7 days]. As of now, I’m using the open-source OpenMTP and it seems to checkmark all my prerequisites with ease. Before opting for any of these two apps, make sure to uninstall Android File Transfer from your Mac. Likewise, also enable USB Debugging [see FIX 2] and change the Default USB File Configuration to File Transfer [see FIX 4].


