In this guide, we will show you the steps to connect your MacBook/Mac/iMac to your Android TV wirelessly. There could be quite a few reasons why you might carry out this task. primary among them might be the fact that your TV’s display is considerably larger than your Mac’s. And let’s admit it, who doesn’t like to work and stream on a larger screen?
In this regard, the most straightforward approach would be to connect your Mac to your TV via an HDMI cable. However, that wouldn’t be the most feasible and viable approach. So what else could be done? Well, you could easily connect your MacBook/iMac/Mac to your Android TV wirelessly. And in this guide, we will show you how to do just that. Follow along.
How to Connect MacBook/Mac/iMac to Android TV Wirelessly
- First and foremost, make sure that your Mac and Android TV are connected to the same WiFi network.
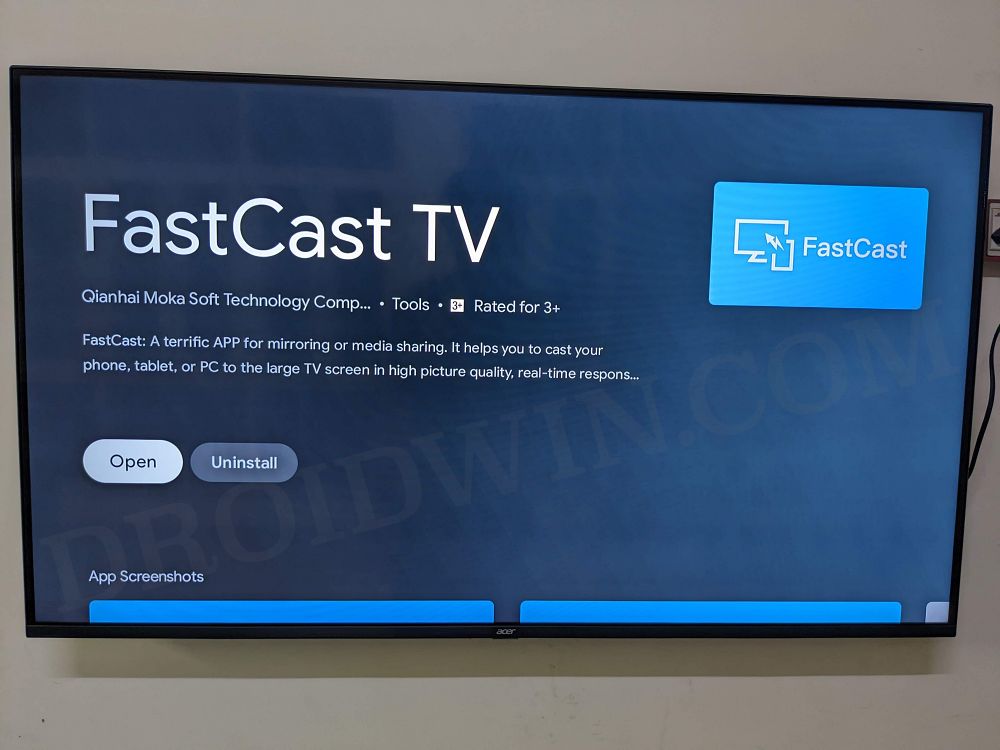
- Then open Play Store on your TV, search FastCast, and hit Install.

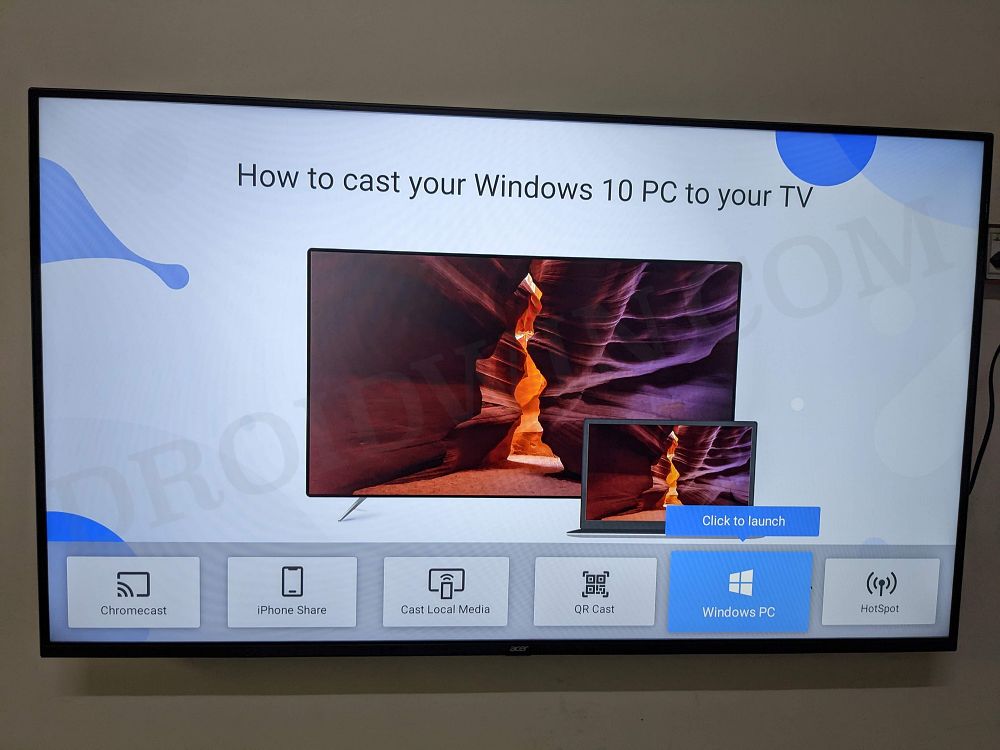
- Now launch the app and select “Windows PC” from the bottom menu bar, and hit OK on your remote.
- It should now show you the Wait for Connect message along with the device name: FastCast eb [or something similar].
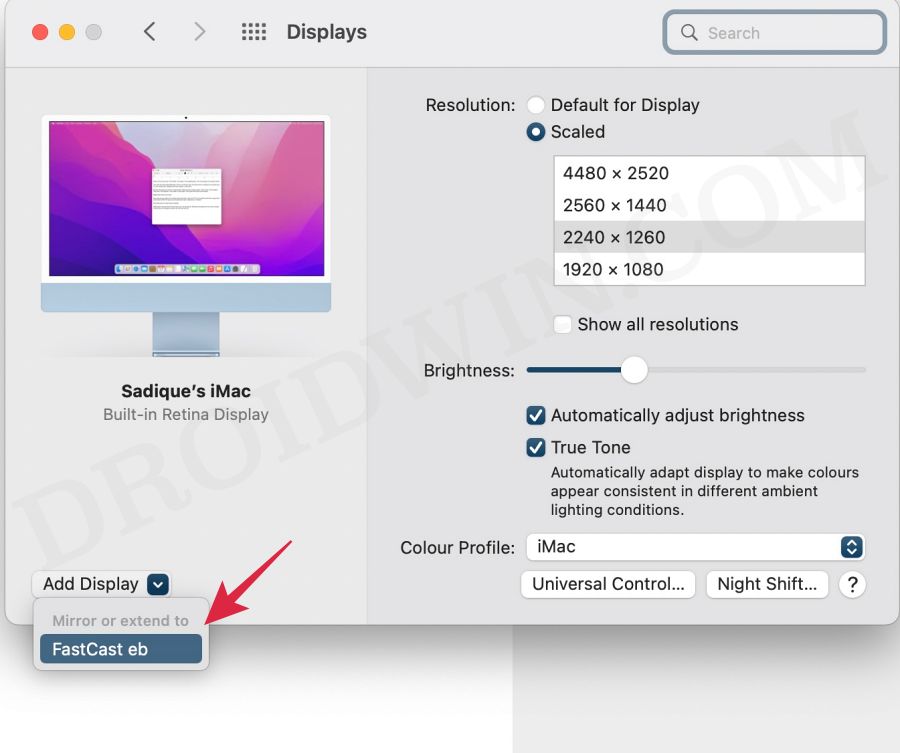
- Now go to your Mac, open System Preferences, and select Display.
- Then click on the Add Display button situated at the bottom left and select your device name [FastCast eb].
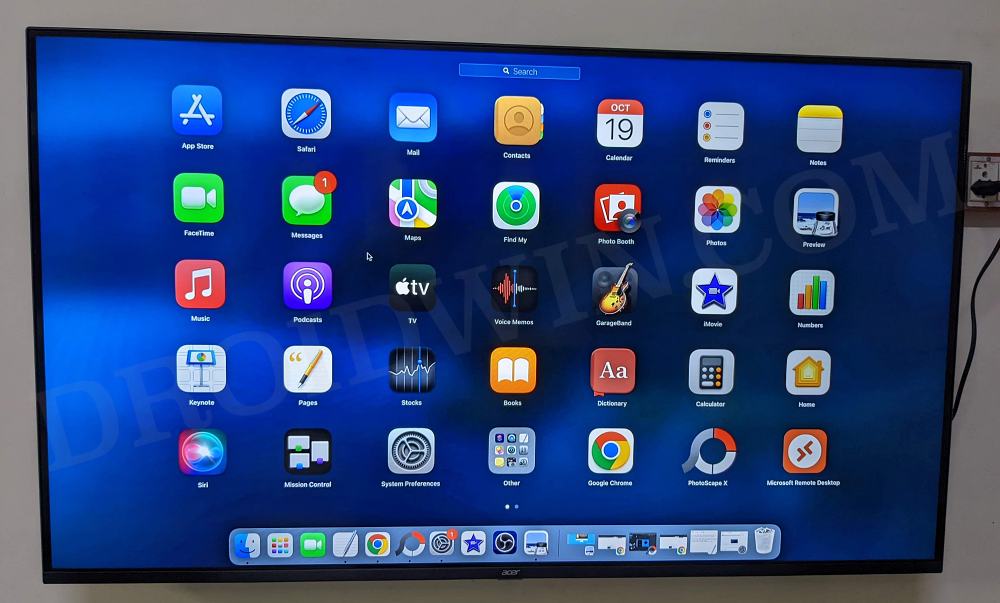
- Your Mac’s screen will now be streamed over to the TV within a few seconds.
- However, you might notice that the Mac display resolution would be slightly lowered. This is because it is currently optimized for AirPlay.
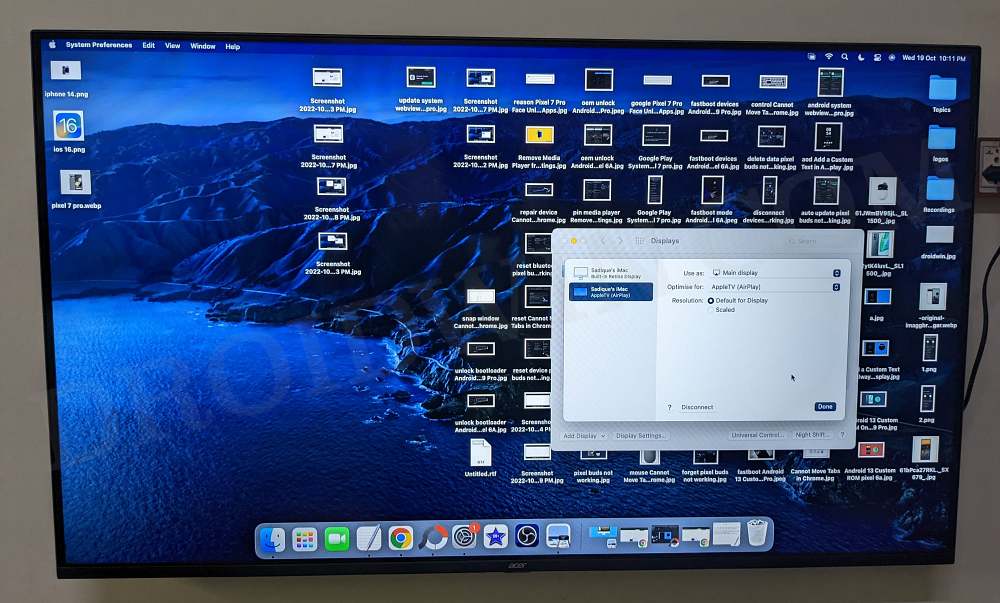
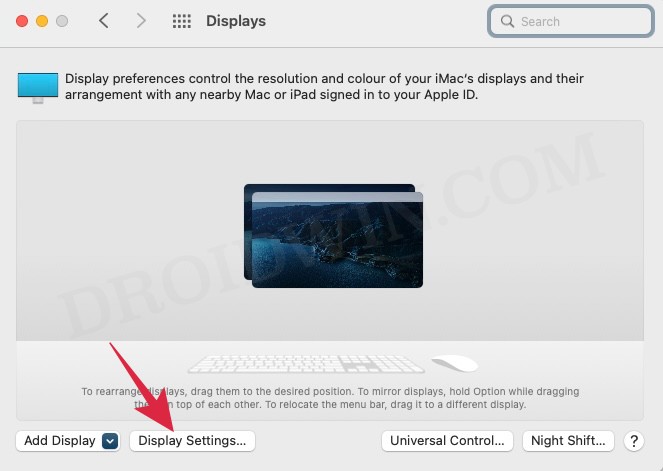
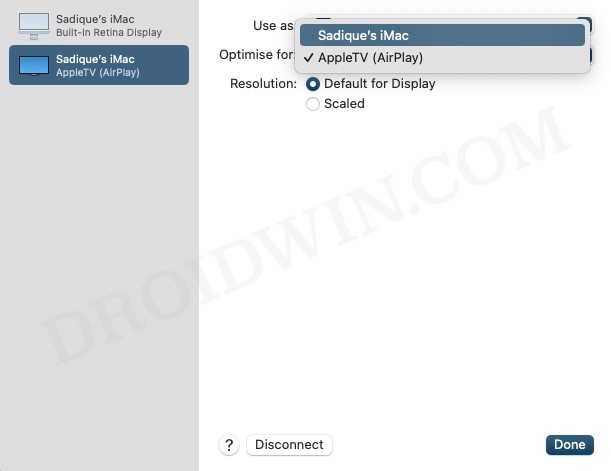
- So let’s change it and make it optimized for the Mac display. To do so, click on the Display Settings button.
- Then select AirPlay from the left-hand side, and under Optimize For, select iMac. That’s it.
- Everything is now up and running and you could now enjoy your Mac on a large-screen TV!
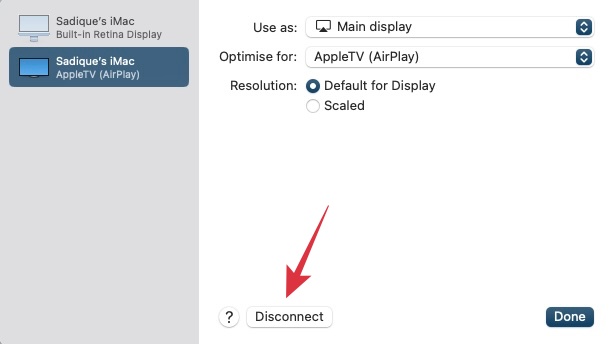
- Once you are done casting, just hit the Disconnect button to close the connection [or simply close the FastCast app on your TV].

These were the steps to connect your MacBook/Mac/iMac to your Android TV wirelessly. If you have any queries concerning the aforementioned steps, do let us know in the comments. We will get back to you with a solution at the earliest.
Switch between Screen Mirror, Extended Display, and Main Display on Mac and Android TV
By default, the cast setting will be set to Screen Mirror. So whatever you would be doing on your Mac, the same would be mirrored on the TV screen. If you wish to change this default behavior [for obvious reasons!], then you could choose between Extended Display and Main Display. In Extended Display, a single content will be shared across both screens wherein that content will treat both these displays as a single display and show the content accordingly.
On the other hand, the Main Display feature will make your TV display the primary one and there will be nothing on your mac display [you will have to close the app or disconnect the connection to make your Mac display active again]. So with this, you would have got a decent idea between the three-screen display settings. Let’s now make you aware of the steps to switch between these three settings.
- Go to System Preferences > Display and click on Display Settings.
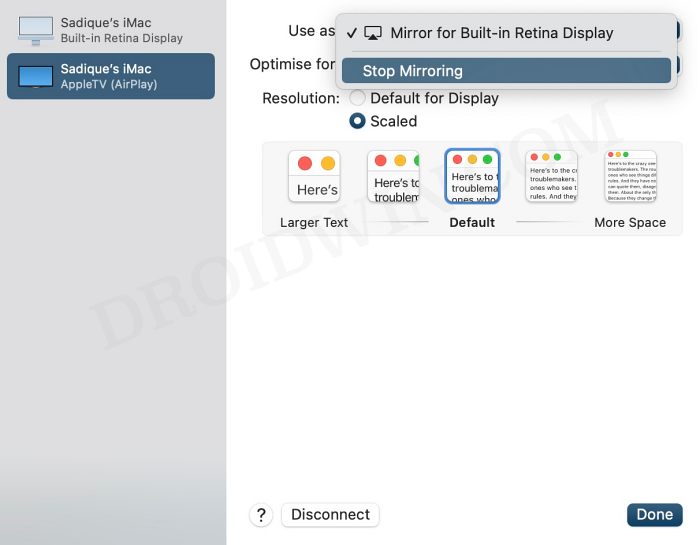
- Then select your TV from the left-hand side and go to the “Use as section” on your right.
- Now select Stop Mirroring from the drop-down menu.
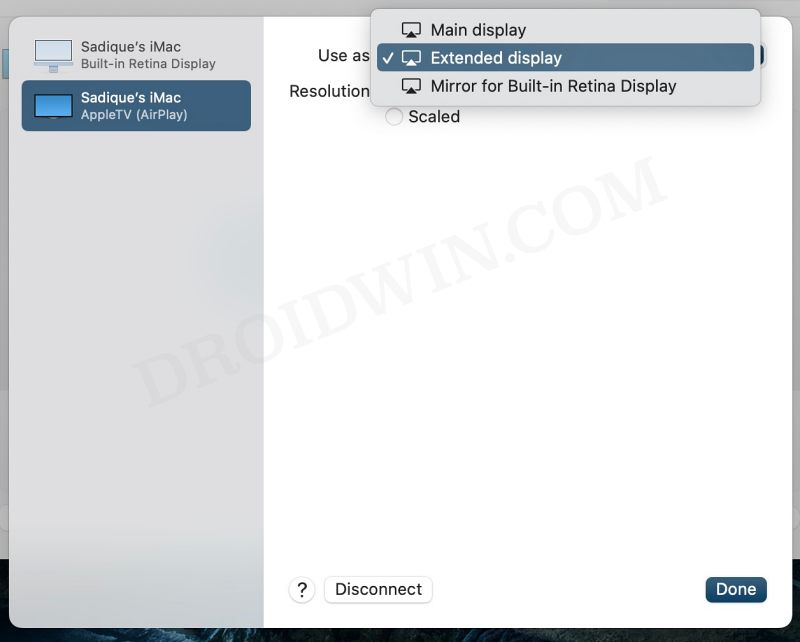
- Finally, choose Extended Display or Main Display, depending on your requirement.