In this guide, we will show you the steps to download, install and flash firmware using QPST Tool. When it comes to custom development, there’s hardly a doubt that devices with the Qualcomm Snapdragon chipset are ruling this domain. Once you have tick-marked the sole prerequisite of unlocking the device’s bootloader, there’s a truckload of tweaks to try out.
These include the likes of flashing custom ROMs, installing a custom recovery like TWRP, or gaining access to the system partition by rooting the device via Magisk. While these customizations do end up adding more to your devices, but that is just one side of the coin. If you end up flashing an incorrect binary or flash the correct one to the incorrect partition, then you are inviting trouble.
While a soft-brick could easily be fixed by flashing the stock firmware via Fastboot Command, it is the hard bricked that is a cause of concern. Well, not anymore. You could now easily bring your device back from dead via the QPST Tool. And in this guide, we will show you how to do just that. So without further ado, let’s get started with the steps to download, install and flash firmware using QPST Tool.
Table of Contents
What is QPST Tool?
Qualcomm Product Support Tool, or popularly known as QPST, is a software application used by service center employees to fix the bootloop, soft brick, or hard brick issues on Qualcomm devices.
For the unaware, every Qualcomm device comes with a secondary boot known as Emergency Download Mode. Once you boot your device to this EDL Mode, you could then flash the force-firmware file using the required tool of your choice (such as QFIL, QPST, among others).
Features of QPST Tool
Let’s now check out some of the noteworthy tools that QPST beholds:
Unbrick Android Devices
The tool’s most important functionality, QPST could be used to fix bootloop, soft brick, or hard brick issues on any Android phone. This is made possible by flashing the firmware in EDL Mode (explained below in-depth in this guide).
QFIL Support
It also comes with support for Qualcomm Flash Image Loader Tool. So if you are planning to flash an ELF firmware, then you could do so via the QFIL tool, which could be accessed via the QPST Tool itself.
QPST Configuration
This section will let you know the status of all the connected devices, the serial ports to which they are connected, as well as the active clients.
Support for Non-Volatile Components
You could access, manage, configure and get detailed information regarding the non-volatile components of your device. Along the same lines, you could also back up and restore these NV components.
Download QPST Tool
You may now download the latest version of the QPST Tool from the below link. We have also attached a few older builds of this tool, if you are planning to get hold of them for some reason, then you may directly download them from the below links.
The older versions usually come in handy when you face an issue or error message with the newest builds. But these issues are rare, and hence it is advised that you start off with the latest build only.
- Download Latest QPST Tool for Windows: QPST_Tool_2.7.496.rar
- Older Build: QPST_2.7.104_OLD_.zip
How to Install QPST Tool on Windows
Let’s now get you acquainted with the steps to install the QPST Tool on your Windows PC. Follow along.
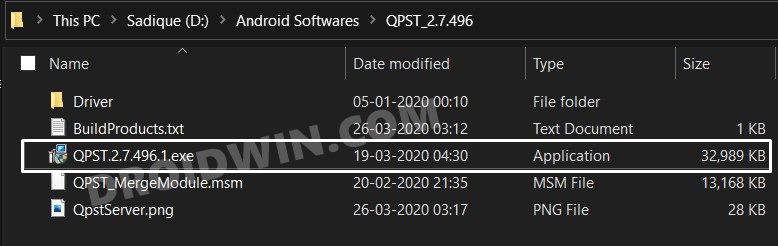
- To begin with, extract the downloaded QPST Tool to any convenient location on your PC.
- Then double click on the EXE file to launch the setup.

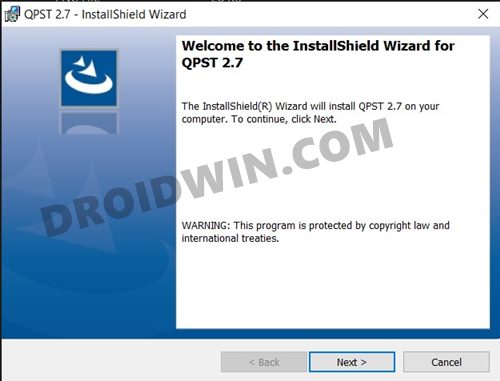
- Click on the Next button in the welcome screen that appears.
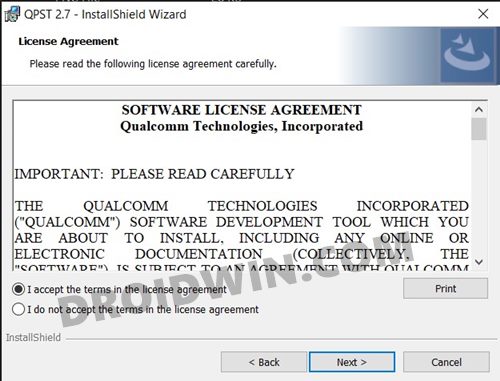
- Then accept the terms and conditions and hit Next.
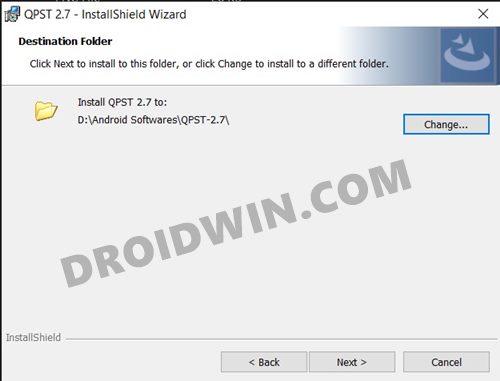
- After this, select the installation directory and click Next.
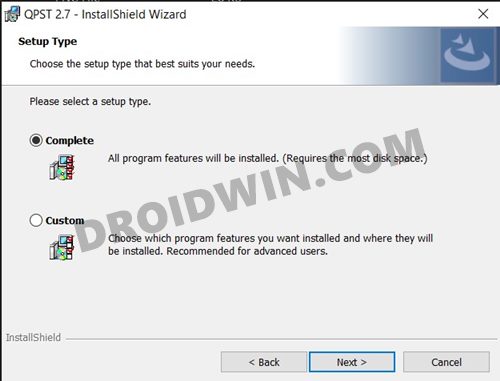
- Now choose Complete under Setup Type and click Next.
- Finally hit the Install button for the process to complete.
- Once done, hit the Finish button to close the setup. That’s it, the process stands complete.
How to Flash Firmware using QPST Tool
The below instructions are listed under separate sections for ease of understanding. Make sure to follow in the exact same sequence as mentioned. Droidwin and its members wouldn’t be held responsible in case of a thermonuclear war, your alarm doesn’t wake you up, or if anything happens to your device and data by performing the below steps.
STEP 1: Download the Stock Firmware
To begin with, you need to get hold of the stock firmware for your device. A QPST supported firmware usually have MBN, XML, ELF, and XML files within it. So go ahead and download it from any trustworthy site. Once downloaded, extract it to any location on your PC.
STEP 2: Install Qualcomm Drivers
You will also have to install the Qualcomm 9008 drivers. This is needed so that your PC is able to identify the connected device in EDL Mode. So refer to our comprehensive tutorial Download and Install Qualcomm HS-USB QDLoader 9008 Drivers.
STEP 3: Boot Device to EDL Mode
Next up, you will have to boot your Android device to Emergency Download Mode. For that, you may refer to our comprehensive guide to How to Boot any (Bricked/Unbricked) Android Device to EDL Mode. Once your device is booted to EDL Mode, connect it to the PC via USB cable.
STEP 4: Verify QPST Connection
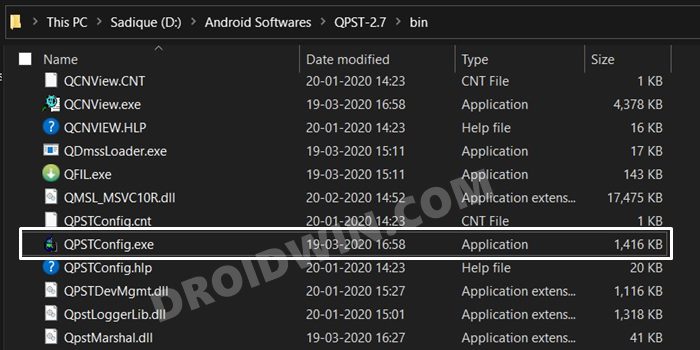
- Next up, verify the device’s connection in the QPST Tool. To do so, head over to the tool’s installation directory, the default directory would be:
C:\Program Files (x86)\Qualcomm\QPST\bin
- Now navigate to the Bin folder. There you should find the QPSTConfig.exe file, open it.
- Go to its Port tab. You should see the COM(number) under the Port section and Status as Enabled.
- This signifies the connection is successful and you may proceed ahead with the flashing part.
STEP 5: Flash Firmware using QPST Tool
There are two different methods to flash the firmware, and we have shared both of them below. You may try any one of these two.
Method 1: Flash Firmware via QPST Config File
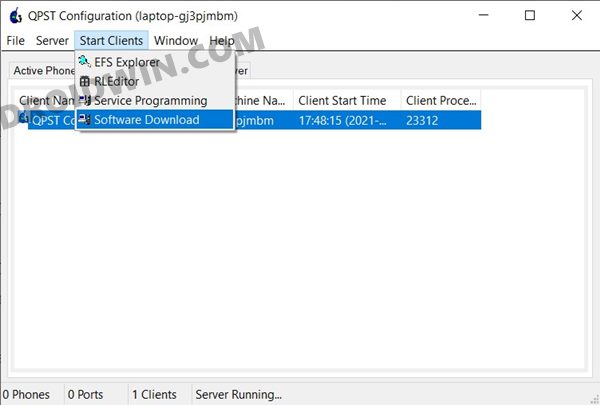
- Start off by double-clicking on the QPSTConfig.exe file to launch the tool.
- Then go to the Start Clients section and click on the Software Download option from the drop-down menu.
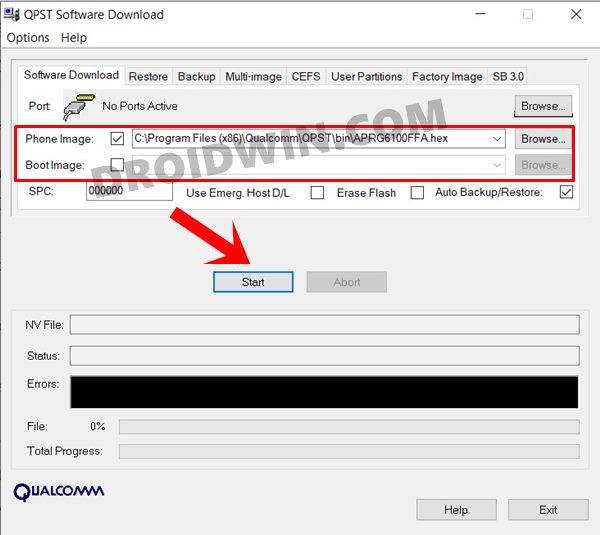
- Now click on the ‘Browse‘ button next to ‘Phone Image‘ and select the HEX firmware file.
- After that, click on Browse next to ‘Boot Image‘ and select the bootloader HEX file. If your firmware doesn’t have this file, not an issue, you may leave this field blank.
- Finally, hit the Start button and the flashing process will now start. Once done, you will be notified of the same.
- You may then unplug the device from your PC and close the tool as well.
Method 2: Flash Firmware using QPST’s QFIL Tool
While the standalone QFIL Tool is quite popular, what many users are unaware of is the fact that the QPST Tool has also embedded this tool within its working environment. As a result, you don’t need to separately download the QFIL, but could rather use it to flash firmware from within QPST itself. Here’s how:
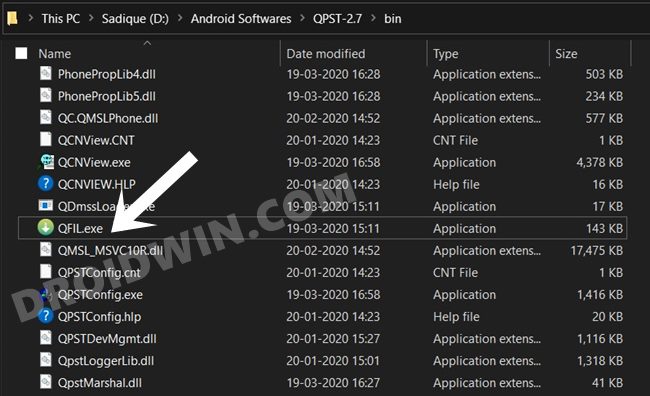
- Head over to the below location on your PC
C:\Program Files (x86)\Qualcomm\QPST\bin
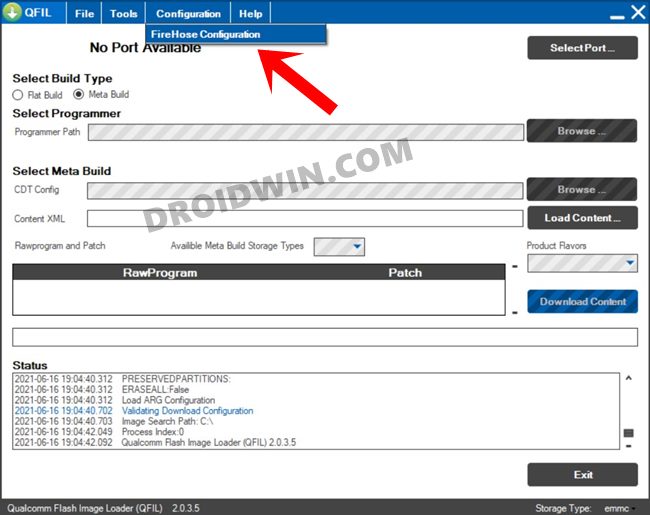
- Within that, you should see the QFIL.exe file, double click to open it.
- Once QFIL launches, go to its ‘Configuration’ section and select ‘Firehose Configuration’.
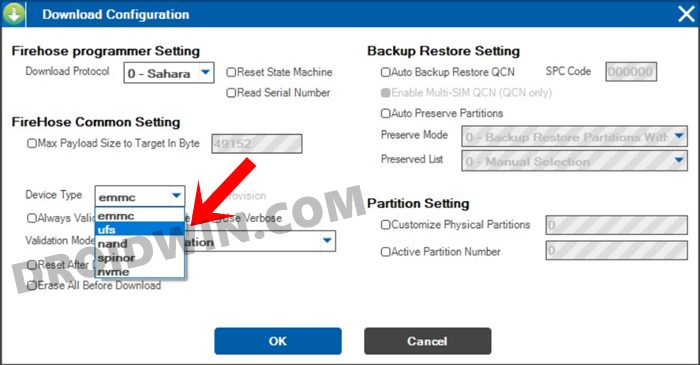
- This shall bring up the Download Configuration dialog box. Under Device Type, select ‘UFS’ or ‘eMMC’.
- Leave all the other fields as they are and hit the OK button.
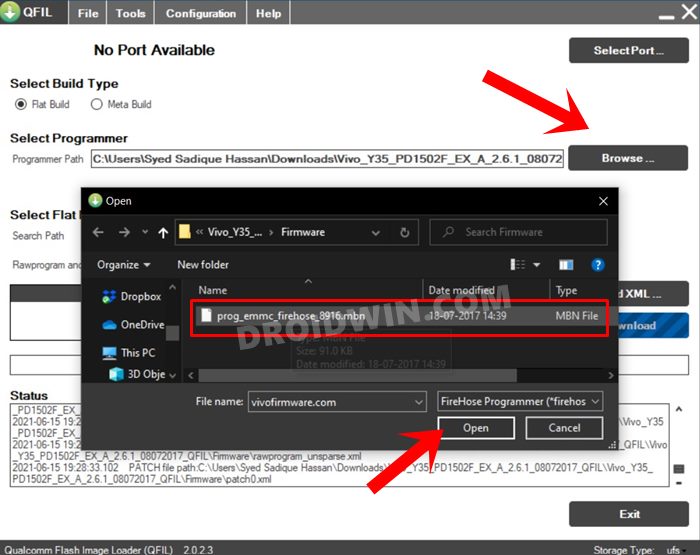
- Then select Flat Build under Build Type.
- After this, click Browse next to Programmer Path, navigate to the extracted firmware and select the programmable firehose file.
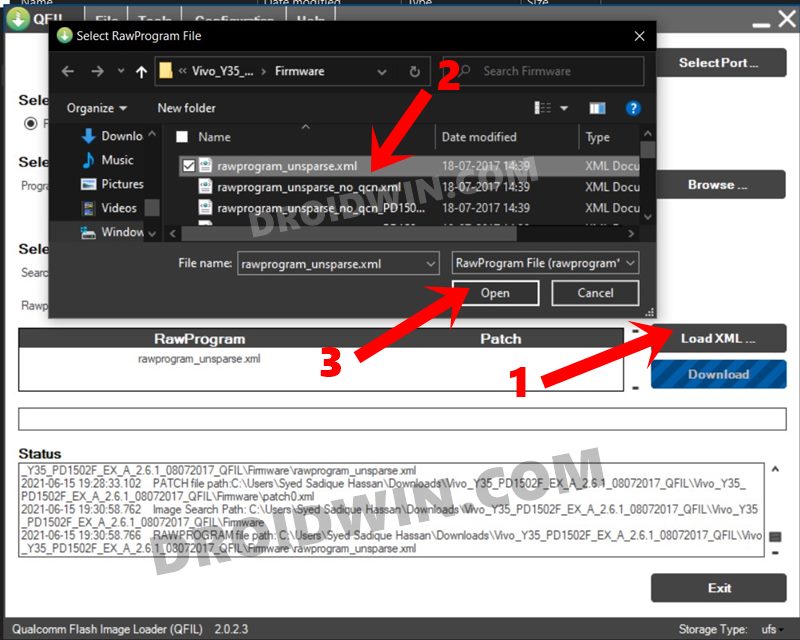
- Then click on Load XML and select the firmware’s XML file.
- Once all these files have been loaded, click on Download and the flashing to start.
- Once done, you may close the tool and remove the device from the PC as well.
That’s it. These were the steps to download, install and flash firmware using QPST Tool. We have shared two different methods for the same. If you have any queries concerning the aforementioned steps, do let us know in the comments section below. We will get back to you with a solution at the earliest.