In this guide, we will show you the steps to downgrade Microsoft Excel to the earlier stable version. When it comes to spreadsheet software, then there are no brownie points in guessing that the offering from the Redmond giant is the best in this domain. Beholding a slew of nifty features including the like of computation capabilities, graphing tools, pivot tables, and the popular macro programming language VBA, it has become the go-to choice in the professional workspace.
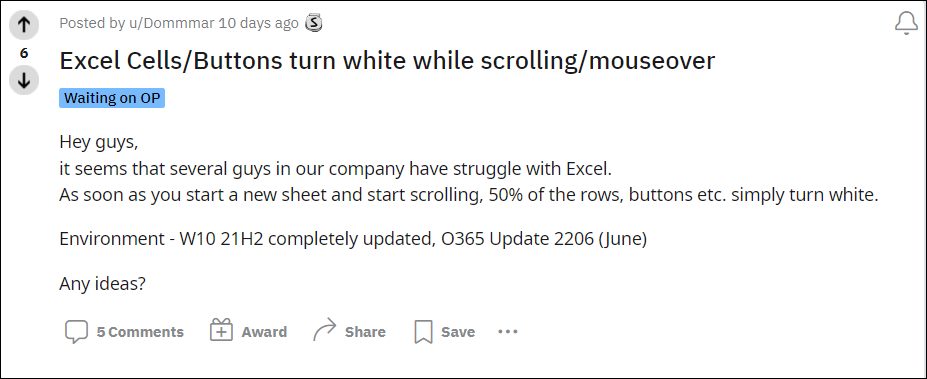
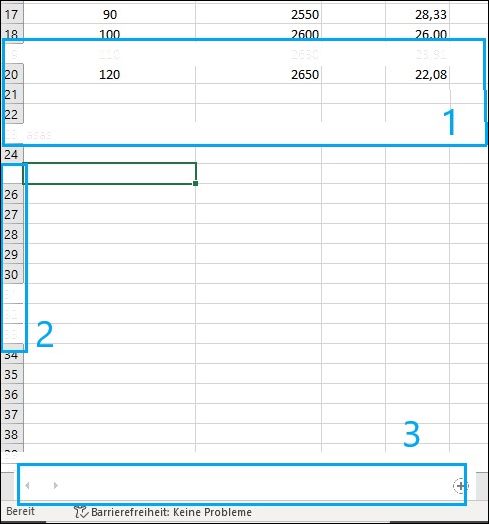
However, in spite of all the goodies attached, it isn’t free from its fair share of issues. For example, recently users voiced their concern that the latest Excel version 2206 update had bought a white color bug that ended up blocking the contents of the cells, cell row and column numbers, and sheet numbers. And it goes without saying that the data being hidden behind the white color blocks is probably the last thing that you would want.
So what was the fix? Well, you just had to downgrade Microsoft Excel to the earlier stable version and the issue got rectified. To be fair, this isn’t just a one-off incident, rather there have been many instances in the past wherein the underlying bug was rectified after performing a downgrade. So on that note, let’s make you aware of the steps to perform this downgrade right away.
How to Downgrade Microsoft Excel to an Earlier Version

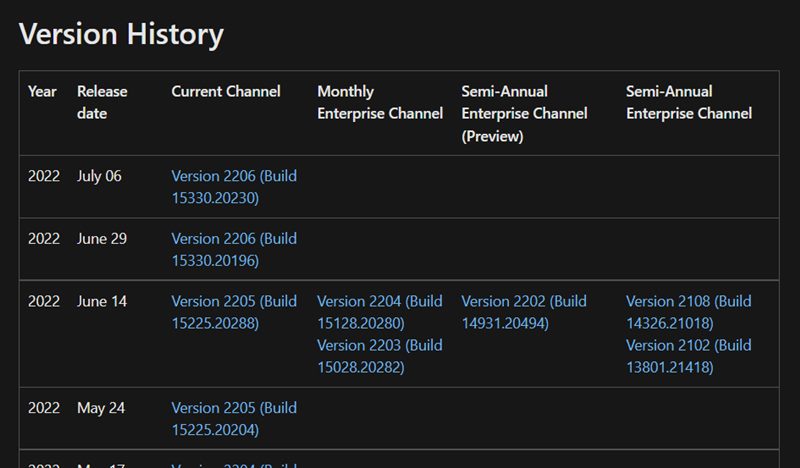
- To begin with, note down the Excel build number to which you wish to downgrade. As an example, let’s downgrade to Build 15330.20196.

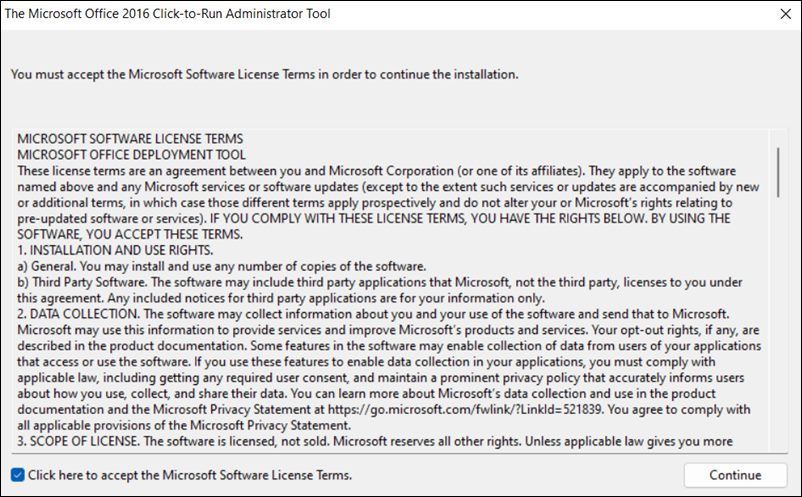
- Then download and run the Office Deployment Tool. Select the folder where you wish to extract the tool and hit OK.
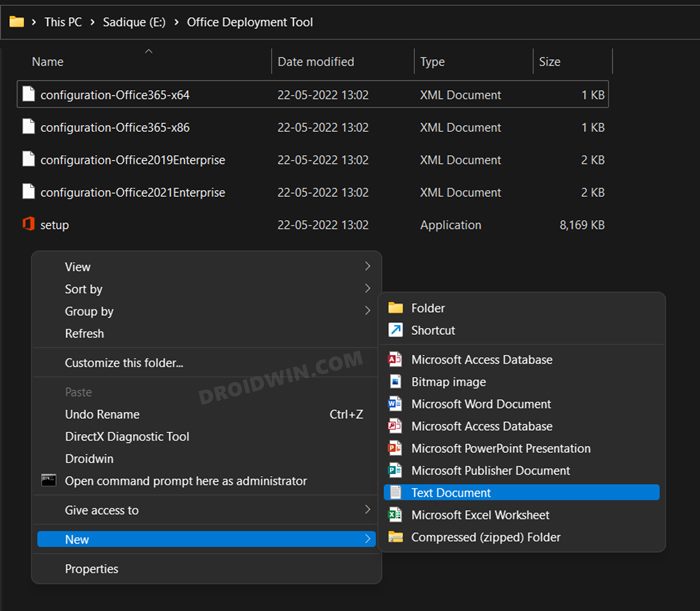
- You will get a setup EXE file and a configuration XML file. Now go to this folder and create a new text document.
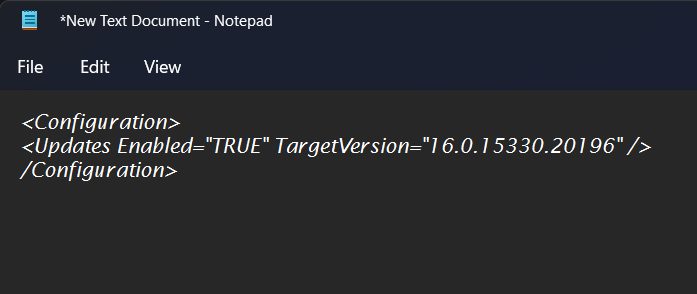
- Copy-paste the below XML command into that notepad file. Make sure to replace the xxxxx.yyyyy with the build number that you had copied in STEP 1.
<Configuration>
<Updates Enabled="TRUE" TargetVersion="16.0.xxxxx.yyyyy" />
</Configuration>
- Since the build number in our case is 15330.20196, so the above command will transform to
<Configuration>
<Updates Enabled="TRUE" TargetVersion="16.0.15330.20196" />
</Configuration>
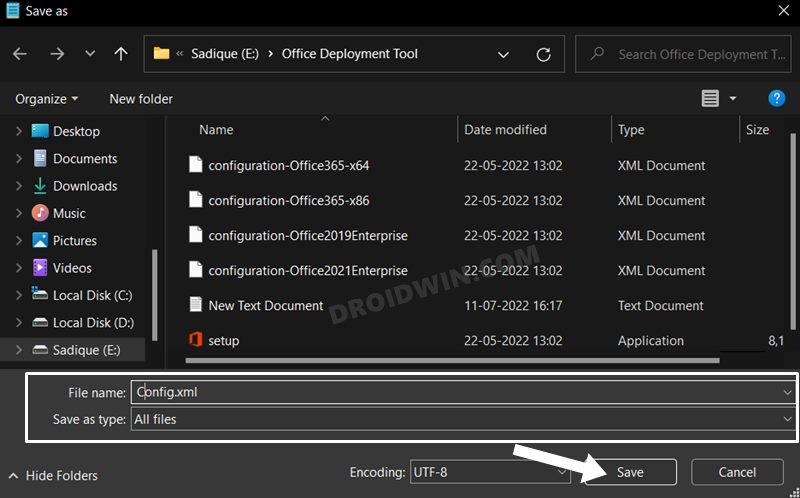
- Now go to File > Save as and change the “Save as type” to All Files. Then name the file Config.xml and hit Save.
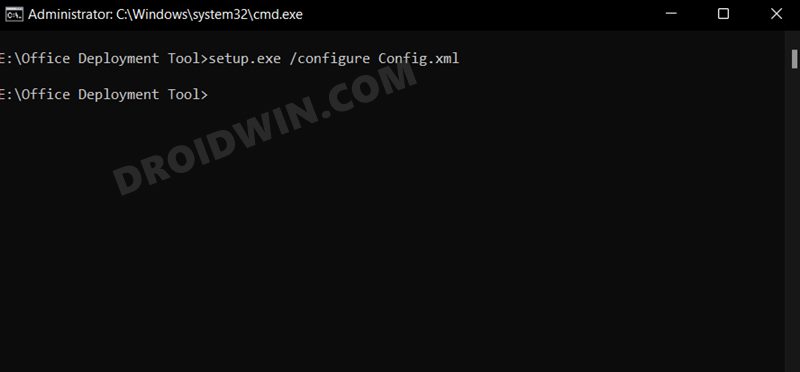
- Now launch Command Prompt as an administrator and change the directory to the folder where you have extracted the Office Deployment Tool.
- After that, execute the below command in the CMD window and hit Enter.
setup.exe /configure Config.xml
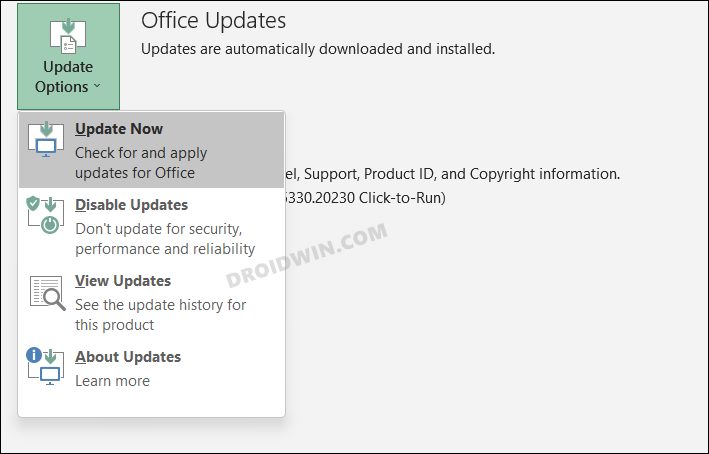
- Now launch Microsoft Excel and go to File > Account > Update Options > Update Now.
- The older version of Excel that you had specified in STEP 1 will now be installed on your PC.
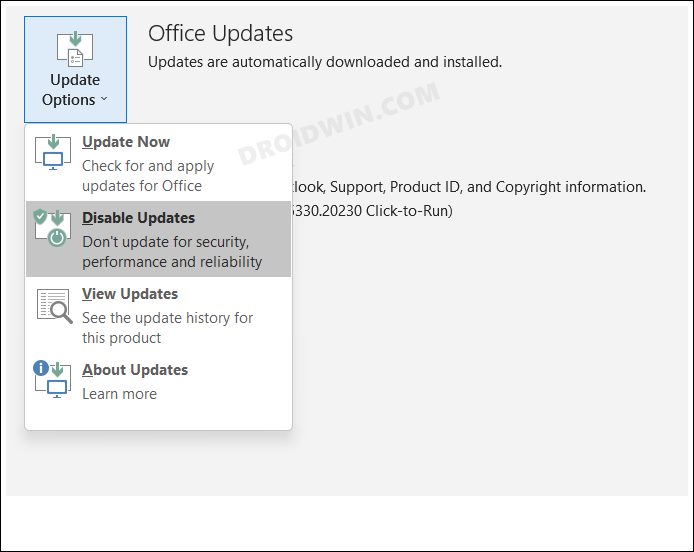
- You should now disable automatic updates as well, otherwise, Microsoft will update Excel to the latest buggy version.
- So launch Outlook and go to File > Office Account > Update Options and click on Disable Updates.
That’s it. These were the steps to downgrade Microsoft Excel to the earlier stable version. If you have any queries concerning the aforementioned steps, do let us know in the comments. We will get back to you with a solution at the earliest.


