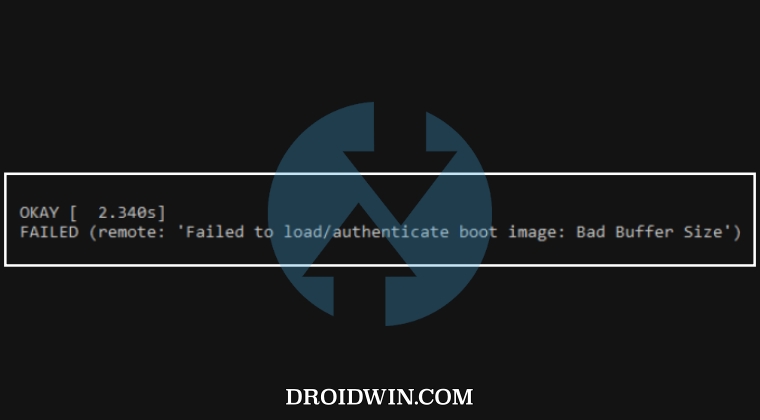
In this guide, we will list the steps to fix the Bad Buffer Size Error in TWRP and explain to you the cause of this error. If you are planning to step into the custom domain, then having a custom recovery like TWRP or OrangeFox is the most powerful tool that you could have in your arsenal. From flashing custom ROMs to taking Nandroid Backups, it has a slew of useful features up its sleeves.
However, due to the numerous types of partition styles that each Android device beholds, there doesn’t exist a uniform method of flashing the recovery. As a result of which, you might come across numerous errors while flashing the TWRP Recovery, one among which is Bad Buffer Size. When that happens, you are more likely to get stuck in the Fastboot Mode as well. So what exactly is this issue and more importantly how to rectify it? Let’s find out.
What is Bad Buffer Size Error in TWRP

Flashing a custom recovery usually takes three different routes: via recovery partition, using boot partition and ramdisk, and finally, via the vendor_boot partition. The Bad Buffer Size Error occurs when you are installing TWRP in the first type of device- via the recovery partition. Since these devices have a dedicated recovery partition, you could or rather should directly flash the recovery to that partition instead of using the boot command to temporarily boot that recovery.
If you do the latter, then you will be greeted with the aforementioned error. To be more specific, if you use the fastboot boot recovery.img for devices that have a recovery partition, then you’ll get the Bad Buffer Size error. So to rectify it, you’ll have to directly flash the recovery to its partition[apart from executing a couple of additional commands], as shown below. [Also Read: How to Check if your Device has Recovery Partition].
How to Fix TWRP Bad Buffer Size Error
- First off, download and extract Android SDK Platform Tools on your PC.

- Then rename the recovery to recovery.img and transfer it to platform tools.
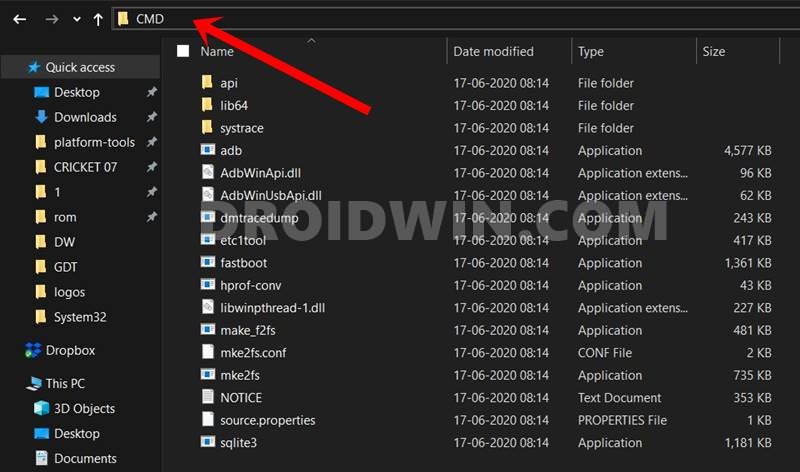
- Now open the Command Prompt inside the platform-tools folder.

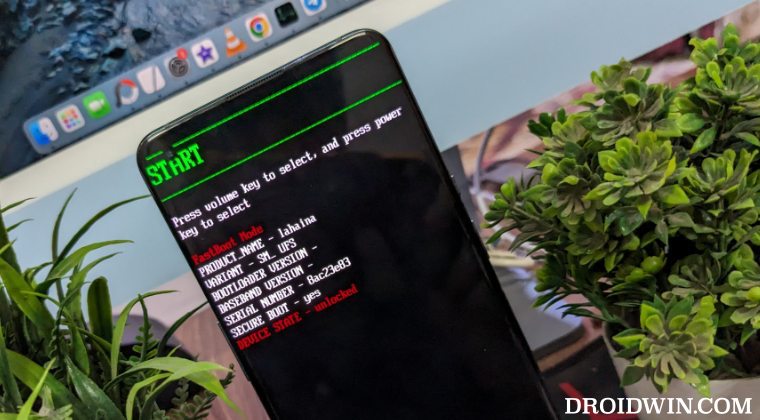
- Moreover, as of now, your device should be booted to Fastboot Mode.
- If that is not the case, then use the hardware key combinations to force boot to this mode.

- Now type in the below two commands in the CMD window:
fastboot erase misc
fastboot set_active a
- Then type in the below command to flash the recovery to the recovery partition:
fastboot flash recovery recovery.img

- Or you may also manually flash the recovery to both the slots as follows:
fastboot flash recovery_a recovery.img
fastboot flash recovery_b recovery.img
- Finally use the below command to boot your device to the newly flashed recovery:
fastboot reboot recovery
That’s it. These were the steps to fix the Bad Buffer Size Error in TWRP. If you have any queries concerning the aforementioned steps, do let us know in the comments. We will get back to you with a solution at the earliest.


