In this guide, we will show you the steps to replace the TWRP Recovery with AOSP Recovery. When you flash a custom ROM, then usually you’ll first have to flash TWRP, and using it, you could flash the custom ROM. Once the flashing is complete, the TWRP Recovery is replaced by the AOSP Recovery [such as Pixel Experience Recovery in the case of Pixel Experience ROM]. In this regard, we have already covered how you could bring back TWRP and replace it with AOSP.
However, in this guide, we will be covering the reverse [as requested by one of our YouTube subscribers]: how you could replace the TWRP Recovery with AOSP Recovery. In other words, how you could bring back the Pixel Experience Recovery if you have Pixel Experience ROM and hence ditch the TWRP Recovery in the process. So without any further ado, let’s get started.
Table of Contents
How to Replace TWRP with AOSP Recovery

This guide could take two different approaches- if you have temporarily booted your device TWRP for one-time usage and when you have permanently flashed the TWRP. Let’s check out both of these cases. Droidwin and its members wouldn’t be held responsible in case of a thermonuclear war, your alarm doesn’t wake you up, or if anything happens to your device and data by performing the below steps.
Case 1: When TWRP is Temporarily Installed
If you have used the fastboot boot twrp.img command, then your device will just boot to TWRP for one-time usage. More importantly, upon a subsequent restart, the TWRP will be automatically replaced with whatever AOSP Recovery you were earlier having. So in short- just do a restart from any screen [OS, TWRP, Fastboot], and your task stands complete.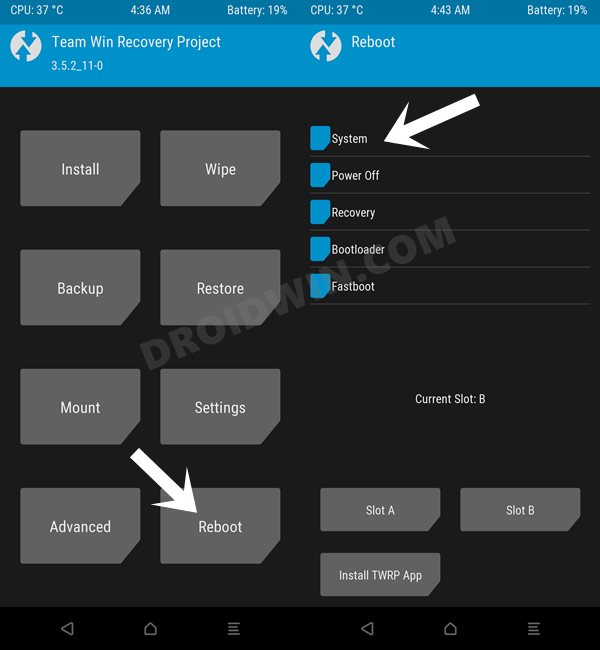
Case 2: When TWRP is Permanently Flashed
In case the TWRP Recovery has been permanently flashed, the steps are a little bit different and lengthier as well. Here’s what you need to do in such cases:
STEP 1: Install Android SDK

First and foremost, you will have to install the Android SDK Platform Tools on your PC. This is the official ADB and Fastboot binary provided by Google and is the only recommended one. So download it and then extract it to any convenient location on your PC. Doing so will give you the platform tools folder, which will be used throughout this guide.
STEP 2: Extract Boot and Vendor_Boot
- First off, download the same version of the custom ROM which is currently installed on your device.
- Then extract it and you’ll get a couple of files, including payload.bin, which we will now be using.
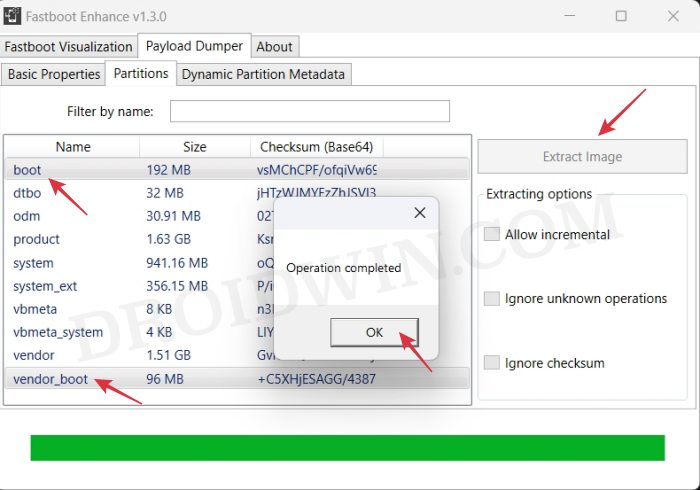
- So download and extract the Fastboot Enhance Tool on your PC. Then launch it via its EXE file.

- Now go to the Payload Dumper tab, click Browse, navigate to the payload.bin file, and select it.
- Then select the boot.img and vendor_boot.img and click on Extract Image. Choose a directory and hit OK.
- Once the files have been extracted, transfer them to the platform-tools folder.
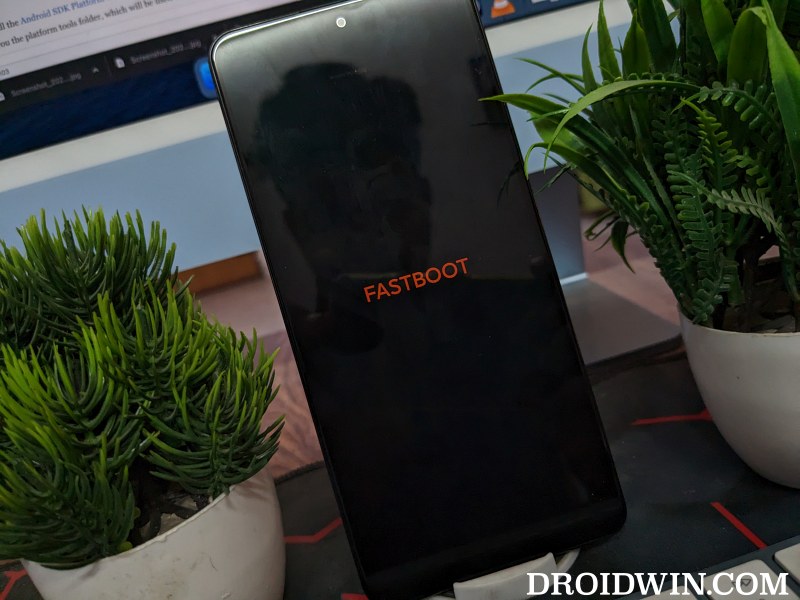
STEP 3: Boot to Fastboot Mode
- Connect your device to the PC via a USB cable. Make sure USB Debugging is enabled.
- Then head over to the platform-tools folder, type in CMD in the address bar, and hit Enter. This will launch the Command Prompt.

- Type in the following command in the CMD window to boot your device to Fastboot Mode
adb reboot bootloader
- Now type in the below command to verify the Fastboot Connection
fastboot devices
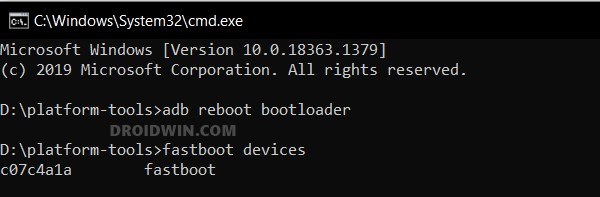
- If you don’t get a device ID, then please install the Fastboot Drivers.
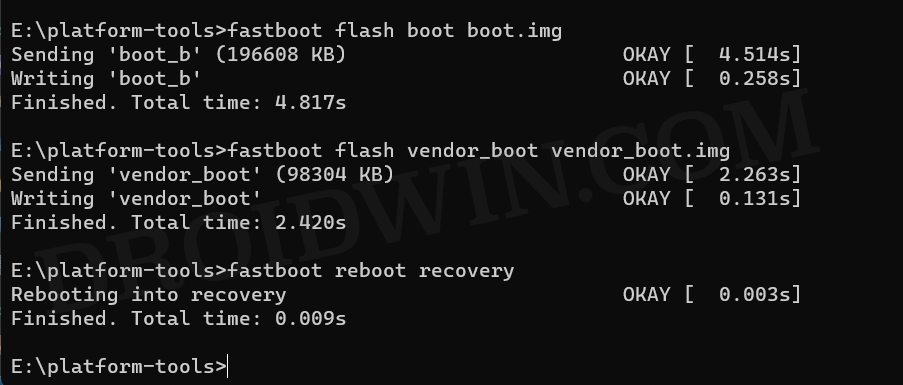
STEP 4: Flash Boot and Vendor_Boot
- First off, execute the below command to flash the boot.img
fastboot flash boot boot.img
- Then type in the below command to flash the vendor_boot.img
fastboot flash vendor_boot vendor_boot.img
- Now execute the below command to boot your device to AOSP recovery:
fastboot reboot recovery
- That’s it. You may now boot your device to the OS via Reboot System Now.
These were the steps to replace TWRP Recovery with AOSP Recovery. If you have any queries concerning the aforementioned steps, do let us know in the comments. We will get back to you with a solution at the earliest.


Giuliano
there no payload.bin file in my lineage os 20 rom
Sadique Hassan
LineageOS ROM provides the recovery file separately [it may be either recovery.img, vendor_boot.img, boot.img, etc, depending on the device you own], so you may directly use it without the need for extraction.