In this guide, we will show you the steps to flash the TWRP Recovery in the vendor boot partition. If you are stepping into custom development, then a custom recovery will prove to be the most powerful tool that you could have in your arsenal. From flashing custom ROMs to taking Nadroid Backups, these recoveries behold a slew of useful functionalities up their sleeves. However, flashing them has proven to be quite a challenging task in recent years.
The reason for the same is the different partition styles that each device beholds. For instance, while some have a dedicated recovery partition, it’s missing from others. So while you could flash a custom recovery directly to the recovery partition in the former, you’ll have to take the help of the boot partition and then the ramdisk to get the job done in the latter. Then, there’s this third method of flashing TWRP Recovery- which involves the vendor partition. Here’s everything you need to know in this regard.
Table of Contents
What is Vendor Boot as Recovery [A/B Partition]
These devices don’t have a dedicated recovery partition. And even though it does have a boot partition, but the ramdisk doesn’t reside there, instead it is present in the vendor_boot partition [hence you cannot flash it via the Install Recovery Ramdisk method]. Moreover, you cannot even use the fastboot boot recovery.img command to temporarily ‘boot’ your device to the recovery. All in all, flashing the recovery to the vendor_boot partition is the only way out.
Chipsets that Support this Flashing
Do note that this is a non-comprehensive list and more entries will be added to it as and when we get hold of them.
Dimensity 8100/8100-Ultra/9000/9000+
Devices that Support this Flashing
Do note that this is a non-comprehensive list and more entries will be added to it as and when we get hold of them. Moreover, to be precise, we have listed the codenames for each device:
daumier, matisse, rubens, xaga(pro/in)
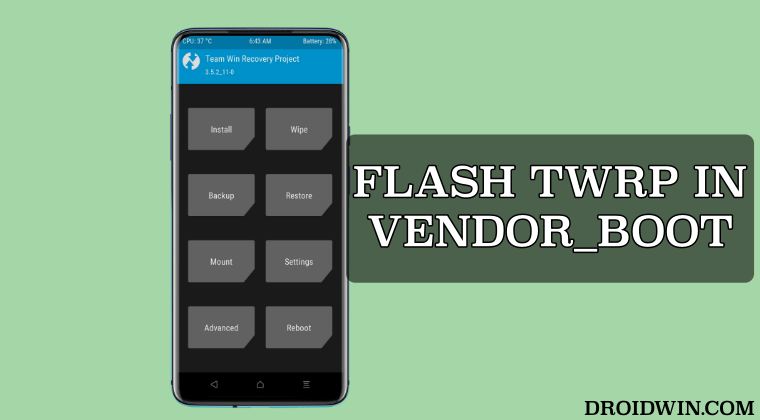
How to Flash TWRP Recovery in Vendor Boot Partition
- First off, download and extract Android SDK Platform Tools on your PC.
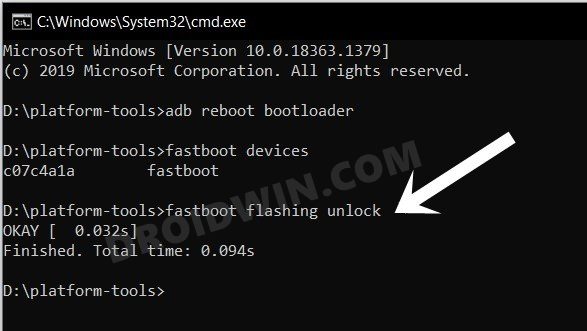
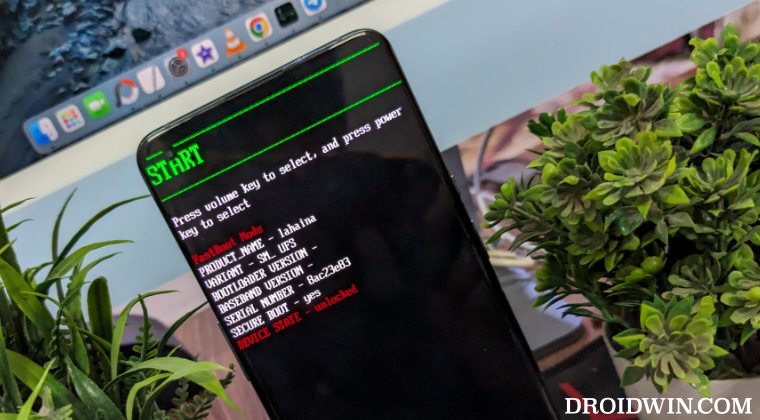
- After that, unlock the bootloader on your device [if not done so already].

- Then enable USB Debugging on your device and connect it to your PC.
- Now download the recovery IMG for your device from a trusted website.
- Then rename it to recovery.img and transfer it to the platform-tools folder.
- Now open the Command Prompt inside the platform-tools folder.
- Then type in the below command to boot your device to Fastboot Mode:
adb reboot bootloader
- Now type in the below command to flash the recovery to the vendor_boot partition:
fastboot flash vendor_boot_ab recovery.img
- If the above command doesn’t work, then you’ll have to manually flash it to both slots:
fastboot flash vendor_boot_a recovery.img
fastboot flash vendor_boot_b recovery.img
- Or you could combine both the partition commands into one single as shown below:
fastboot flash vendor_boot_ab recovery.img
- Finally, use the below command to boot your device to the newly flashed recovery:
fastboot reboot recovery
That’s it. These were the steps to flash the TWRP Recovery in the vendor boot partition. If you have any queries concerning the aforementioned steps, do let us know in the comments. We will get back to you with a solution at the earliest.