In this guide, we will show you three different to stop the suspended process in Windows 11. Redmond giant’s OS beholds a slew of nifty features that is responsible for optimizing the user experience of the system. Along with that, they also tend to take the matter into their own hands and deal with background processes and services in such a manner so that they don’t end up consuming an astronomical amount of system resources.
One such action is the suspension of certain apps and programs. Say, if a program is running in the background but you aren’t interacting with it, then it would result in hogging up a valuable amount of CPU and RAM. This in turn will result in the slow-down of the PC. To avoid that from happening, the OS takes a note of all such apps and suspends a selected few with whom you are least likely to interact.

However, if you know of any suspended app or service with which you wouldn’t interact in the near future, then the best bet is to kill or stop that process, rather than leaving it in that suspended state. Moroever, some users have also voiced their concern that when the need arises, Windows is unable to ‘unsuspend’ the concerned app.
So they are left with no choice but to manually kill those apps and then restart their fresh instance. All in all, there could be quite a few reasons why you might need to carry out the said task. So without further ado, let’s make you aware of three methods to stop the suspended process in Windows 11. Follow along.
Table of Contents
How to Stop Suspended Process in Windows 11 [3 Methods]

It is recommended that you try out each of the below-mentioned workarounds and then see which one spells out success for you. So with that in mind, let’s get started.
Using Task Manager
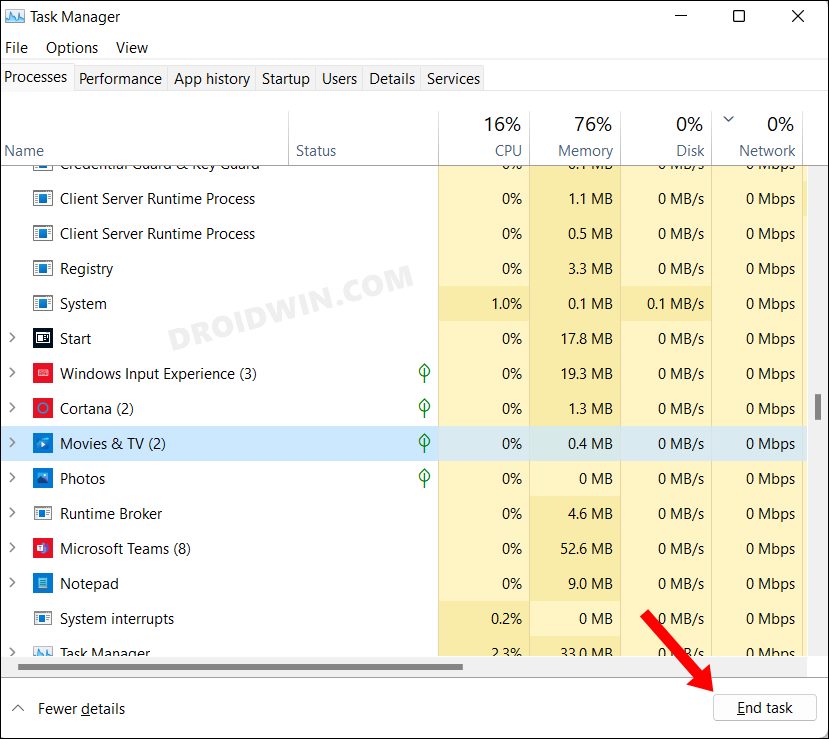
- Launch Task Manager via Ctrl+Shift+Esc shortcut keys.
- Then select the suspended program and click End Task.
- This should stop the suspended process in Windows 11.

Using Desktop Shortcut
- Right click in an empty location on your desktop and select Create Shortcut.
- Then type in the below command and hit Next.
taskkill /f /fi "status eq not responding"
- After that, give it any name of your choice and hit OK.
- Frm now on, just open this file whenever you want to stop the suspended process.

Using Command Prompt
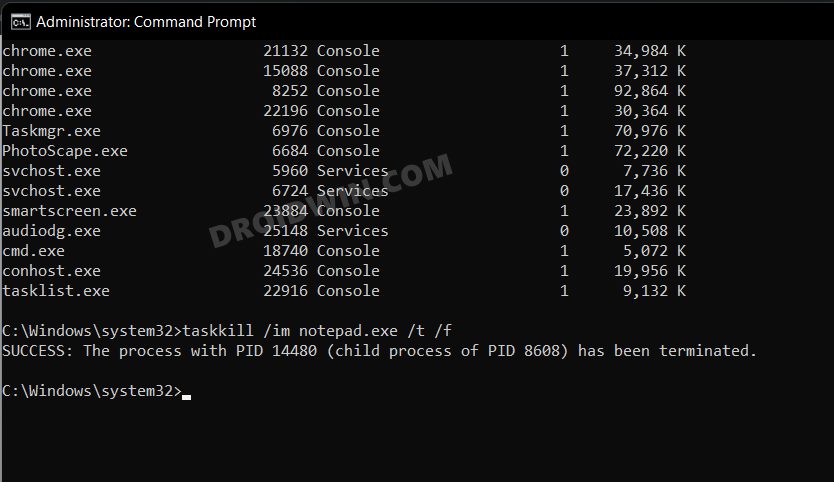
- Launch CMD as an administrator and execute the below command
tasklist
- It will bring up a list of all the running processes.
- Note down the name of the service that you wish to stop.
- After that, execute the below command [replace AppName.exe accordingly]
taskkill /im AppName.exe /t /f
- That’s it.The said process will now be stopped.
So these were the three different methods to stop the suspended process in Windows 11. If you have any queries concerning the aforementioned steps, do let us know in the comments. We will get back to you with a solution at the earliest.


