In this guide, we will show you the steps to root the Project Elixir ROM based on Android 13 via Magisk. At the time of writing, there exists a plethora of custom ROMs based on the latest iteration of the OS. And with players like Pixel Experience and LineageOS being the leaders of the pack, it is not an easy task in carving out a name for itself. But even then, Project Elixir has done quite an exceptional job of creating a niche segment of a loyal fanbase.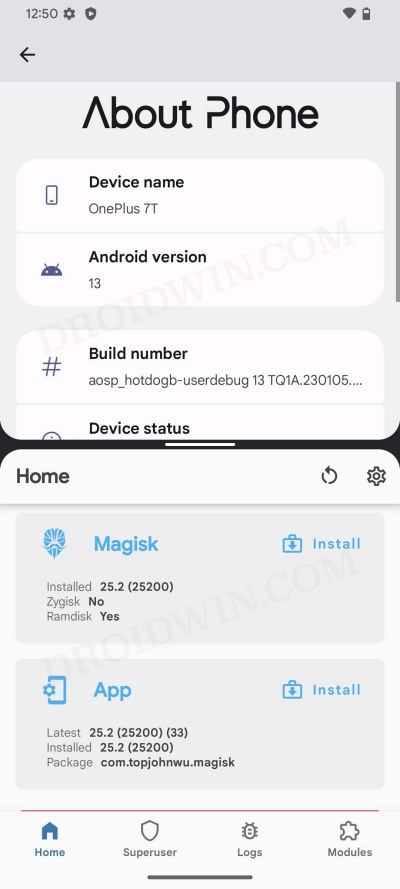
Moroever, once you install it, you will very well be aware of the reason for its rise to fame [PS: do check out its Essence section]. With that said, in order to extract the maximum potential, you” still need to gain administrative privileges over your device. Or in other words, you will have to root your Project Elixir ROM based on Android 13 via Magisk. And in this guide, we will show you how to do just that. Follow along.
Table of Contents
How to Root Project Elixir ROM Android 13 via Magisk
The below instructions are listed under separate sections for ease of understanding. Make sure to follow in the exact same sequence as mentioned. Droidwin and its members wouldn’t be held responsible in case of a thermonuclear war, your alarm doesn’t wake you up, or if anything happens to your device and data by performing the below steps.
STEP 1: Install Android SDK
First and foremost, you will have to install the Android SDK Platform Tools on your PC. This is the official ADB and Fastboot binary provided by Google and is the only recommended one. So download it and then extract it to any convenient location on your PC. Doing so will give you the platform tools folder, which will be used throughout this guide.

STEP 2: Enable USB Debugging
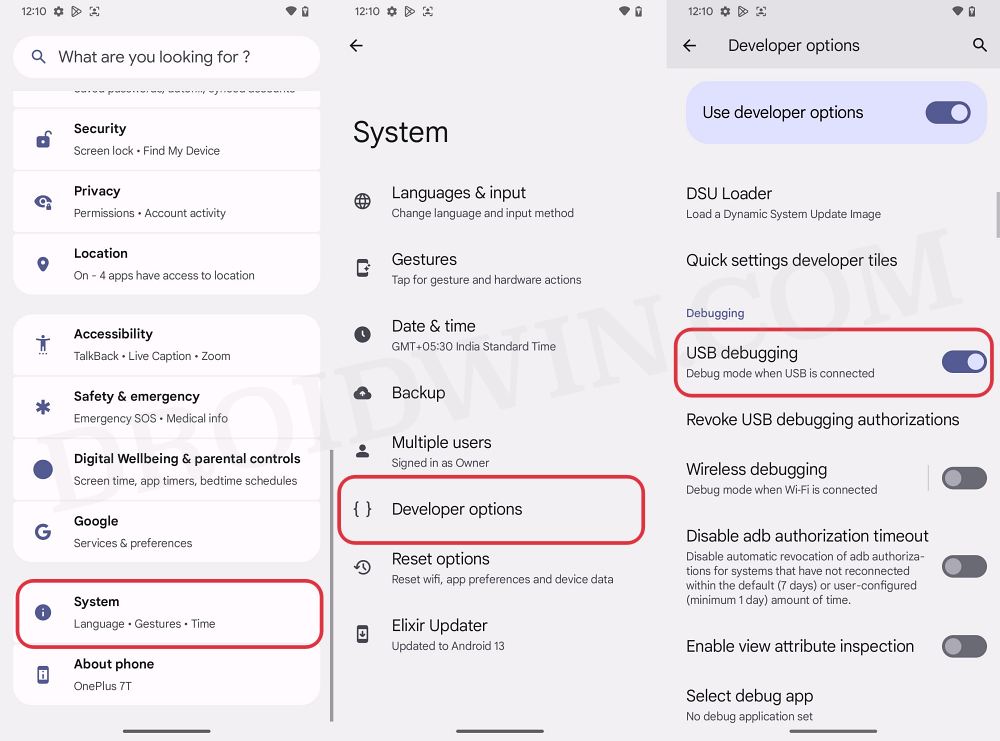
Next up, you will have to enable USB Debugging so as to make your device recognizable by the PC in ADB mode. So head over to Settings > About Phone > Tap on Build Number 7 times > Go back to Settings > System > Developer Options > Enable USB Debugging.
STEP 3: Download Magisk
- Download the latest Magisk APK and transfer it to your device as well as the platform tools folder.
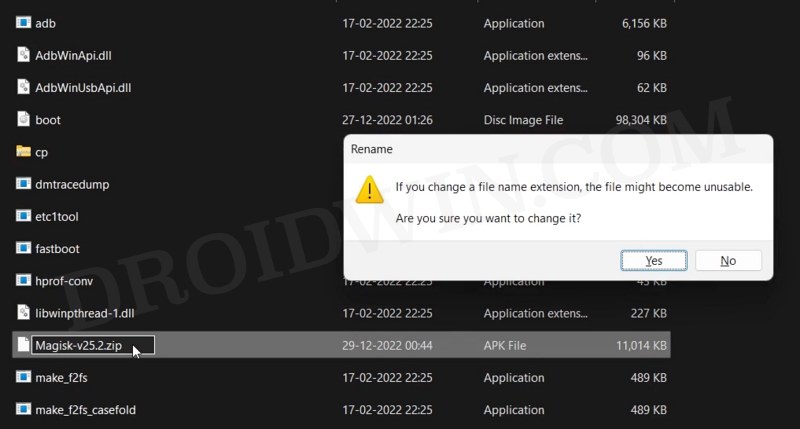
- Then rename the Magisk.apk inside the platform-tools folder to Magisk.zip.

STEP 4: Boot to Project Elixir Recovery
- Connect your device to the PC via a USB cable. Make sure USB Debugging is enabled.
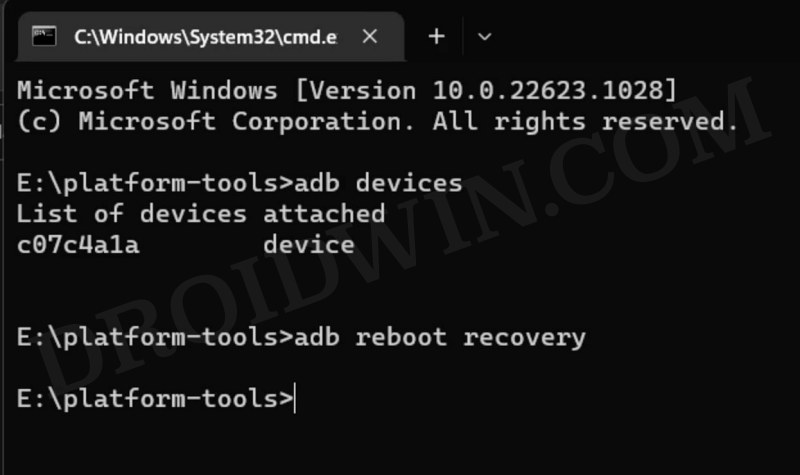
- Then head over to the platform-tools folder, type in CMD in the address bar, and hit Enter. This will launch the Command Prompt.
- After that, type in the following command in the CMD window to boot your device to Project Elixir Recovery
adb reboot recovery
STEP 5: Sideload Magisk via Recovery
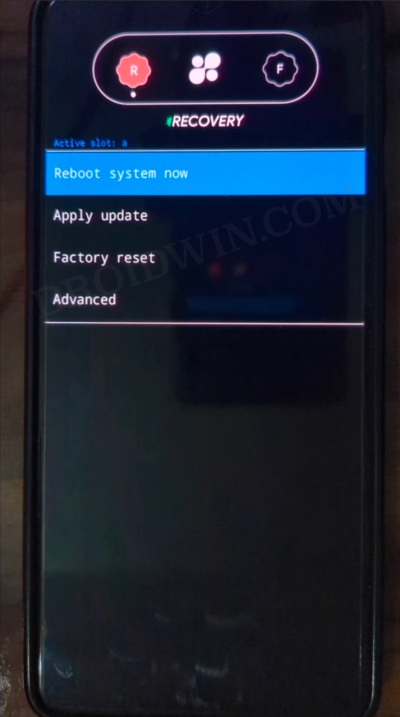
- From Recovery, go to Apply Update > Apply from ADB.
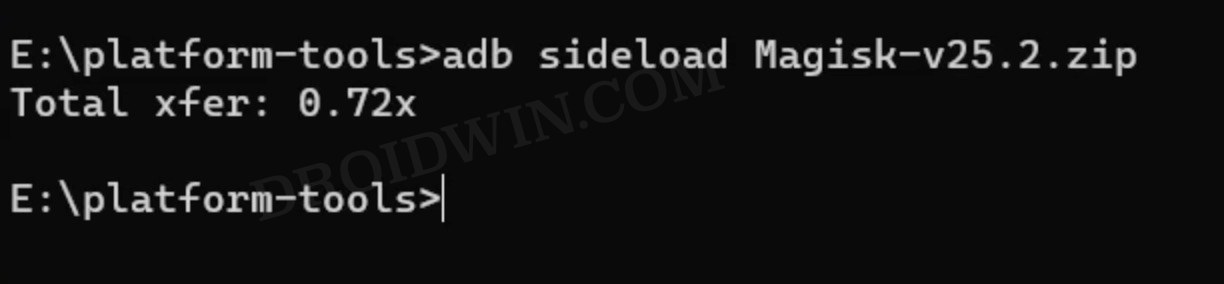
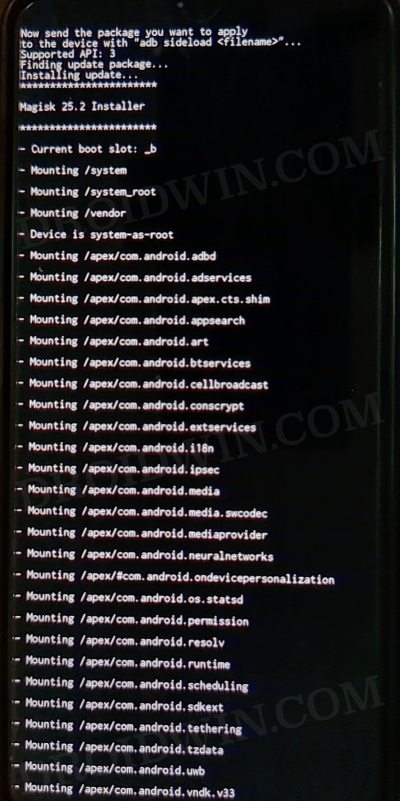
- Then type in the below command in the CMD window to sideload the Magisk ZIP
adb sideload Magisk.zip
- Wait for the process to complete.
- Once done, select Reboot System now.

STEP 6: Install Magisk
- Even though you have flashed Magisk ZIP via sideload, it might still not be available in the app drawer.
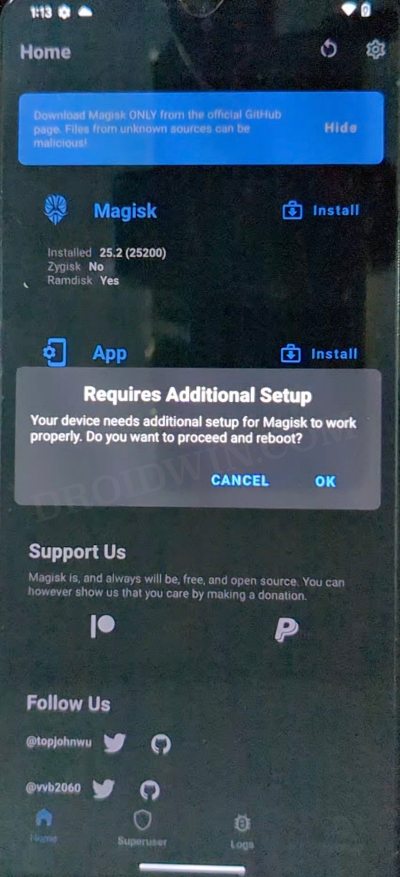
- So go ahead and install the Magisk APK file that you have transferred in STEP 3. Once installed, launch it.
- It will now ask to complete additional setup, tap OK. Your device will now automatically reboot.
- Once it boots up, the Magisk will be successfully installed and your device stands rooted via Magisk.
That’s it. These were the steps to root the Project Elixir ROM Android 13 via Magisk. If you have any queries concerning the aforementioned steps, do let us know in the comments. We will get back to you with a solution at the earliest.


Nikita
Hello! How should I update my elixir firmware after installing root?