In this guide, we will show you the steps to rename the User folder in Windows 11. When you create a new account on your PC, Windows will concurrently create a corresponding folder in the C:\Users\Username directory. This folder will then store all your documents, desktop items, OneDrive items, and media files, among others.
Moreover, the name of the folder will be the same as the name of that account. However, in some instances, you might want to assign a different name to that folder. Unfortunately, this process has been made overly complicated by the Redmond giant. Even if you are currently logged in as an administrator, you wouldn’t be able to carry out this process.
This is because you cannot make any changes to system-level files/folders if you are currently logged in via that same account. So you will first have to create a new admin account and then rename the User folder in Windows 11 from that account. Once that is done, you may then delete that new admin account and revert to your original account. All this has been explained in depth below, so without any further delay, let’s get started.
Table of Contents
How to Rename a User folder in Windows 11
The below process has been listed under separate sections for ease of understanding. Make sure to follow the same sequence as listed below.
STEP 1: Create a New Administrator Account
First and foremost, you will have to create a new admin account as you wouldn’t be able to carry out the said task via your current admin account. You may delete this account as well once the entire process is completed.
- Bring up the Settings menu via Windows+I shortcut keys.
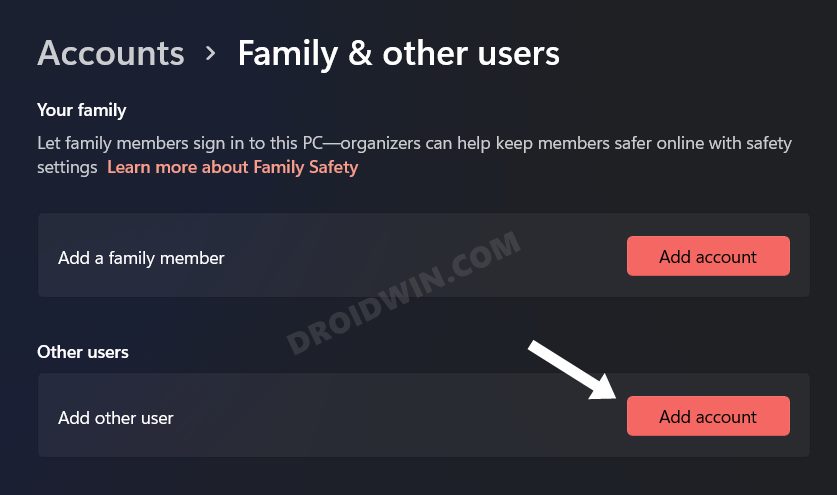
- then go to Accounts > Family and Other Users and click on Add Account.

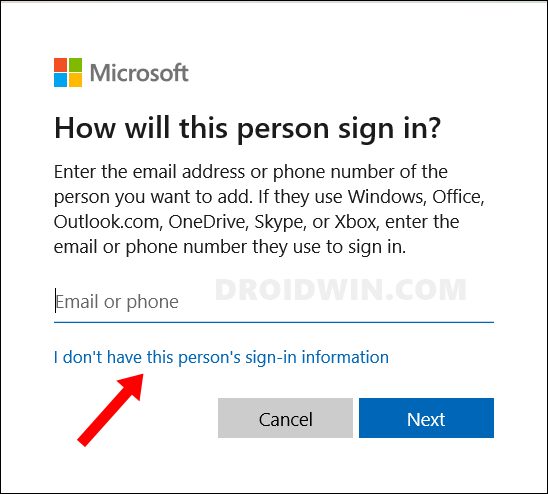
- After that, click on I don’t have this person’s sign-in information.
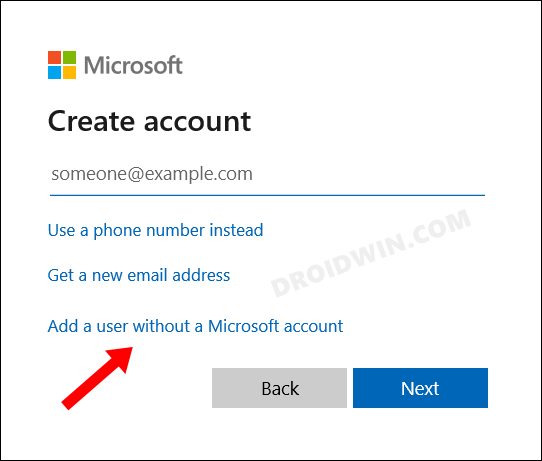
- Next up, click on Add a user without a Microsoft account.
- Now give it a name, leave the password blank, and hit Next.
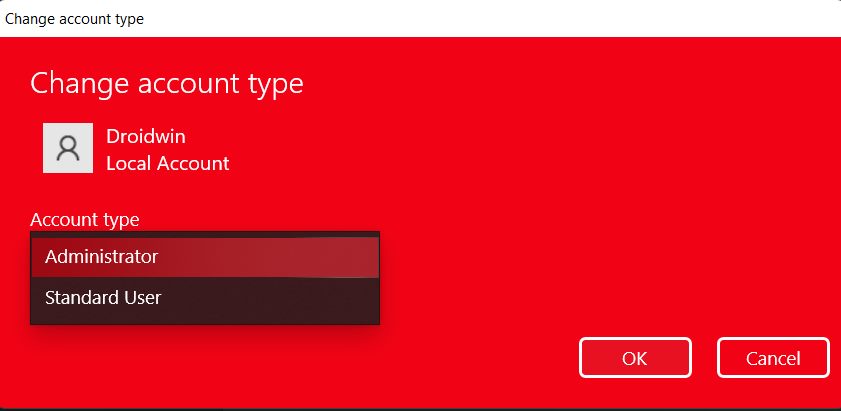
- Then click on Change Account Type.
- Select Administrator from the list.


STEP 2: Temporary Switch admin account to standard
As of now, your PC has two administrator accounts- the original one and the one that you had just created. This might lead to a conflicting scenario. So you should convert your original account to a standard account for the time being. Once the task of renaming the User folder in Windows 11 is done, we will then revert it to the admin account [and also delete the new admin account].
- Open the Control Panel and go to User Accounts.
- Then select your new account from the list and click on Change the account type.
- Make sure that it is set to Administrator. If not, then do so right away.
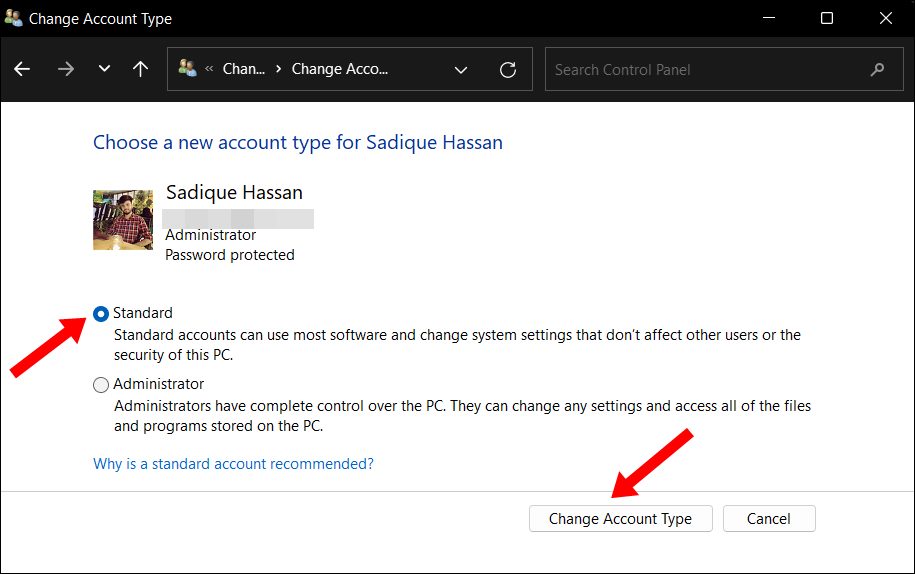
- After that, go back and select your original admin account and click on Change the account type.
- Select Standard and click on Change account type.

STEP 3: Sign in to the New Admin Account
From now on, all the tasks that we would be carrying out would require administrative-level privileges. However, since your current account is no longer an admin account, you will have to log out from it and switch to the new admin account that we have created.
- Bring up the Start menu, click on your account name and select Sign out.
- Then select the new admin account from the bottom left and login to it.
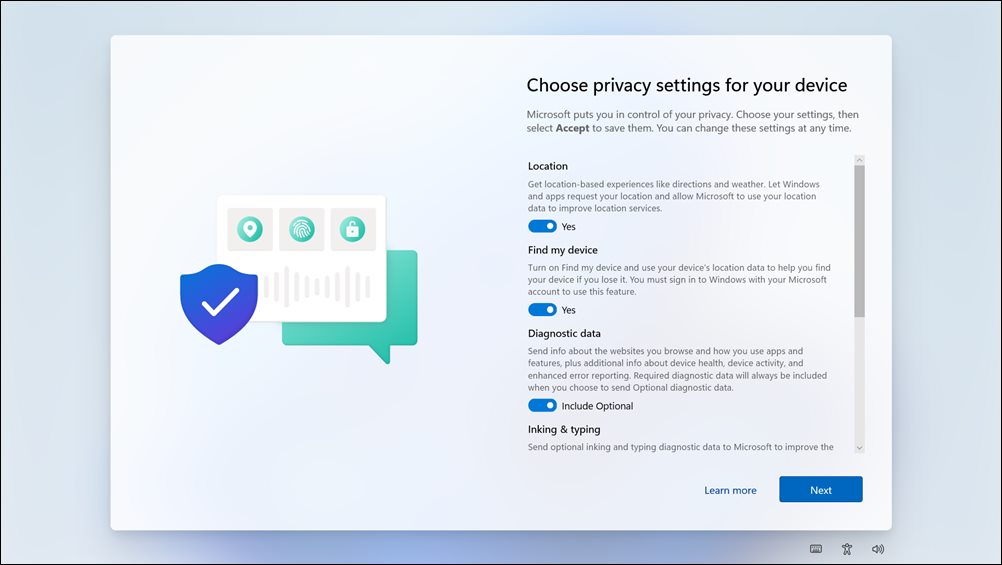
- Windows will bring a welcome screen, click Next to complete the process.

STEP 4: Note down Account SID
You will now have to note down the SID for your original administrator account [which for the time being has been converted to a standard account].
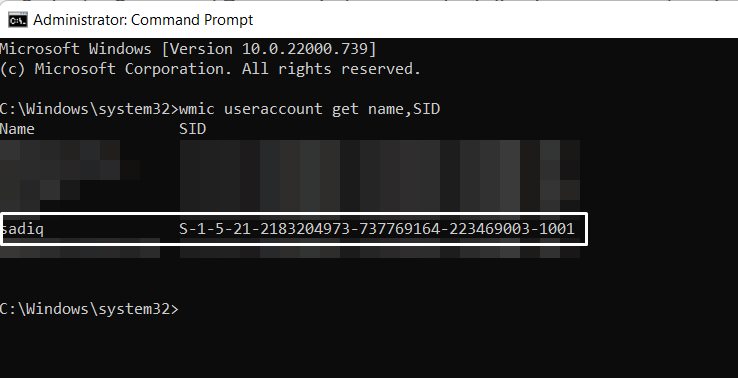
- So launch CMD as an administrator from the Start Menu
- Then execute the below command to bring up the list of SID for all the accounts
wmic useraccount get name,SID
- Now copy the SID for the original administrator account.
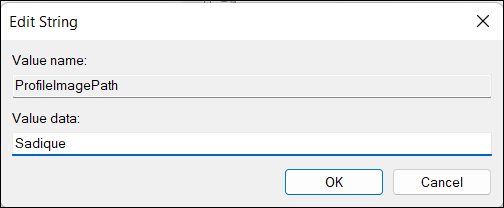
STEP 5: Change the ProfileImagePath
You will now have to change the address of the ProfileImagePath to the new name that you wish to assign to the User folder.
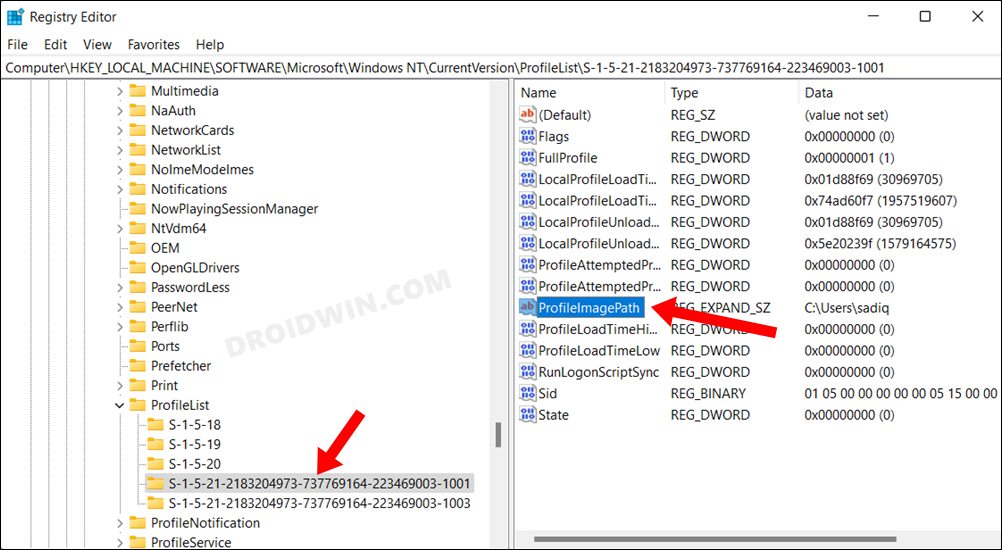
- Open Registry Editor and head over to the below location
HKEY_LOCAL_MACHINE\SOFTWARE\Microsoft\Windows NT\CurrentVersion\ProfileList
- Now sleet the folder that corresponds to the SID that you had found out in the earlier step.
- Then go to the right-hand side and double-click the ProfileImagePath file to open it.
- Type in the new name of the User folder in the Value Data field and hit OK to save it.
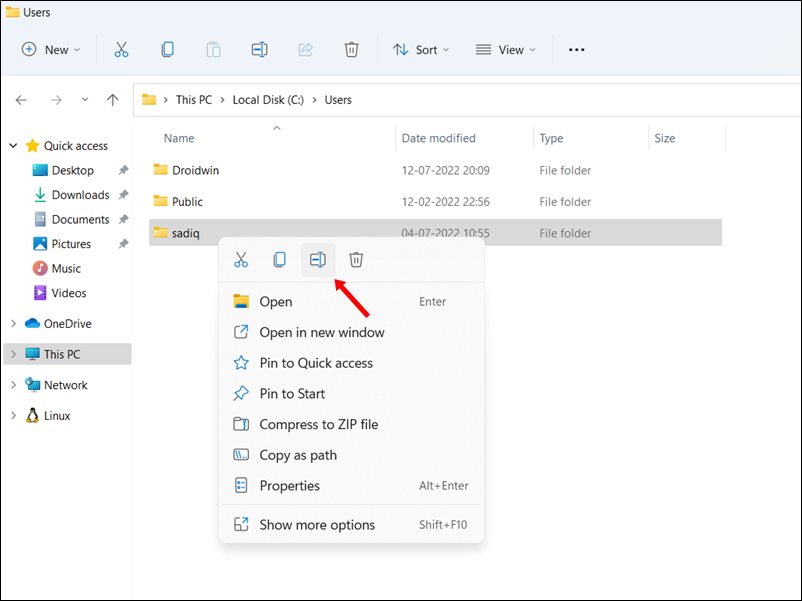
STEP 6: Change the Name of User folder in Windows 11
- Now that you have done all the hard work, let’s put it to the test and check out the results.
- Open File Explorer via the Windows+E shortcut and go to C:\Users
- Then right-click on the folder of your choice and then click on the Rename icon.
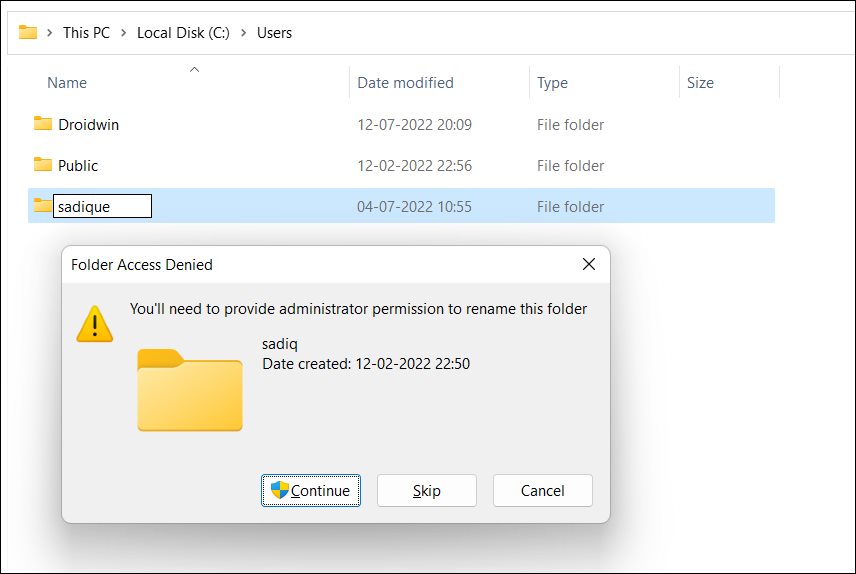
- Give it the name of your choice and hit OK. You will now get an admin prompt, click Continue.
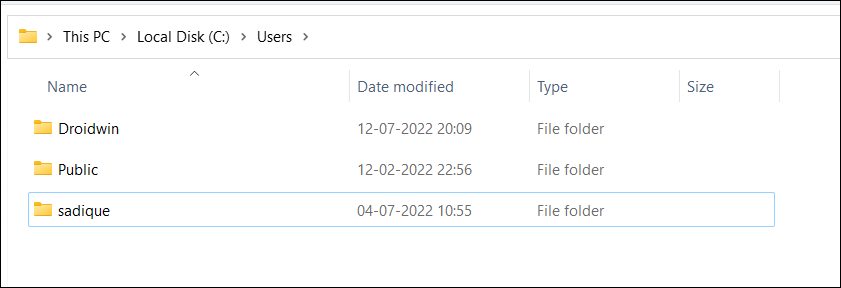
- That’s it. You have successfully renamed the User folder in Windows 11.
STEP 7: Delete the New Admin Account [Optional]
Now that your work is done, you may delete the new admin account and grant the admin privileges to the original admin account [all this is optional]. Here’s how.
- Open the Control Panel and go to User Accounts.
- Then select your current admin account, select Standard, and click on Change the account type.
- After that, go back and select your original admin account and click on Change the account type.
- Now select Administrator from the list and click on Change account type.
- Then sign out from, your current account and log in to your original admin account.
- After that, go to Settings > Accounts > Family and Other Users.
- Then click on Remove Account next to the new account that you had created.
- Finally, restart your PC for the changes to take place.
That’s it. These were the steps to rename the User folder in Windows 11. If you have any queries concerning the aforementioned steps, do let us know in the comments. We will get back to you with a solution at the earliest.
- Add ‘Open CMD as Admin’ in Windows 11 Right-Click Menu
- How to Create a New Local Account in Windows 11
- Convert Standard Account to Administrator Account in Windows 11
- How to Convert Administrator Account to Standard Account in Windows 11
Fix “This action can’t be completed” error when renaming a User folder in Windows
You might get the following error message when renaming a User folder in Windows 11: “This action can’t be completed because the folder or a file in it is opened in another program”.
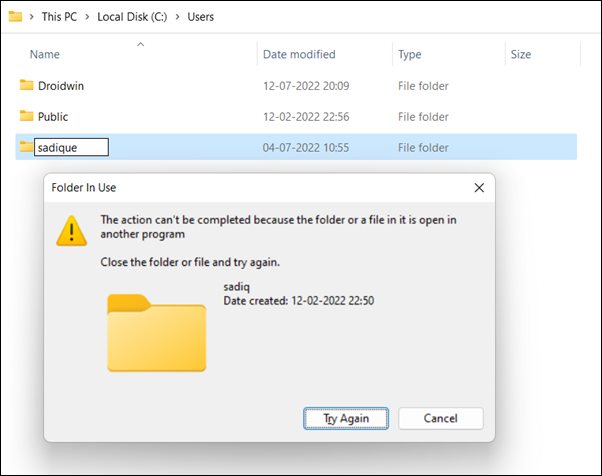
This happens when you haven’t signed out from your original admin account [which is now a standard account] and have signed in to your new temporary admin account and then tried to rename the user folder. So to fix this issue, you will first have to log into your standard account, sign out from it, log in back to your admin account and carry out the rename process.


Dmitry
Much thanks!
Wish you very best!