In this guide, we will show you the steps to install the OrangeFox Recovery on your Redmi Note 10 Pro. Having a custom recovery is the biggest asset a tech enthusiast could have in their arsenal. And having two custom recoveries is an even bigger asset. Only a handful managed to join this elite company out of which the tenth iteration of the Note series is a luxurious member.
Be it for flashing custom ROMs and modules, taking a Nandroid Backup, or even deleting the data from various partitions on your device, if TWRP is unable to get any of these jobs done, then you could always count on the latter, which in our case is the popular OrangeFox. So without any further ado, let’s make you aware of the steps to install OrangeFox Recovery on your Redmi Note 10 Pro.
Table of Contents
How to Install OrangeFox Recovery on Redmi Note 10 Pro
Before starting, please take a backup of all the data on your device, just to be on the safer side. Droidwin and its members wouldn’t be held responsible in case of a thermonuclear war, your alarm doesn’t wake you up, or if anything happens to your device and data by performing the below steps.
STEP 1: Install Android SDK

First and foremost, you will have to install the Android SDK Platform Tools on your PC. This is the official ADB and Fastboot binary provided by Google and is the only recommended one. So download it and then extract it to any convenient location on your PC. Doing so will give you the platform-tools folder, which will be used throughout this guide.
STEP 2: Enable USB Debugging and OEM Unlocking
Next up, you will also have to enable USB Debugging and OEM Unlocking on your device. The former will make your device recognizable by the PC in ADB mode. This will then allow you to boot your device to Fastboot Mode. On the other hand, OEM Unlocking is required to carry out the bootloader unlocking.
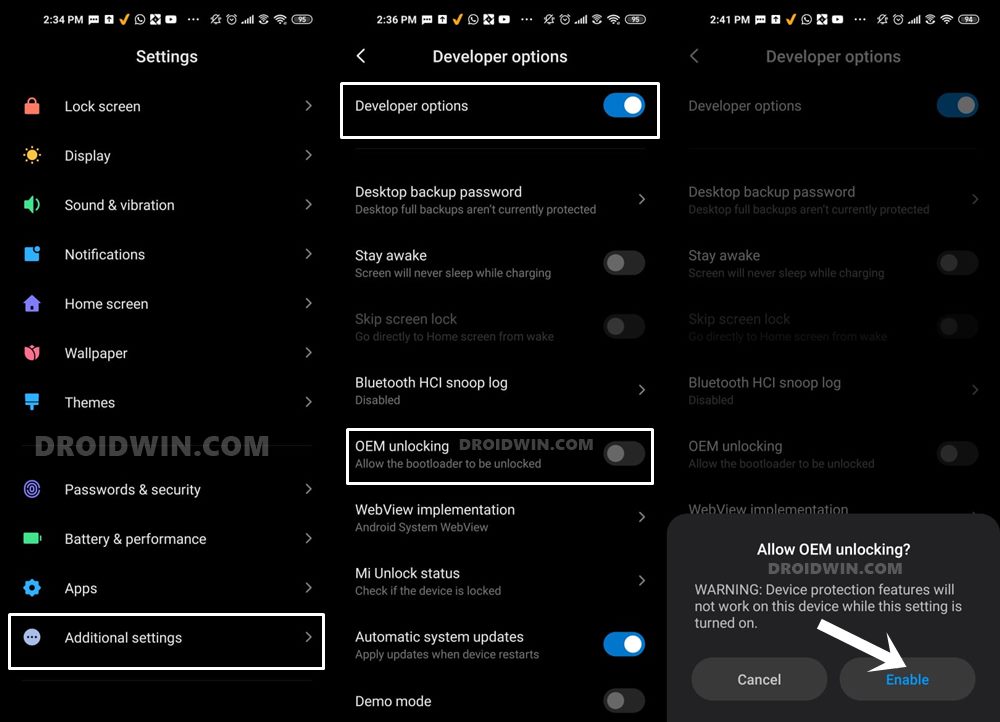
So head over to Settings > About Phone > Tap on MIUI Number 7 times > Go back to Settings > System > Advanced > Developer Options > Enable USB Debugging and OEM Unlocking.
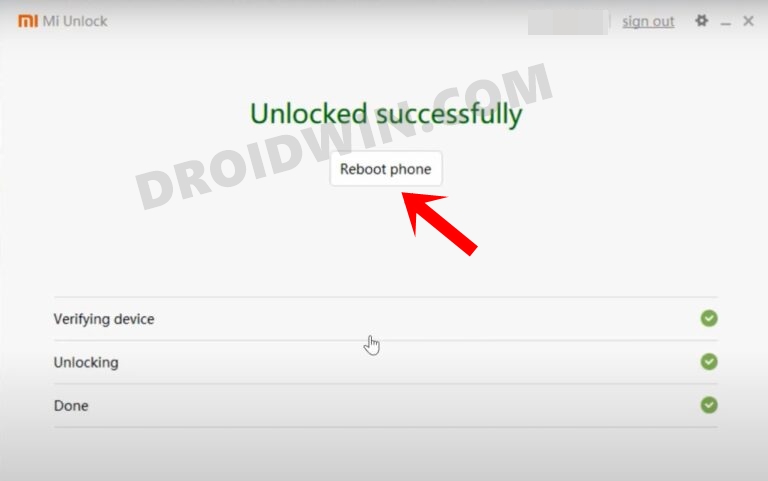
STEP 4: Unlock Bootloader on Redmi Note 10 Pro
Next up, you will also have to unlock the device’s bootloader. Do keep in mind that doing so will wipe off all the data from your device and could nullify its warranty as well. So if that’s all well and good, then refer to our guide on How to Unlock Bootloader on any Xiaomi/Poco/Redmi/Mi Device.
STEP 5: Download OrangeFox Recovery for Redmi Note 10 Pro
- To begin with, grab hold of the OrangeFox for your device from the below link.
OrangeFox-R11.1_5-Unofficial-sweet-EROFSCompression.zip
OrangeFox-R11.1_4-Unofficial-sweet.zip
OrangeFox-R11.1_3-Unofficial-sweet.zip
OrangeFox-MIUI-R11.1_3-Unofficial-sweet.zip
- Then rename the file to orangefox and transfer it to the platform-tools folder.
- OrangeFox-R11.1_5-Unofficial-sweet-EROFSCompression.zip is for ROMs with SDcardFS deprecated, FUSE passthrough, EROFS, and F2FS compression. For example, PixelOS.
- OrangeFox-R11.1_5-Unofficial-sweet.zip: is for ROMs like LineageOS (official) with SDcardFS deprecated and FUSE passthrough.
- OrangeFox-R11.1_3-Unofficial-sweet.zip: For users on custom ROMs like Evolution X, Project Elixir, and crDroid (or for custom ROMs without SDcardFS deprecated, FUSE passthrough, EROFS, or F2FS compression)
- OrangeFox-MIUI-R11.1_3-Unofficial-sweet.zip: For users on stock MIUI
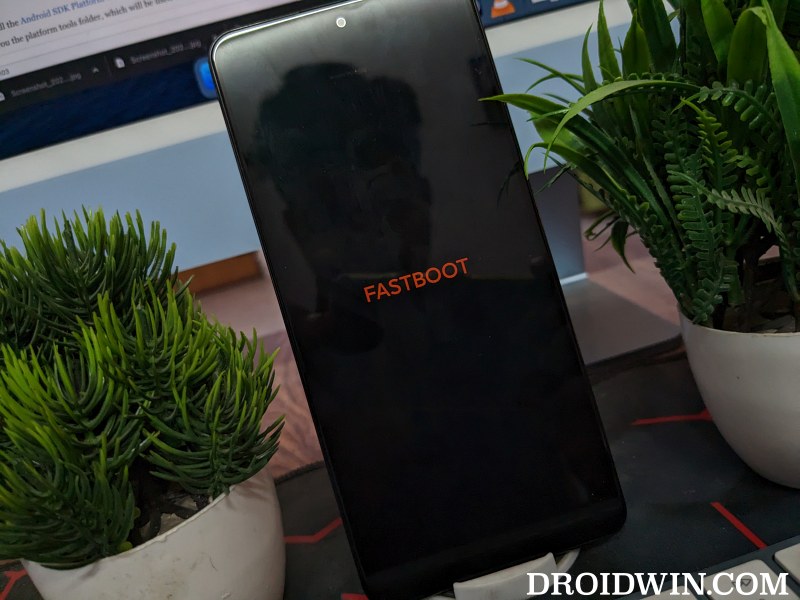
STEP 6: Boot Redmi Note 10 Pro to Fastboot Mode
- Now connect your device to the PC via a USB cable. Make sure USB Debugging is enabled.
- Then head over to the platform-tools folder, type in CMD in the address bar, and hit Enter. This will launch the Command Prompt.

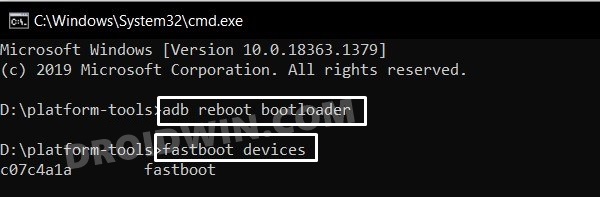
- Type in the following command in the CMD window to boot your device to Fastboot Mode
adb reboot bootloader
- To verify the Fastboot connection, type in the below command and you should get back the device ID.
fastboot devices
- If you are not getting any serial ID, then make sure to install Fastboot Drivers on your PC.

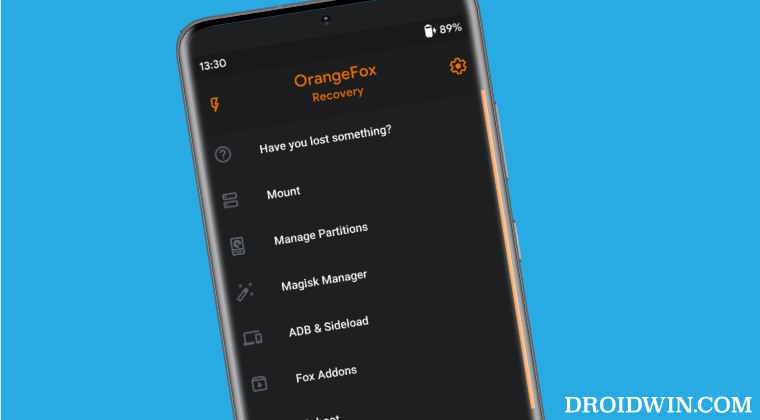
STEP 6: Boot Redmi Note 10 Pro to OrangeFox Recovery
Since our device has a dedicated recovery partition, we could directly flash OrangeFox to that partition. However, it is always recommended that you first temporarily boot your device to OrangeFox and check if everything is working well and good, you could then proceed ahead to permanently install OrangeFox Recovery, as shown below:
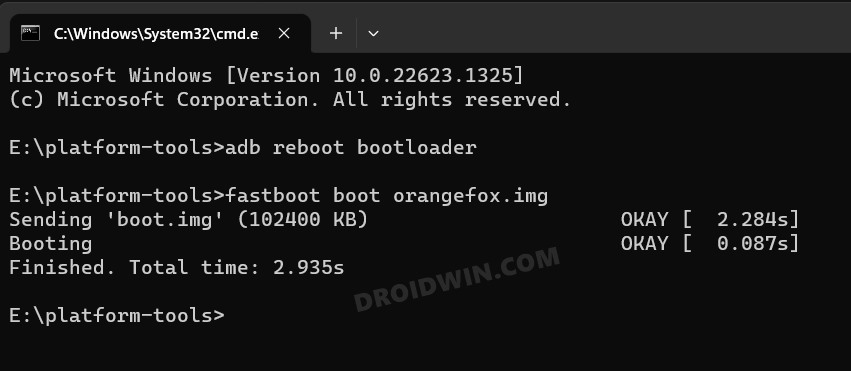
- First off, type in the below command to temporarily boot your device to OrangeFox
fastboot boot orangefox.img
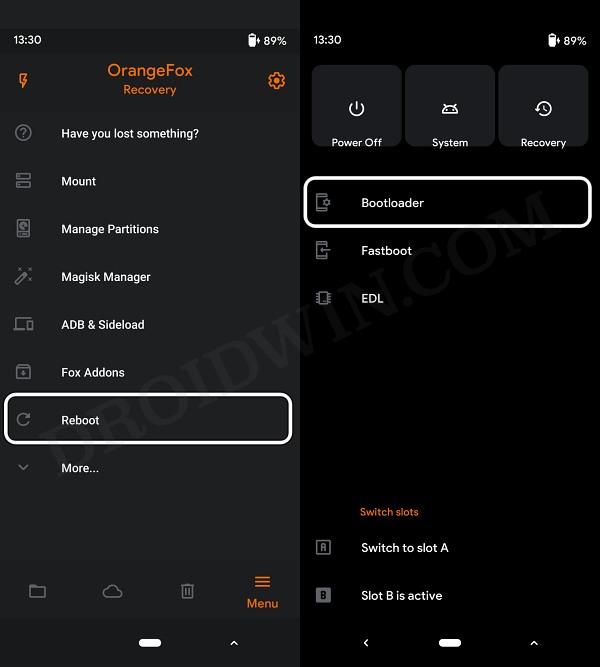
- Now that your device is booted to OrangeFox, verify if everything is working well and good.
- If they are, then go to Reboot and select Bootloader. Your device will reboot to Fastboot Mode.
- Now execute the below command to permanently flash OrangeFox Recovery
fastboot flash recovery orangefox.img
- Finally, type in the below command to boot your device to OrangeFox Recovery
fastboot reboot recovery
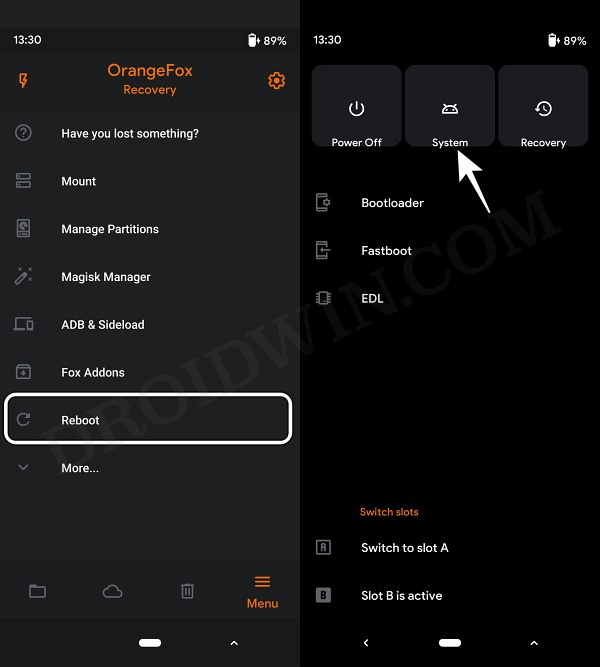
- You may now carry out the desired task via OrangeFox.
- Once done, go to Reboot and select System to boot your device to the OS.
These were the steps to install the OrangeFox Recovery on your Redmi Note 10 Pro. If you have any queries concerning the aforementioned steps, do let us know in the comments. We will get back to you with a solution at the earliest.


Bill Hates
Hi. Great review.
Just Part #1 is totally irrelevant to this usecase, as you do not mention what OS you are targeting – FreeBSD, Mac / Linux / Solaris based / Wintels. Popular GNU/Linux all systems (on what Android JVM is running and Android is completely based) has adb/fastboot already included, so no need for Android SDK (which can be useful for other more sophisticated things).
P.S. If you target Linux kernel based Android, it is better to be consistent and use Linux tools with that.
If tinkering with iOS as both the Mac OS X and iOS evolved from an earlier Apple operating system, Darwin, based on BSD UNIX – use some BSD based OS with its toolbox.
For Windows phone lovers tool would be Bill Hates’ contaminated Windozes…