In this guide, we will show you the steps to install the LineageOS ROM onto your OnePlus 10 Pro device. While the decision to merge the codebase of ColorOS and OxygenOS has been put on a hold, however, that is just on paper. On a normal usage experience, it’s quite evident that most of the OS now belongs to ColorOS, with just a few traces of OxygenOS being visible.
Moreover, the device isn’t even performing quite decently in the custom development. Furthermore, the restrictions put in place by Oppo on the MSM Tool only make the matter worse. But even in the darkest of times, there’s always a hidden gem in this community that doesn’t get the appreciation that it deserves.
Yes, we are talking about the Generic System Images. And as of now, one of the most popular custom ROMs, LineageOS, has just made this way in the form of GSI for the OnePlus 10 Pro. So without any further ado, let’s check out the steps to welcome this ROM onto your device right away. Follow along.
Table of Contents
How to Install LineageOS ROM on OnePlus 10 Pro

The below instructions are listed under separate sections for ease of understanding. Make sure to follow the same sequence as mentioned. Droidwin and its members wouldn’t be held responsible in case of a thermonuclear war, your alarm doesn’t wake you up, or if anything happens to your device and data by performing the below steps.
STEP 1: Install Android SDK

First and foremost, you will have to install the Android SDK Platform Tools on your PC. This is the official ADB and Fastboot binary provided by Google and is the only recommended one. So download it and then extract it to any convenient location on your PC. Doing so will give you the platform-tools folder, which will be used throughout this guide to install the LineageOS ROM onto your OnePlus 10 Pro.
STEP 2: Download LineageOS for OnePlus 10 Pro
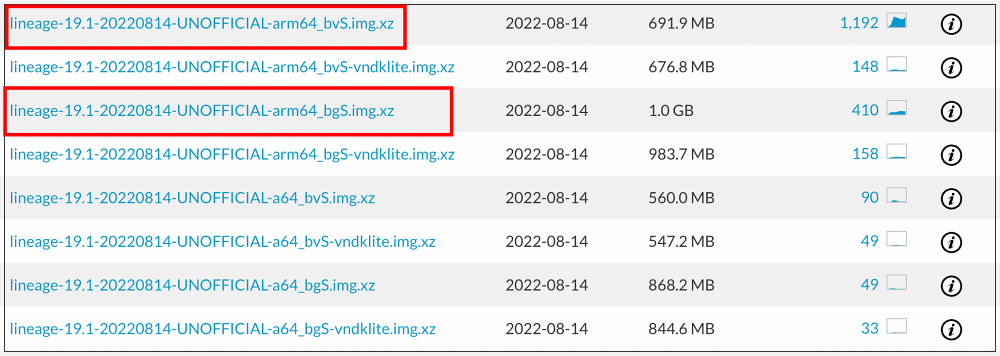
You may now grab hold of the LineageOS GSI ROM for your device from below. You may find three different versions of the ROM- the bvS, the bgS, and the vndklite. You shouldn’t download vndklite, rather download either the bvS [Vanilla- without GApps] or bgS [that comes with GApps].
Download: LineageOS ROM
STEP 3: Unlock Bootloader on OnePlus 10 Pro
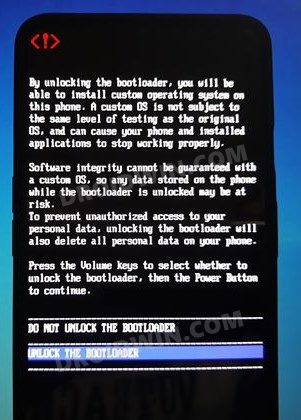
Next up, you will have to unlock the bootloader on your device. Do keep in mind that this process will wipe off all the data and might nullify the device’s warranty as well. So if that’s all well and good, then refer to our comprehensive guide on How to Unlock the Bootloader on the OnePlus 10 Pro.
STEP 4: Extract OnePlus 10 Pro Payload.bin
- To begin with, download and extract the stock firmware for your device.
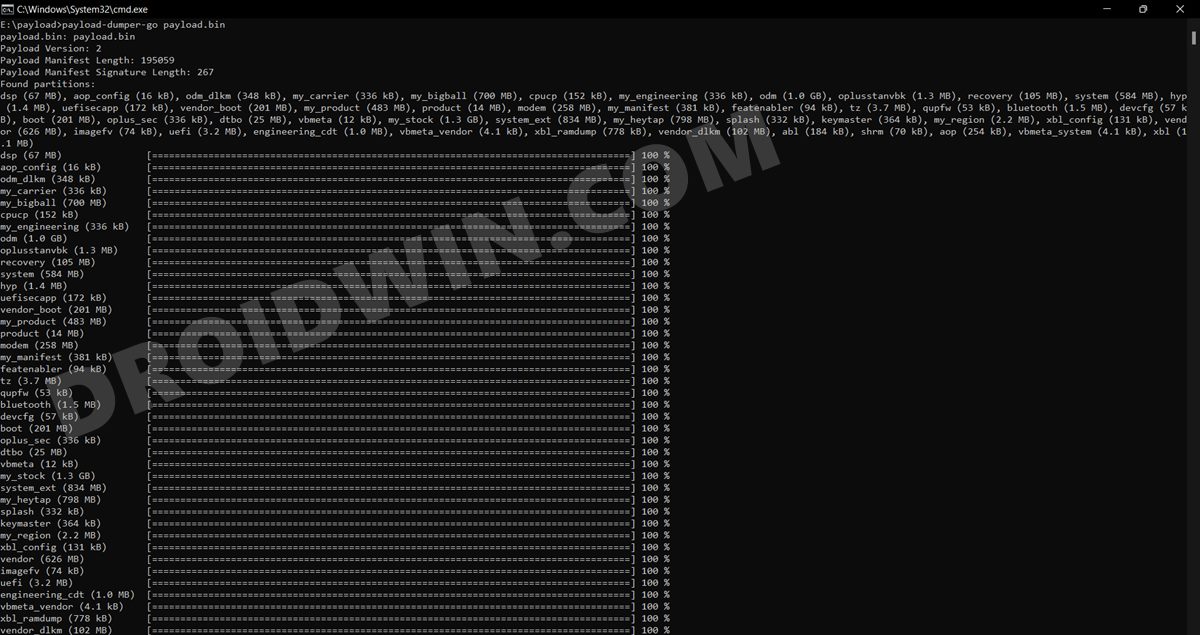
- Once extracted, you will get a couple of files, including the payload.bin file.

- So extract this payload file using our guide on How to Extract payload.bin.

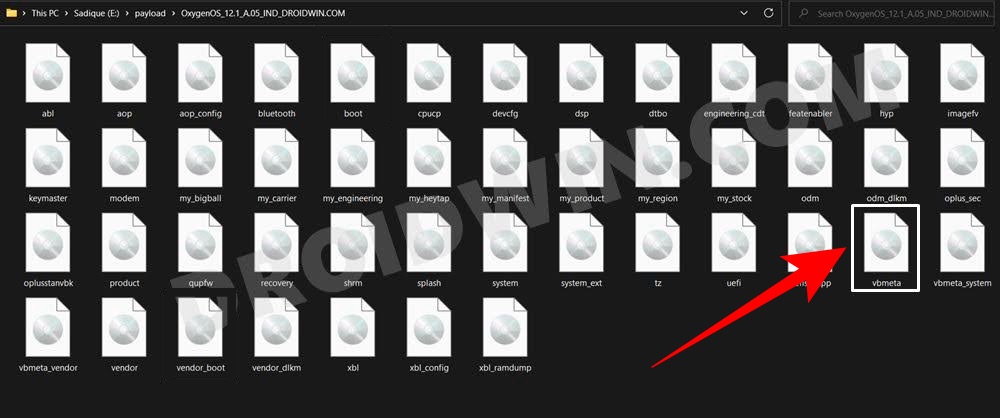
- Once the extraction is complete, copy the vbmeta.img file from there.

- Then transfer it to the platform-tools folder on your PC.
STEP 5: Boot OnePlus 10 Pro to FastbootD Mode
- Connect your device to the PC via USB cable. Make sure USB Debugging is enabled.
- Then head over to the platform-tools folder, type in CMD in the address bar, and hit Enter. This will launch the Command Prompt.

- Type in the following command in the CMD window to boot your device to Fastboot Mode
adb reboot bootloader
- Finally, type in the below command to boot your device to the FastbootD Mode.
fastboot reboot fastboot

STEP 6: Delete cow Partitions
We will now have to delete the temporary cow partitions from the device so as to make space for the LineageOS ROM to be flashed onto your OnePlus 10 Pro.
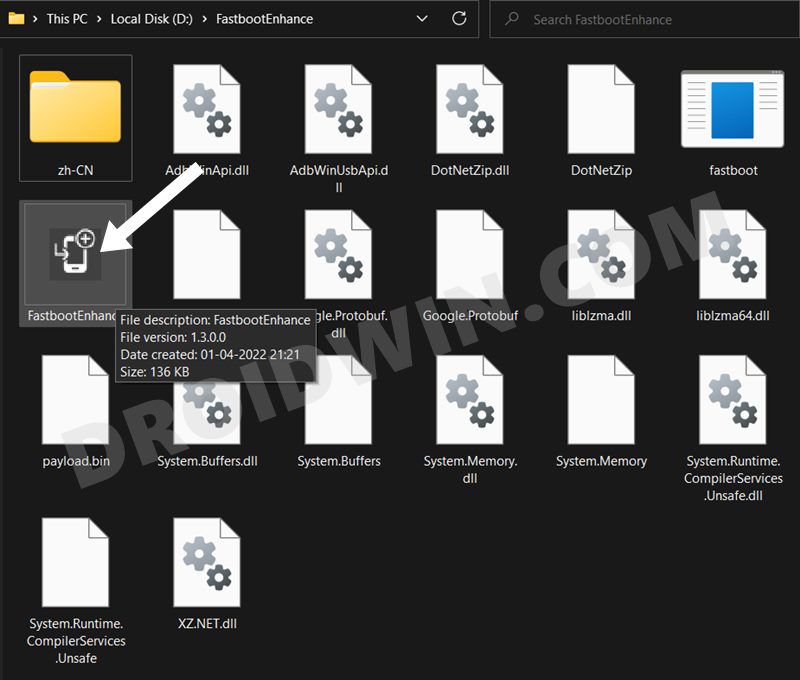
- Download the Fastboot Enhance Tool and extract it on your PC. Then launch it via its EXE file.

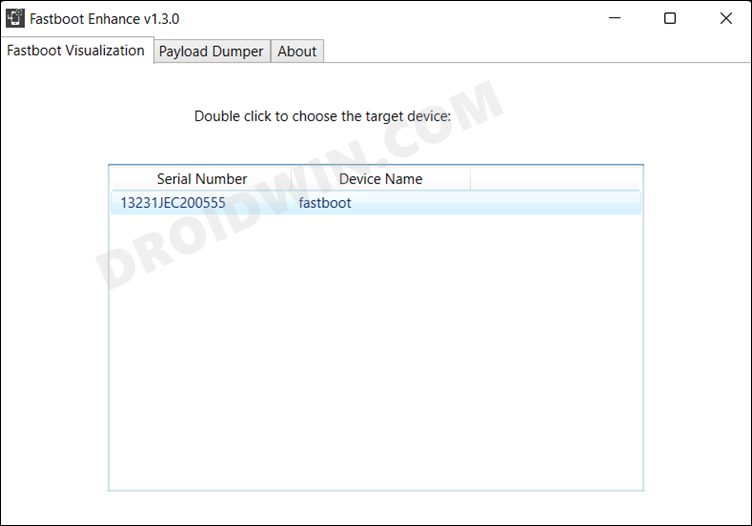
- Your device should be listed under the Fastboot Virtualization tab, click on it.

- After that, go to the Partitions tab and type in cow in the Filter by name box.

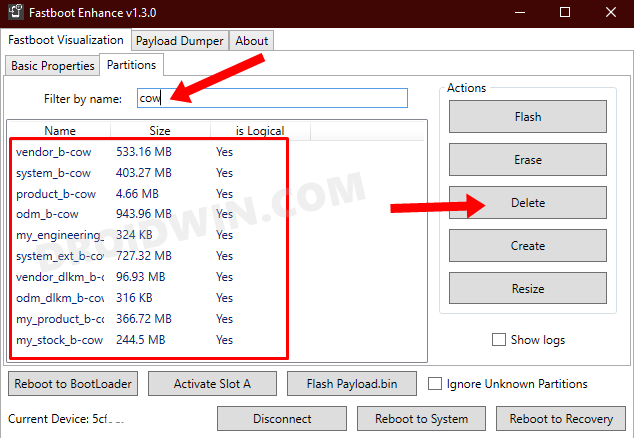
- Select all the partitions from the results that have cow in their name and hit the Delete button.
STEP 7: Flash LineageOS ROM on OnePlus 10 Pro
- To begin with, extract the GSI ROM inside the platform-tools folder.
- Then rename it the ROM file to system, so that the complete name becomes system.img.

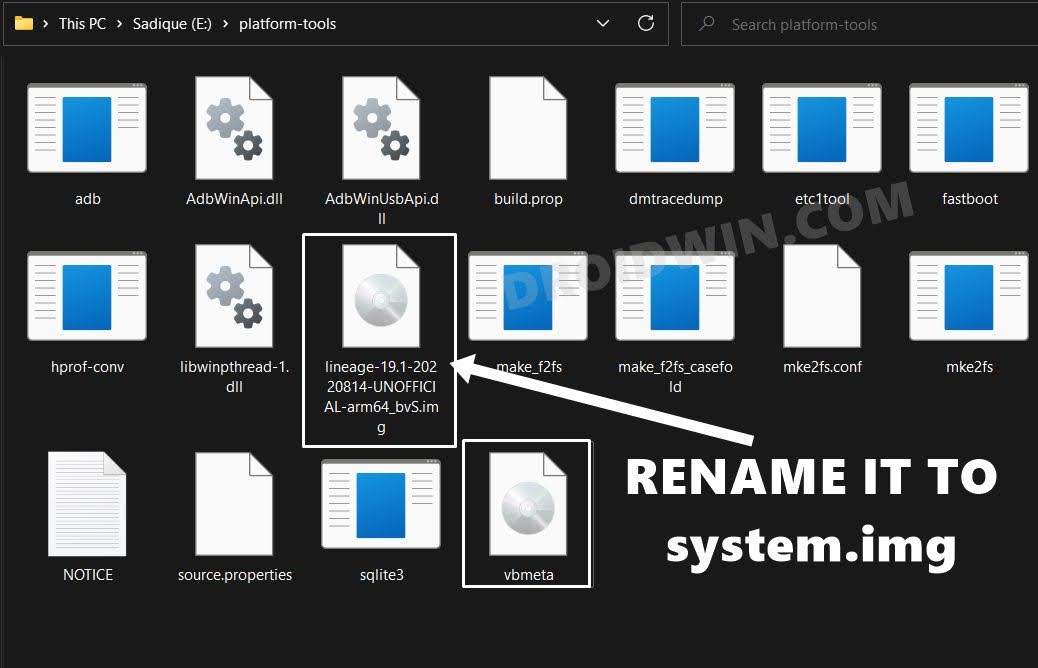
- Also, make sure that the vbmeta file is also present inside the platform-tools folder and your device is booted to FastbootD Mode.
- If that’s well and good, then use the below command to flash vbmeta and hence disable the verification check
fastboot --disable-verity --disable-verification flash vbmeta vbmeta.img
- After that, erase the system partition via the below command
fastboot erase system
- Then use the below command to flash the GSI ROM onto your OnePlus 10 Pro
fastboot flash system system.img
- Once done, you may now boot your device to the newly installed ROM via the below command:
fastboot reboot
That’s it. These were the steps to install the LineageOS ROM onto your OnePlus 10 Pro. If you have any queries concerning the aforementioned steps, do let us know in the comments. We will get back to you with a solution at the earliest.
How to Root LineageOS ROM on OnePlus 10 Pro
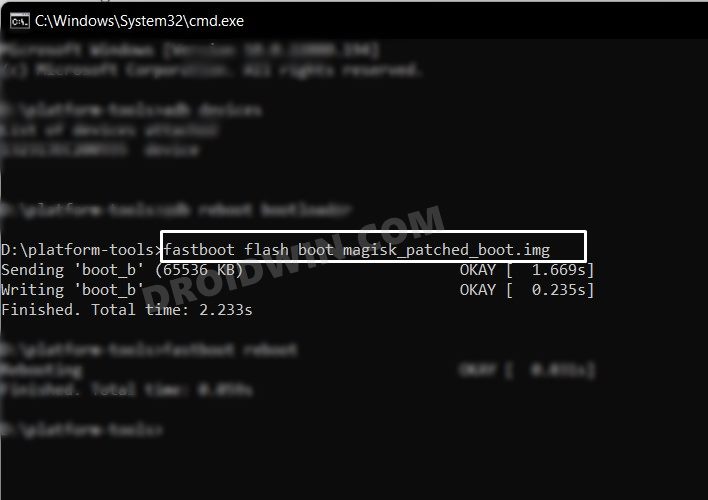
Rooting the LineageOS ROM is exactly similar to how you would root your device with the stock ROM. All that you need to do is download the stock firmware, extract the payload.bin, get the boot.img, patch it via Magisk and then flash it via Fastboot Commands. All this is explained in this guide, do check it out: How to Root OnePlus 10 Pro via Magisk Patched Boot.img.

How to Go Back to Stock Firmware
If the GSI ROM is not in sync with your requirement or if it is unstable and you want to revert to the stock ecosystem, then here’s what you need to do. Make sure to remove the GSI ROM file [system.img] from the platform-tools folder before proceeding ahead.
- To begin with, download the stock firmware and extract the payload.bin file.
- Then copy the boot.img, vbmeta.img, and system.img files from the extracted firmware.

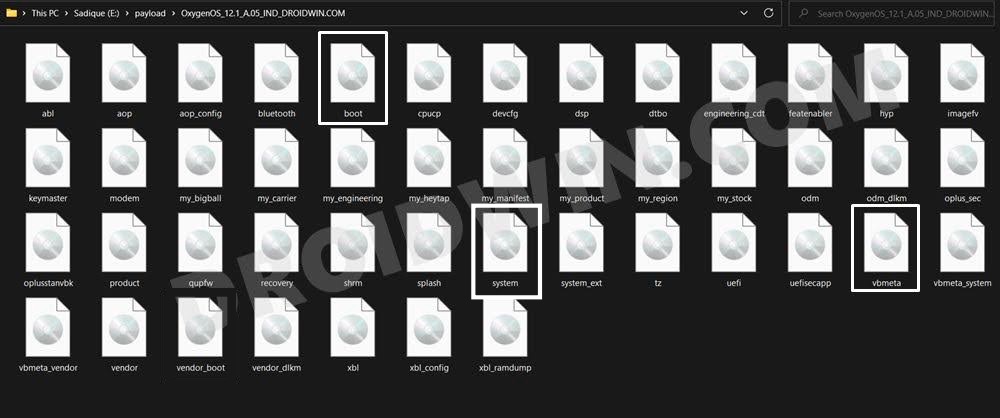
- Now copy all these three files to the platform-tools folder on your PC.
- After that, boot your device to the FastbootD Mode using the below command-
adb reboot fastboot


- Now erase the data on the system partition [the GSI ROM] via the below command-
fastboot erase system
- Then flash the stock firmware system file via the below command-
fastboot flash system system.img
- After that, re-enable the verity check by flashing the vbmeta.img:
fastboot flash vbmeta vbmeta.img
- Then flash the boot.img file to remove root
fastboot flash boot boot.img
- Finally, execute the below command to boot the device to the OS
fastboot reboot
- That’s it. These were the steps to go back to stock from LineageOS ROM on your OnePlus 10 Pro.
FAQ: GSI ROM Bugs and Bootloop Fixes
GSI ROMs are known to go through a few bugs and issues related to network, 5G, or VoWIFI/VoLTE. In case, you also come across such bugs, then you could refer to our below-listed guides to fix them.

