In this guide, we will show you numerous methods to fix font issues on your Mac. Few users have voiced their concern that the fonts on their macOS are all messed up, with question marks or the letter A appearing inside boxes instead of the usual characters. So why is this happening? Well, there could be quite a few reasons for the same,
These include the likes of font database getting corrupted or some of its system files might be missing. Apart from that, a third-party font style or a font not part of the ~/Library/Fonts directory could also spell out trouble. In this guide,e we will be addressing all these issues which in turn will help you rectify the underlying problem. So without further ado, let’s get started.
Table of Contents
How to Fix Font Issues in Mac [5 Methods]
It is recommended that you try out each of the below-mentioned workarounds and then see which one spells out success for you. So with that in mind, let’s get started.
FIX 1: Validate Fonts
Your first course of action should be to validate and debug the affected font so that we could get to the root cause of the problem and hence rectify it accordingly. Here’s how it could be done:
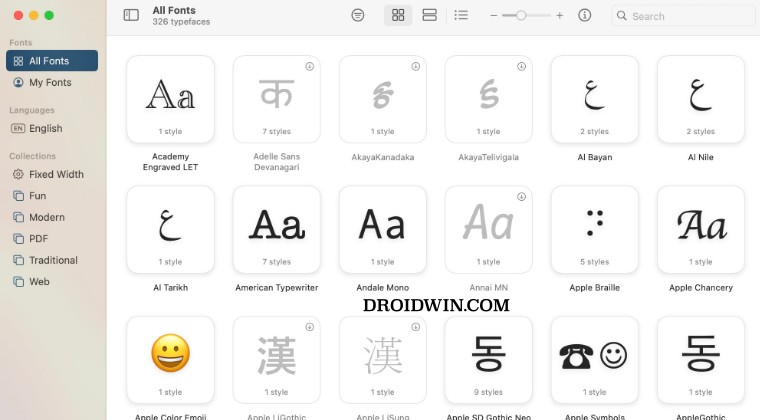
- Go to Finder > Applications and open Font Book.
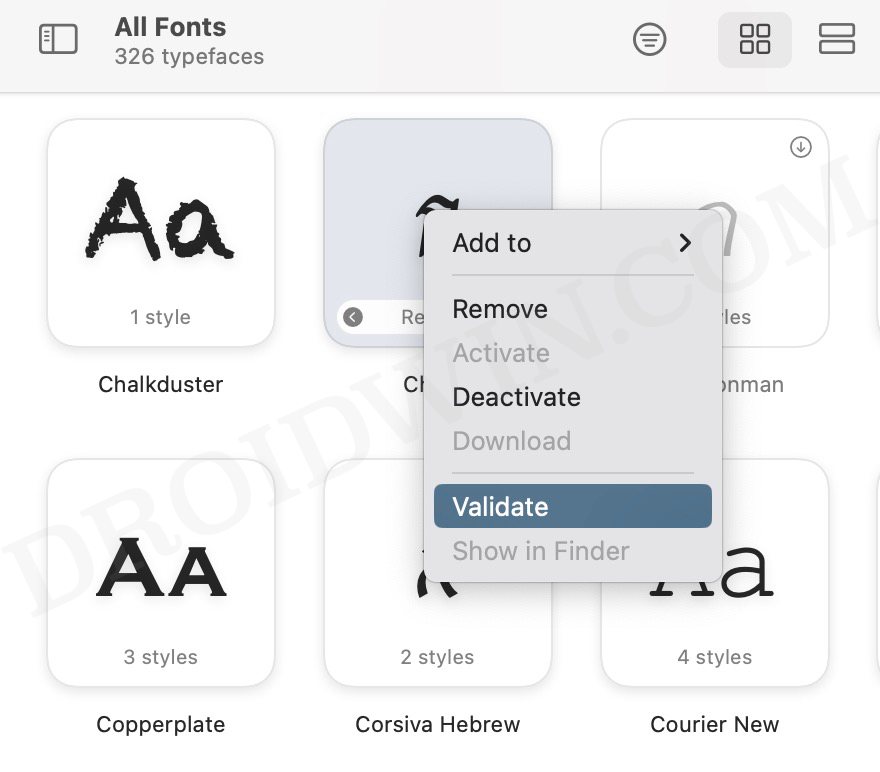
- Then right-click on the affected font and select Validate.

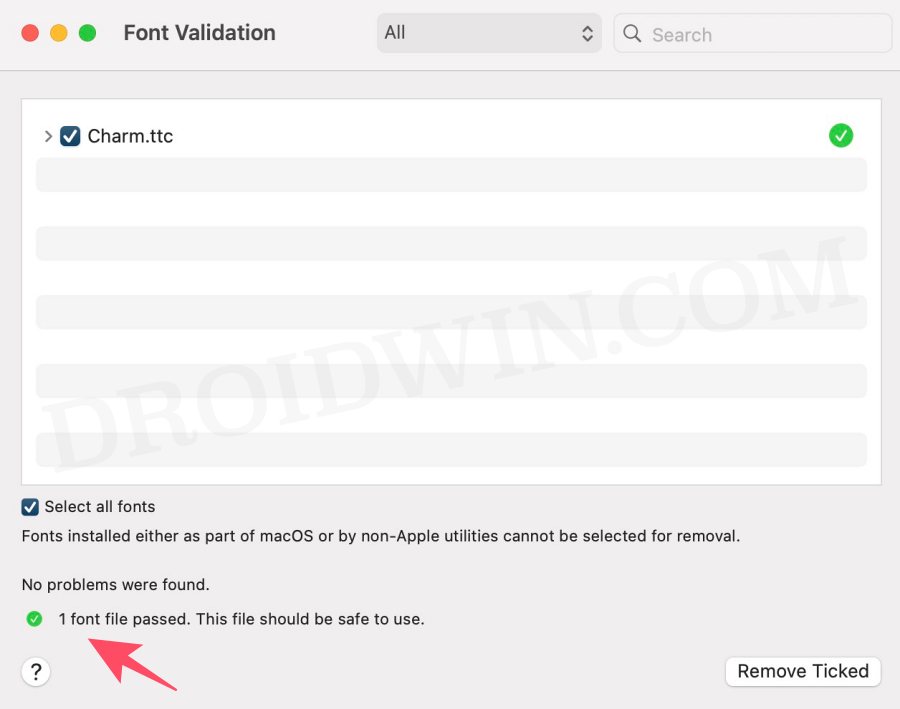
- Now check out the result. If you get a green icon, then refer to FIX 3 onwards.
- However, if you get a red or yellow warning, then refer to FIX 2.
FIX 2: Reinstall Font
A yellow icon in the font validation result indicates a warning that there “might” be something wrong. Whereas the red icon cements the fact that the font has failed the test and it needs to be addressed straight away. In both these cases, your best bet is to remove that font from your Mac and then reinstall it. Here’s how it could be done:
- Go to Finder > Applications and open Font Book.
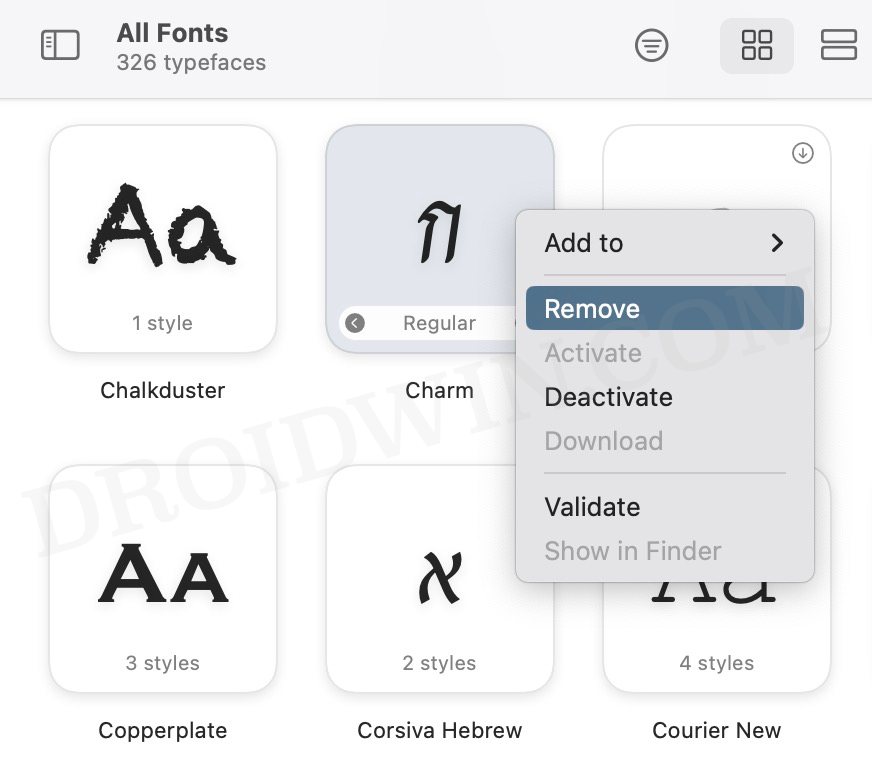
- Then right-click on the affected font and select Remove.
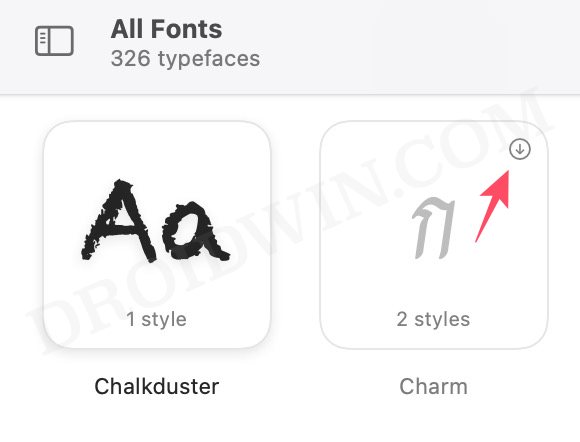
- Now click on the download icon next to the removed font to re-download it.
- Once done, check if it fixes the font issues on your Mac.
FIX 3: Remove Duplicate Fonts
If you have more than one instance of font, then they might conflict with one another resulting in the inability of both font styles to work correctly. Therefore, you should remove the duplicate instance of the font and only have the original one. Here’s how it could be done:
- Go to Finder > Applications and open Font Book.
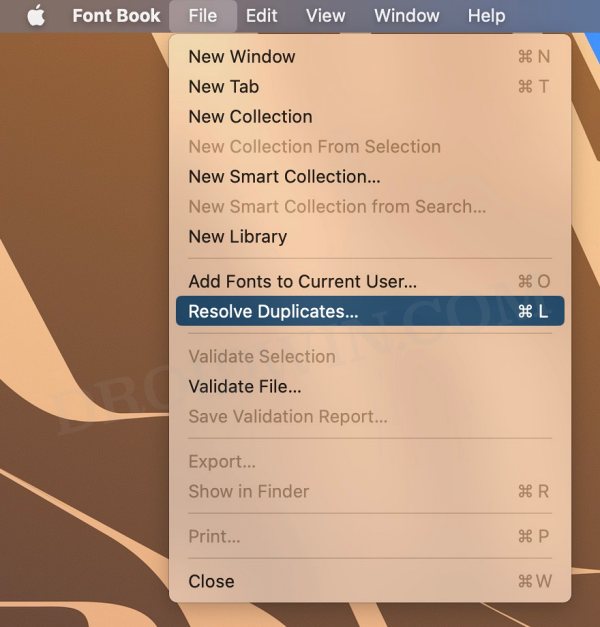
- Then click on File > Resolve Duplicates from the top menu bar.
- After that, select Resolve Automatically and wait for the process to complete.
- Once done, check if it fixes the font issues on your Mac.
FIX 4: Clear Font Database
You might also get bugged with this issue if the font database gets corrupted. Therefore, you should consider deleting this database and let macOS repopulate a fresh instance of the same from scratch. Here’s how it could be done:
- Go to Launchpad > Others > Open Terminal.
- Then execute the below command and type in your password
sudo atsutil databases -remove
- Once done, restart your Mac for the font database to be re-populated.
- Now check if it fixes the font issues on your Mac.
FIX 5: Reset Fonts
If none of the aforementioned steps managed to spell out success, then your last course of action should be to reset the font back to its factory default state. Here’s how it could be done:
- Go to Finder > Applications and open Font Book.
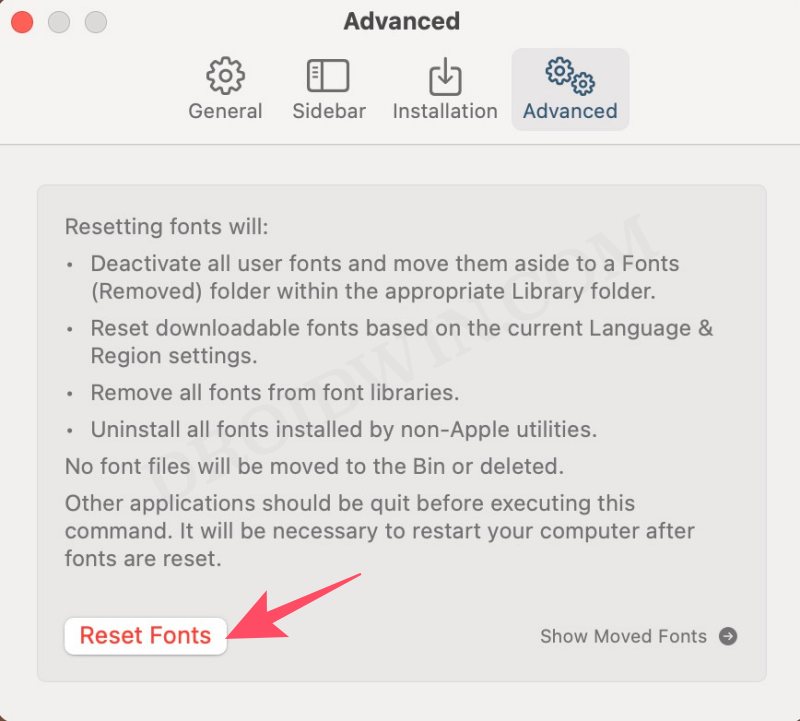
- Then go to Font Book > Settings > Advanced.
- Now click on Reset Fonts present at the bottom left.
- This should rectify the underlying font issues.
That’s it. These were the various methods to fix font issues on your Mac. If you have any queries concerning the aforementioned steps, do let us know in the comments. We will get back to you with a solution at the earliest.


