In this guide, we will show you the steps to create your own flashable GApps ZIP package. GApps, the acronym for Google Apps, is a bundled package consisting of numerous Google Apps, Services, and Framework. They are mostly used while dealing with custom ROMs. These ROMs are segregated into two domains- Vanilla and GApp builds. The former provides a de-Googled ecosystem, bereft of any Google apps [LineageOS is a perfect example of the same].
So if you are flashing a Vanilla ROM and want to have Google Apps installed, then your best bet is to flash a GApps package. Regarding this, there exist numerous bundles depending on the number of apps that they behold. If we talk about NikGApps, then they have Core, Basic, Omni, Stock, and Full wherein Core has the least whereas Full has the most number of Google Apps.
While five different bundles of GApps should be sufficient, but it might not be able to checkmark the prerequisites of all the users. If you are among them, then you do have the option to create your GApps package. You’ll start from scratch and have complete liberty to add desired apps to the package, which could then simply be downloaded and flashed via the recovery. So without any further ado, let’s show you how this could be carried out.
How to create your own flashable GApps ZIP package!

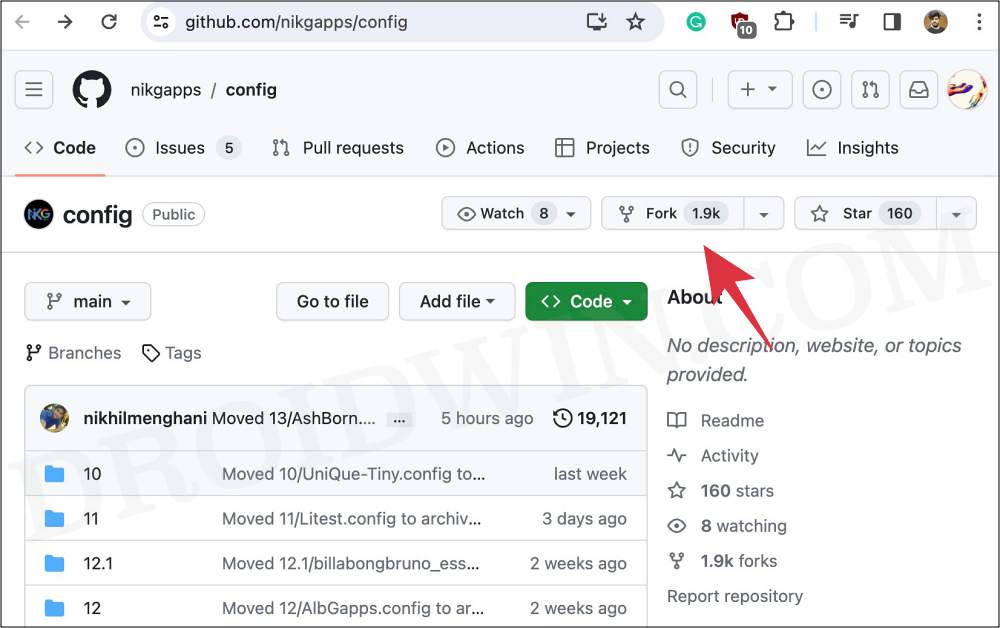
- Head over to the NikGApps GitHub page and sign in/up to your account.
- Then click on the Fork button at the top right.

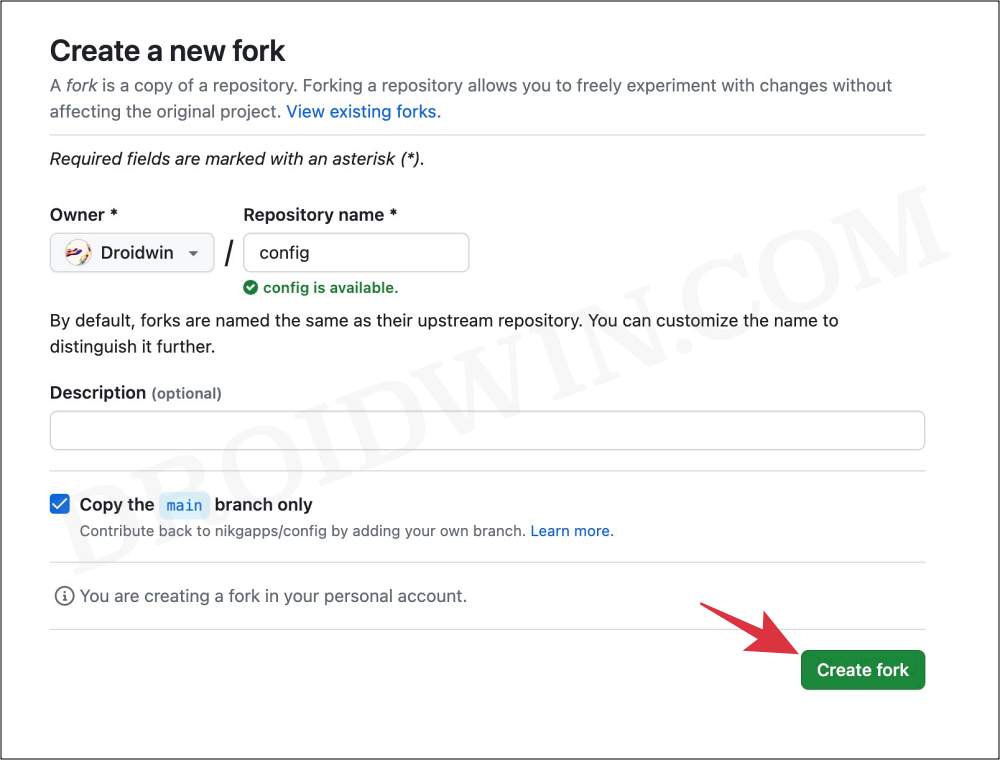
- Then click on Create Fork.
- Once done, download the latest version of nikgapps.config.
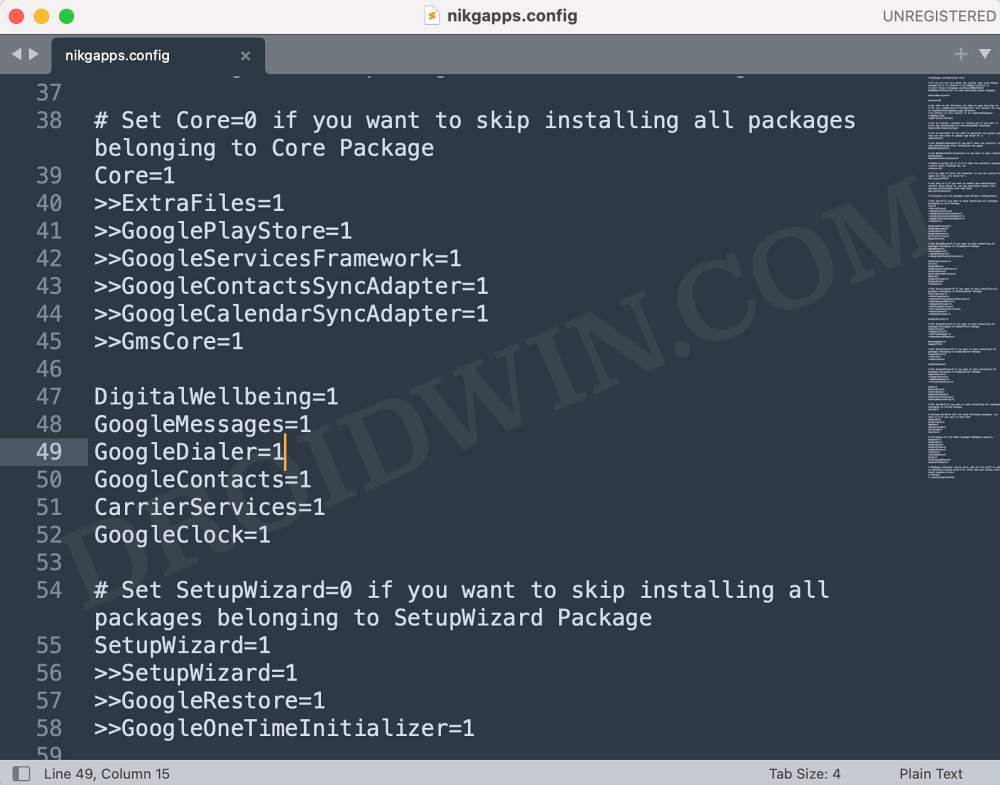
- Now open this file in a text editor like Notepad++. First off, comes the Core package.
- If you don’t want to install any apps from the Core package, then simply change its value to 0 i.e. Core=0.
- On the other hand, if you want to install a few apps from the Core package, then leave its value as Core=0.
- Just change the value of those apps from 1 to 0 which you don’t want to install.
- For instance, if I don’t want to install GoogleDialer, then I’ll change its value to 0, i.e. GoogleDialer=0.
- Now that we are done with the Core package, follow the same rule for the other packages, namely:
SetupWizard Package, PixelLauncher, GoogleFiles, GoogleSearch, GoogleChrome, CoreGo, and AddOn Packages.
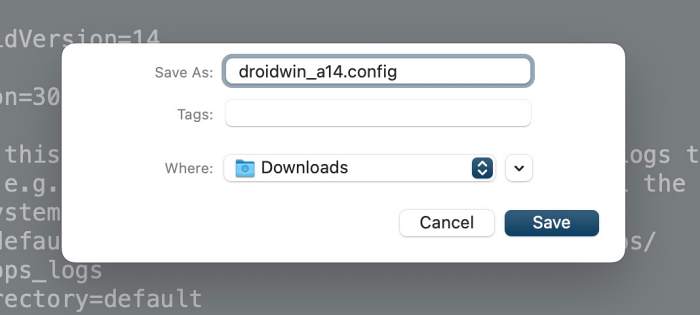
- Once you have made the required changes, save the file [give it a unique name, but keep the extension .config].
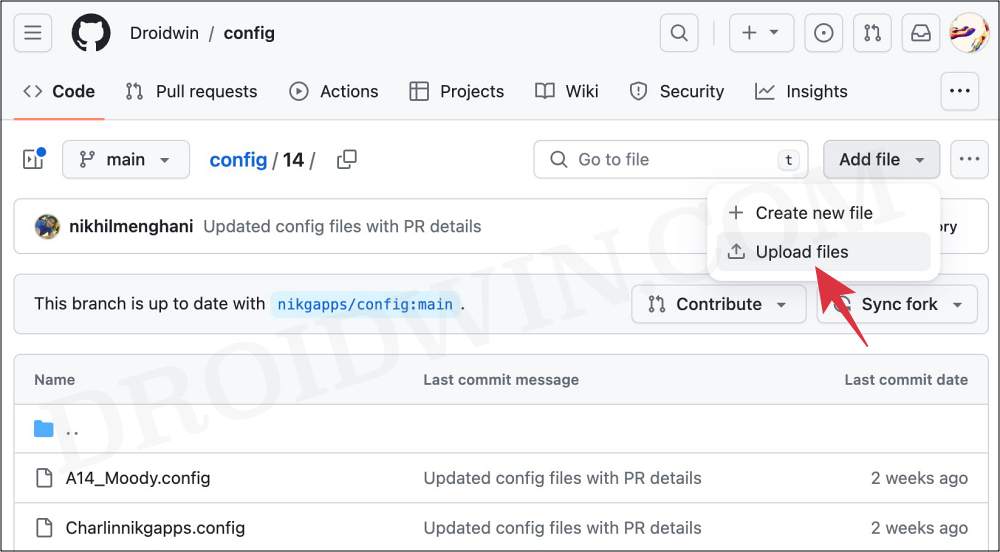
- Now go back to your repository and go to the desired Android version folder [let’s take Android 14].
- Then click on Add File > Upload File.
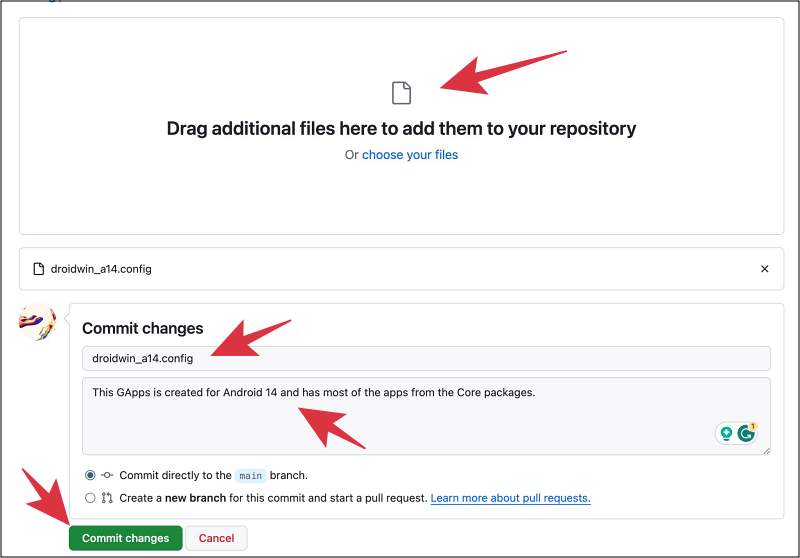
- Now upload the config that we had just created.
- Under Commit Changes, you’ll see two sections. Fill the fields as follows and then click on Commit Changes:
Add Files via Upload: type in the config file name
Add an optional extended description: describe your GApps package, such as:
This GApps is created for Android 14 and has most of the apps from the Basic packages.
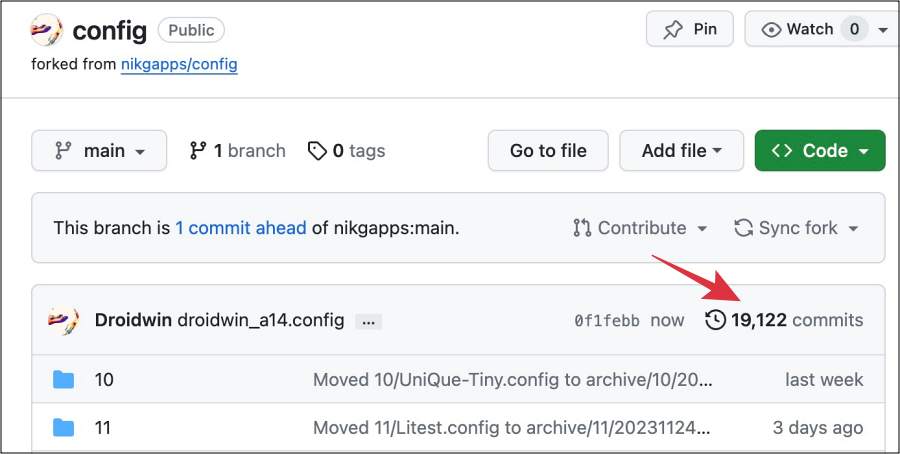
- You’ll now see x number of commits listed at the right, click on it.
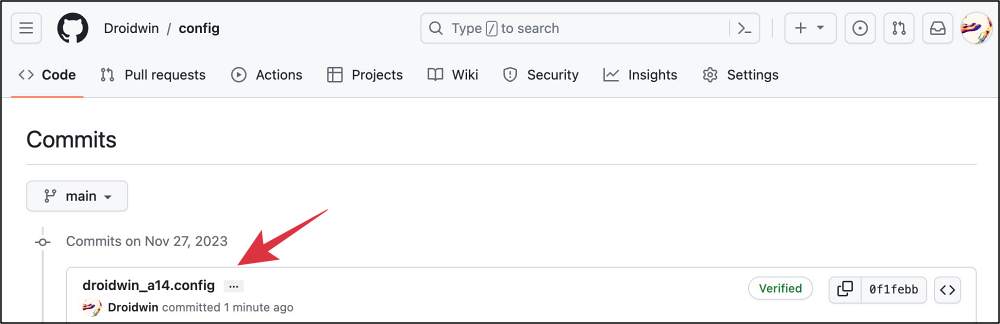
- Your commit should be present there.
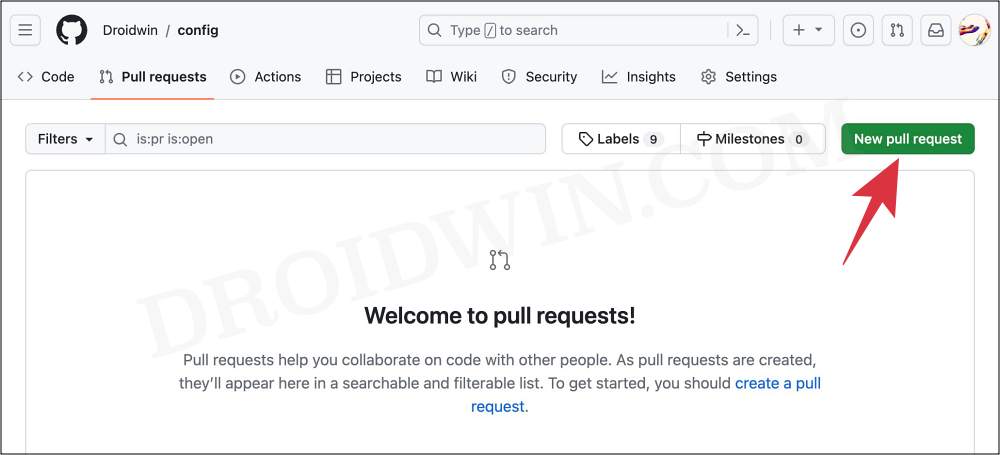
- Now go to the Pull Requests tab and click on New Pull Requests.
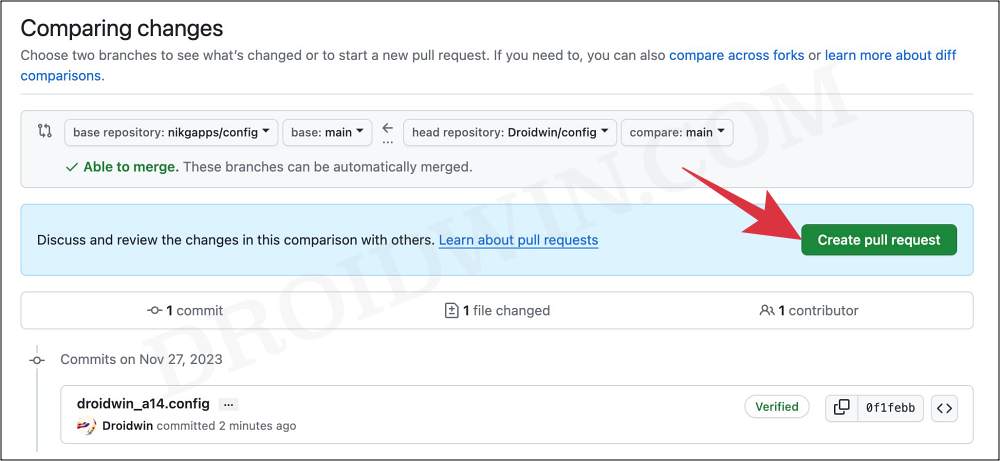
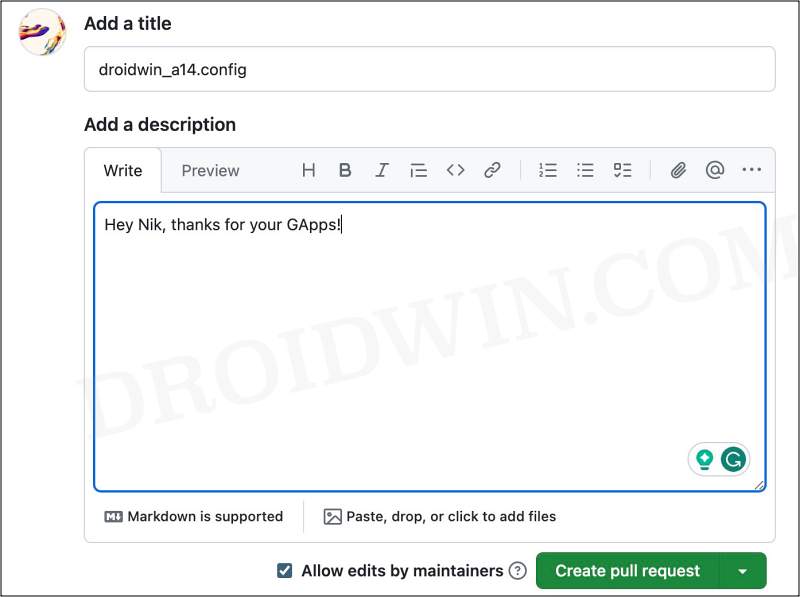
- Then click on Create Pull Request. Under the comments, you may write something like:
Hey Nik, thanks for your GApps!
- Likewise, verify that you are getting Able to Merge status, If that’s well and good, then click on Create Pull Requests.
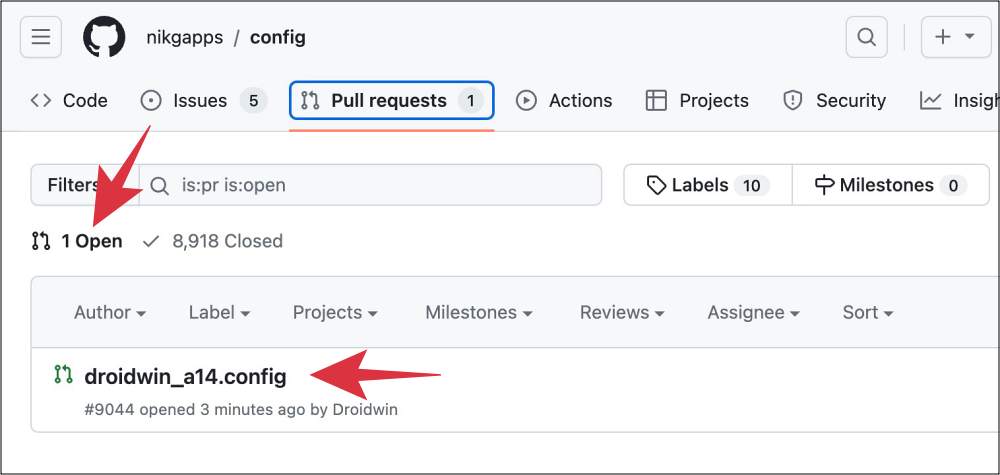
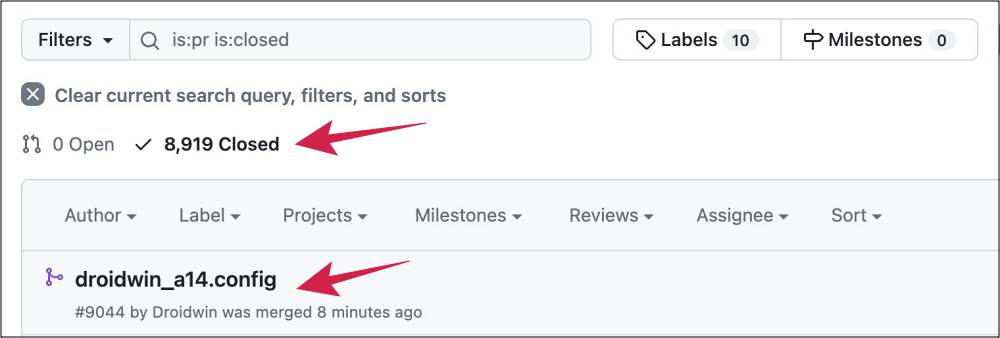
- Now go to the Pull requests. As of now, your request is open, so it will be under the Opened tab.
- Wait for around 30 minutes for it to be merged. Once that happens, the NikGapps system will build your desired Gapps!
- Wait for a couple of minutes and you can then download your GApps package from Config-Releases!
VIDEO GUIDE
That’s it. These were the steps to create your own flashable GApps ZIP package. If you have any queries concerning the aforementioned steps, do let us know in the comments. We will get back to you with a solution at the earliest.


