In this guide, we will show you the steps to create a bootable USB using macOS Terminal. While carrying out this task is quite a lengthy and tad bit complicated process, it does have its fair share of perks as well. For instance, this USB installer can be used time and again on your as well as other Macs to install macOS, thereby saving time and effort. Likewise, the built-in recovery features that come with the installer could be used to troubleshoot and rectify numerous types of issues.
From system apps not performing along the expected lines to even your Mac’s inability to boot, all of them could easily be rectified via this installer. Moreover, this method could also be used to perform a clean install of the macOS on your PC. So owing to all these benefits involved, let’s get started with the steps to create a bootable USB using macOS Terminal.
Table of Contents
How to Create a Bootable USB using macOS Terminal
The below process will wipe off all the data from the USB drive and on your Mac if you are planning to use the bootable USB to install the macOS. So please take a backup of all the data beforehand. Droidwin and its members wouldn’t be held responsible in case of a thermonuclear war, your alarm doesn’t wake you up, or if anything happens to your device and data by performing the below steps.
STEP 1: Format USB Drive to Mac OS Extended (Journaled)
Your first course of action should be to format your USB Drive to a Mac-supported format, i.e. Mac OS Extended (Journaled). Here’s how it could be done:
- First off, connect the USB Drive to your PC.
- Then go to Launchpad > Others > Disk Utility.
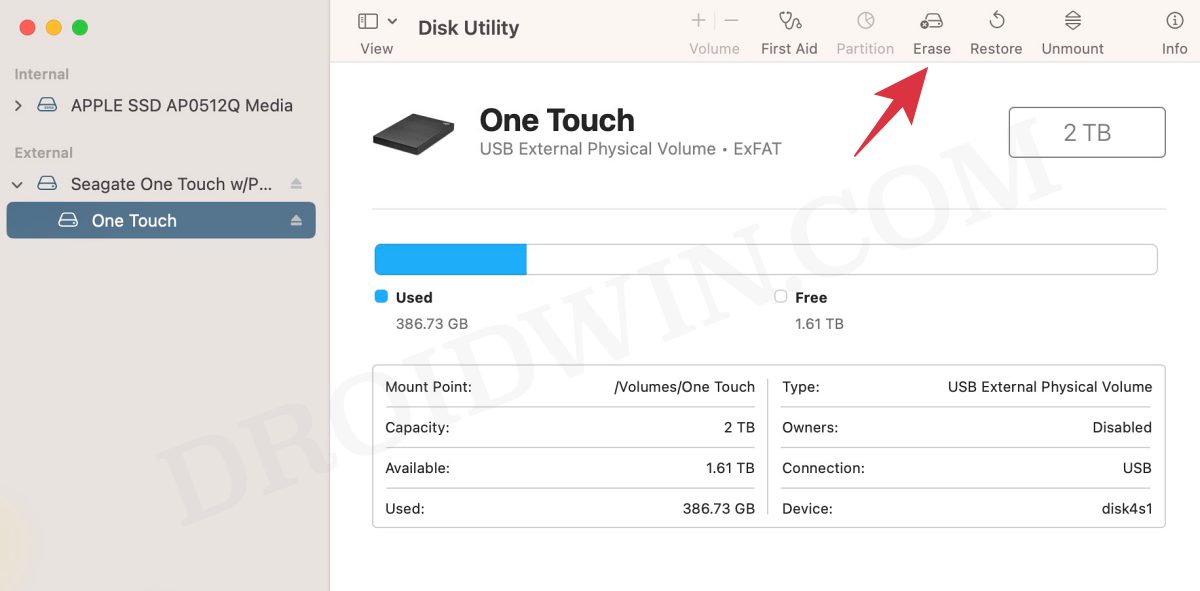
- Select the USB Drive from the External section on the left-hand side and click on Erase.

- Then give it a name [it will be used later on]. Let’s name it Droidwin.
- Finally, choose Mac OS Extended (Journaled) as the format and click Erase.

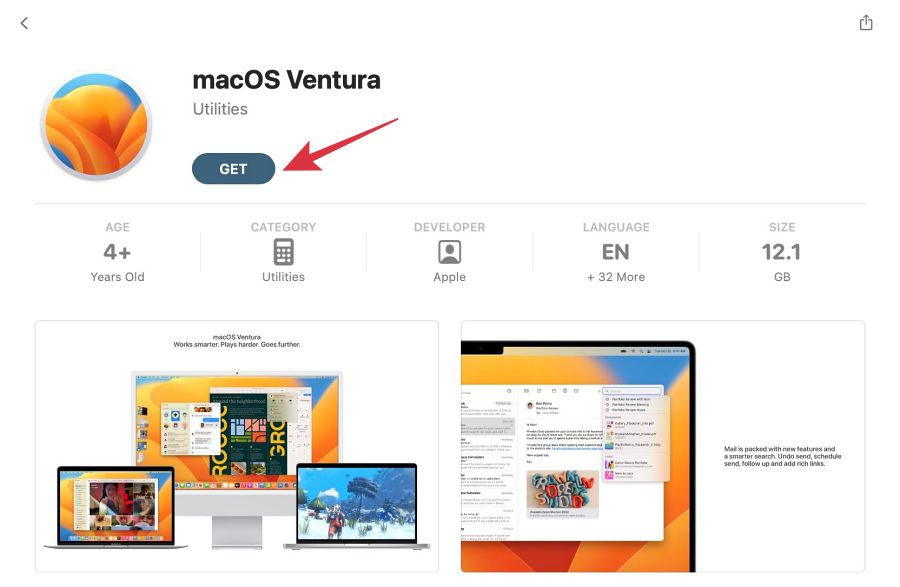
STEP 2: Download macOS Installer
Next up, grab hold of the macOS Installer file. To do so, go to the App Store, search for the desired OS version, and click Get. It will now be downloaded [if it starts installing as well, then make sure to stop it right away].
STEP 3: Create a Bootable USB using macOS Terminal
Let’s now carry out the third and final step and create a bootable USB using macOS Terminal. Follow along
- Head over to Launchpad > Others > Terminal.
- Then type in the below command, and replace the OS name [Monterey.app] with the OS that you are installing.
- Likewise, replace MyVolume with the name that you had given to your USB Drive in the first step.
sudo /Applications/Install\ macOS\ Monterey.app/Contents/Resources/createinstallmedia --volume /Volumes/MyVolume
- In my case, the USB Drive was renamed to Droidwin and I have downloaded the Ventura OS. So the command will transform to
sudo /Applications/Install\ macOS\ Ventura.app/Contents/Resources/createinstallmedia --volume /Volumes/Droidwin
That’s it. These were the steps to create a bootable USB using macOS Terminal. You may now boot your Mac to Recovery [Intel: Press and hold the Options key while it’s booting | Silicon: Press and hold the Power button while it’s booting], select this USB Drive, and proceed ahead with the on-screen instructions to install the OS. If you have any queries concerning the aforementioned steps, do let us know in the comments. We will get back to you with a solution at the earliest.


