In this guide, we will show you the steps to change the preferred WiFi network on your macOS Ventura. With the release of the thirteenth iteration of the OS, the Cupertino giant seems to have taken quite a few questionable decisions. While users were still unable to get over the fact that the Network Locations were removed, they are now even more infuriated to know that the ability to change the network priority has been removed from Ventura.
Up until macOS Monterey, there existed an ability to prioritize numerous WiFi networks based on the user’s requirement [it could be accessed via Network -> Wi-Fi -> Advanced]. However, for reasons best known to Apple, they decided to remove this functionality once and for all. And don’t keep your hopes high for the next version of macOS as this feature is not present in Sonoma either.
While a few users have recommended turning off Auto Join for the rest of the networks and only having it enabled for the one that is at the top of your preference list, however, that wouldn’t help us achieve the current goal. This is because we still want the macOS to “automatically” join the network, just in the order we want. With that said, there does exist a nifty workaround that could help you get this job done. So without further ado, let’s check it out.
How to Change Preferred WiFi Network in macOS Ventura
Let’s assume the current WiFi preferences in my list is A > B > C [where A, B, and C are network SSIDs]. However, I want B to be at the top of the priority list. So for that, here’s what we need to do:
- Open Launchpad > Others > Terminal.
- Then type in the below command to get a list of all network codes.
networksetup -listnetworkserviceorder
- MacBook usually assigns network interface en0 to Wi-Fi whereas the iMac assigns en1.
- Now type in the below command [replace network_interface with en0 or en1]:
networksetup -listpreferredwirelessnetworks network_interface
- I’m currently using an iMac, so it’s en1 in my case, so the above command transforms to:
networksetup -listpreferredwirelessnetworks en1
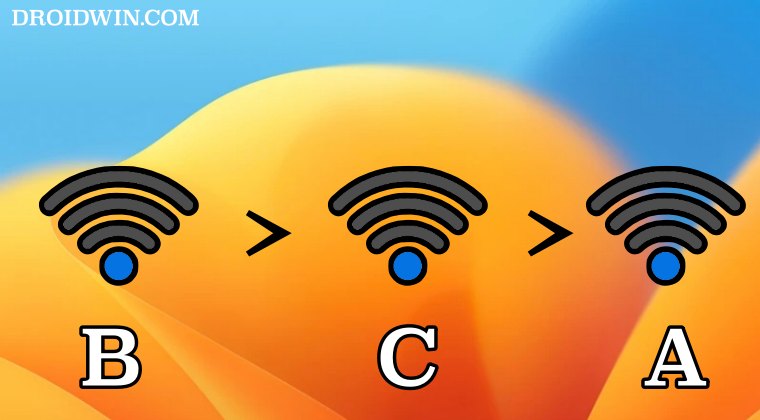
- Let’s assume I want Network B to be at the top of my preferred network.
- So first off, let’s remove that network via the below command:
networksetup -removepreferredwirelessnetwork network_interface SSID
- In my case, this command will transform to:
networksetup -removepreferredwirelessnetwork en1 B
- Now let’s add it back but with a higher index value (counting starts from 0, 1, 2, 3…)
- So type in the below command for that [we’re using WPA2 as it’s the most common security protocol]
networksetup -addpreferredwirelessnetworkatindex network_interface SSID index_value WPA2
- In my case, this command will transform to:
networksetup -removepreferredwirelessnetwork en1 B 0 WPA2
- To verify the result, type in the below command [reoalce the values accordingly]
networksetup -listpreferredwirelessnetworks network_interface
- In my case, the command will transform to:
networksetup -listpreferredwirelessnetworks en1
- So in my case, B will now occupy the topmost position instead of the earlier A.
These were the steps to change the preferred WiFi network on your macOS Ventura. If you have any queries concerning the aforementioned steps, do let us know in the comments. We will get back to you with a solution at the earliest.


