In this guide, we will show you a nifty method through which you could create individual files using the Create PDF option in Quick Actions. The macOS beholds a slew of intriguing and useful features in its context menu. For example, you could rotate images, remove their background, convert it to any other format, or even create its PDF file. As far as the latter is concerned, you just need to select the desired number of images and then it will pack them into one PDF.
However, some users are of the opinion that it would have been much better if it gave them the option to create individual PDF files. Turns out that is very much a possibility, and that too without using any third-party app. We will only be using the Apple’a built-in Automator app to create individual files using the Create PDF option in Quick Actions. So without further ado, let’s get started.
Quick Actions Create PDF as Individual Files on Mac
- Go to Launchpad > Others and open Automator.
- Then select New Document and choose Quick Actions.
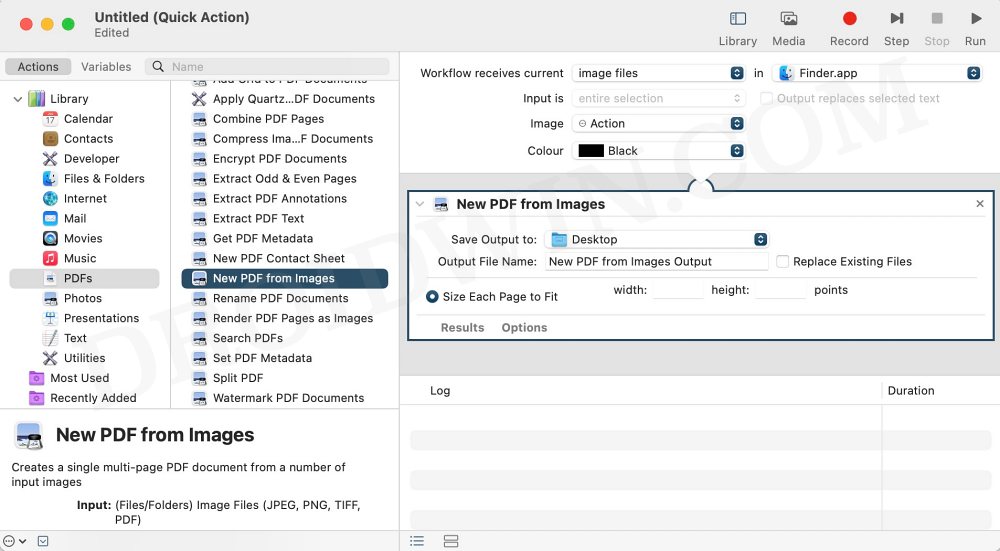
- Now select PDF from the left and drag New PDFs from Images to the right-hand side.

- Then change Workflow receives Current Image Files in Finder.app.
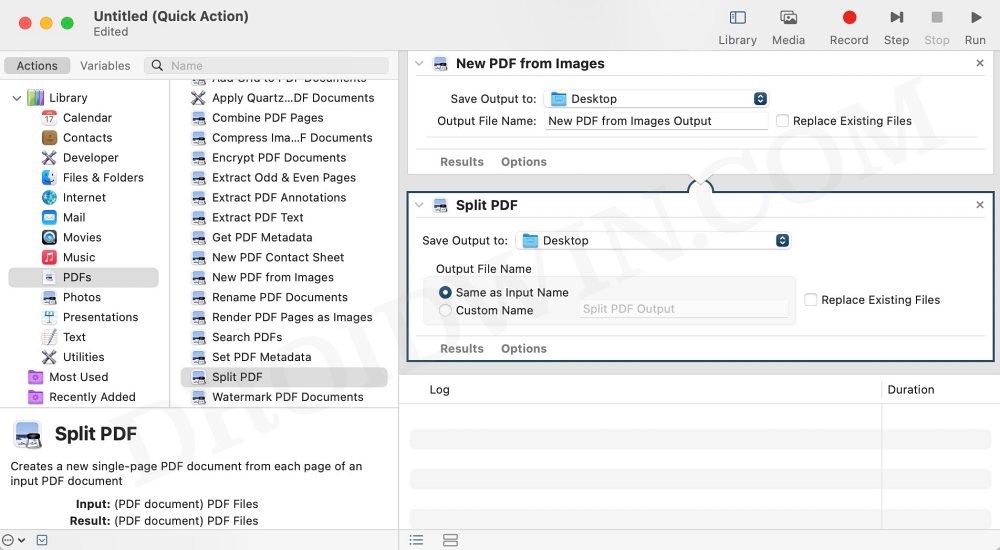
- Now, double-click on Split PDF to add it.
- Once done, hit Command+S to save this action.
- You could give it any name of your choice, for the sake of reference, we have named it Split PDFs.
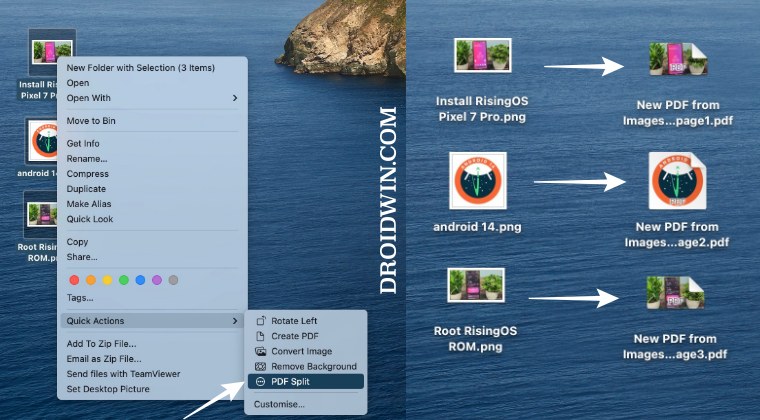
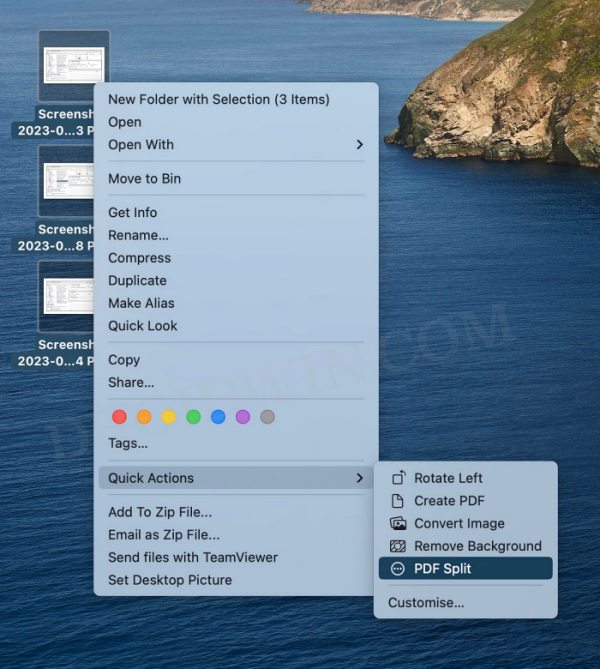
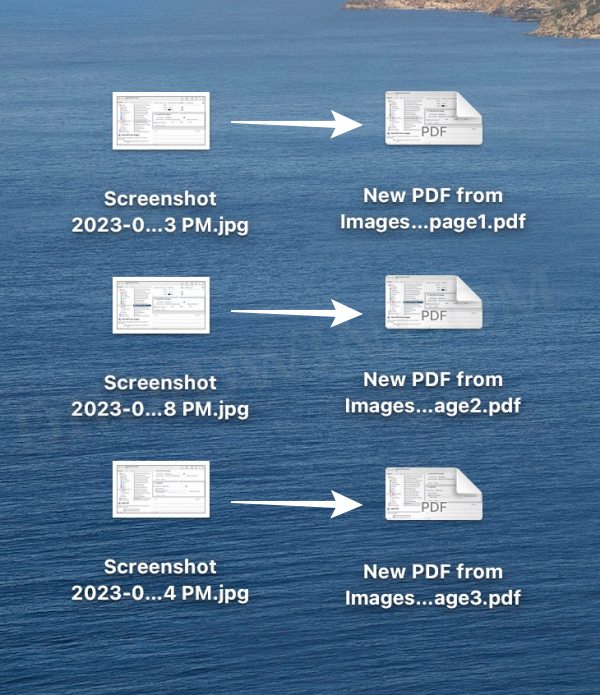
- Now select the desired images, right-click on them, and select the action name [Split PDFs in our case].
- It will now create individual PDFs for all the selected images.

These were the steps to create individual files using the Create PDF option in Quick Actions. If you have any queries concerning the aforementioned steps, do let us know in the comments. We will get back to you with a solution at the earliest.


