In this guide, we will show you the steps to enable High and Ultimate Performance Power Plans on your Windows 11 PC. Windows OS comes with three built-in power plans- Balanced, Power Saving, and High Performance (and an Ultimate Mode for Workstations). As is evident by their names, Balanced Mode maintains an equilibrium between the preservation of battery juice and the performance domain.
On the other hand, Power Saving gives more weightage to the conservation of battery whereas High Performance would try and improve the overall performance of your system. By default, Windows settles with the Balanced Mode and that is more than sufficient for the everyday usage of your PC. However, if you are mostly inclined towards resource-intensive tasks, then a ‘balanced’ approach might not be sufficient.
Instead, you might need a tad extra power for your CPU, and for that, a High Performance plan might be the perfect one. However, you might not be able to access the said plan as Windows has hidden it from its OS. With that said, there does exist a nifty method through which you could easily enable the High and Ultimate Performance Power Plans on your Windows 11 PC. And in this guide, we will show you how to do just that. Follow along.
Table of Contents
How to Enable High Performance Power Plan in Windows 11
There exists three different methods through which you could carry out the said task and we have listed all of them below. You may try out the one that is in sync with your requirement.
Method 1: Via Control Panel
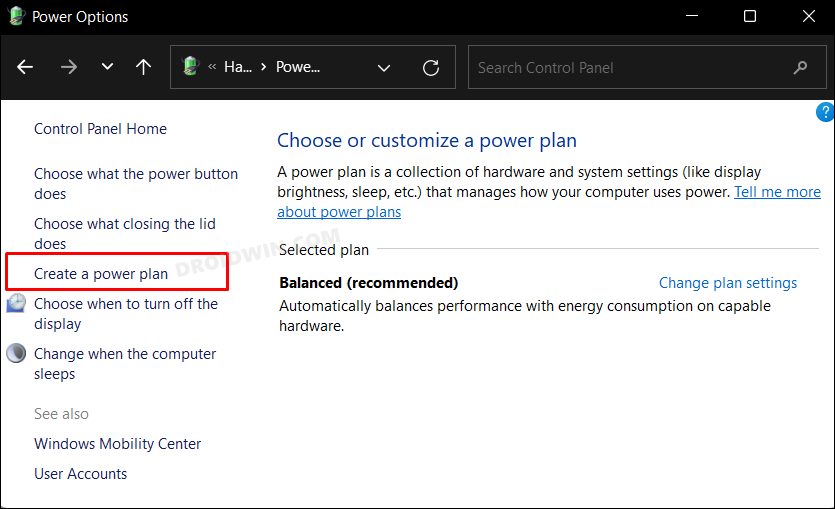
- Open Control Panel from the Start Menu and go to Hardware and Sound > Power Options.
- Then click on Create a Power Plan from the left menu bar.

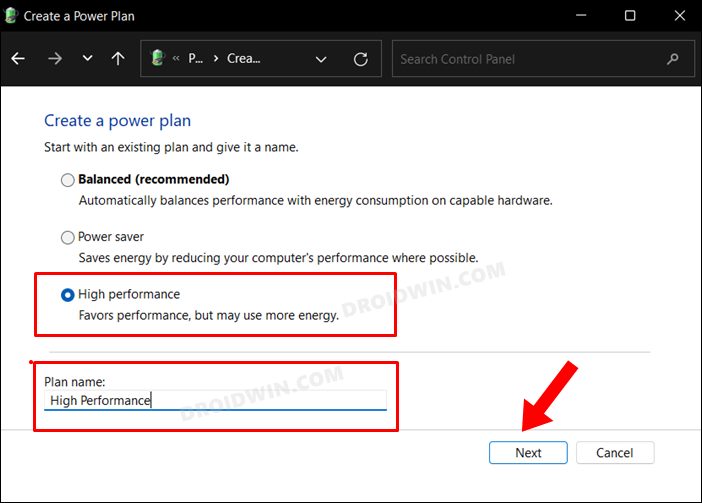
- You should now see the High Performance Mode, select it. Then give it a name and click Next.
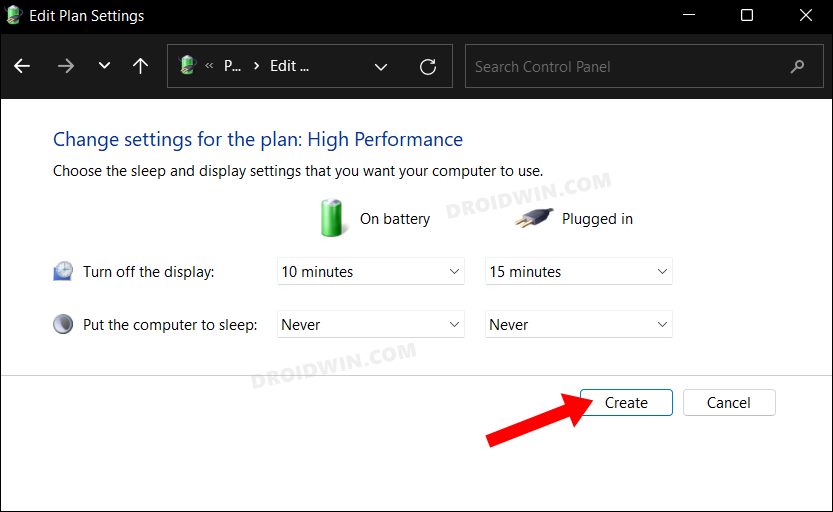
- Now tweak the Display and Sleep settings as per your requirements and click Create. That’s it.
- The High Performance Power Plan will now be created and subsequently enabled on your Windows 11 PC.
Method 2: Via Command Prompt
- Head over to the Start menu, search CMD, and launch it as an administrator.
- Then copy-paste the below command in the CMD window and hit Enter:
powercfg -duplicatescheme 8c5e7fda-e8bf-4a96-9a85-a6e23a8c635c
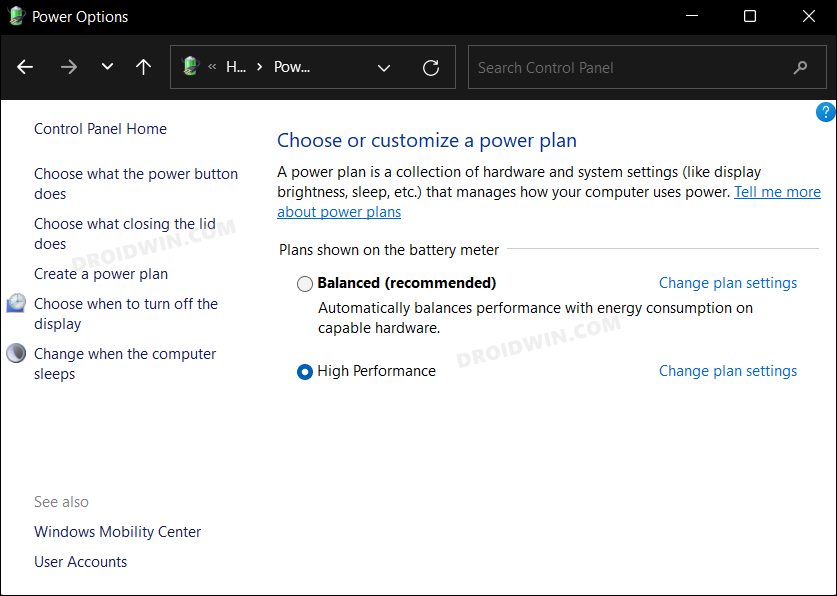
- Next up, search ‘Choose a power plan’ from the Start Menu.
- You should now see the High Performance Power Plan on your Windows 11 PC.
Method 3: Via Command Prompt (Again!)
- Head over to the Start menu, search CMD, and launch it as an administrator.
- Then copy-paste the below command in the CMD window and hit Enter:
powercfg /s SCHEME_MIN
- Next up, search ‘Choose a power plan’ from the Start Menu.
- You should now see the High Performance Power Plan on your Windows 11 PC.
That’s it. These were the three different methods to enable the High Performance Power Plan in Windows 11. If you have any queries concerning the aforementioned steps, do let us know in the comments. We will get back to you with a solution at the earliest.
How to Enable Ultimate Performance in Windows 11
Is the High Performance Mode still not able to meet your graphics-intensive requirements? Well then, it’s time to take it a notch higher and enable the Ultimate Performance Power Plan on your Windows 11 PC. However, do keep in mind that it would end up draining your laptop’s battery at a much higher rate. So if that’s well and good, then let’s get started.
- Head over to the Start menu, search CMD, and launch it as an administrator.
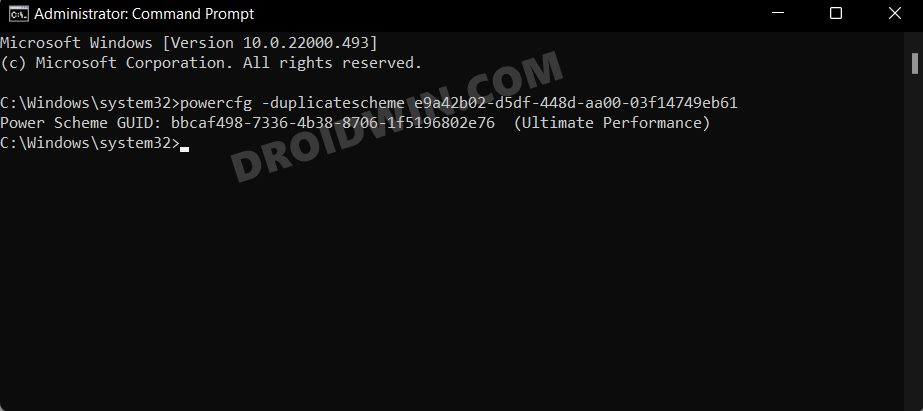
- Then copy-paste the below command in the CMD window and hit Enter:
powercfg -duplicatescheme e9a42b02-d5df-448d-aa00-03f14749eb61
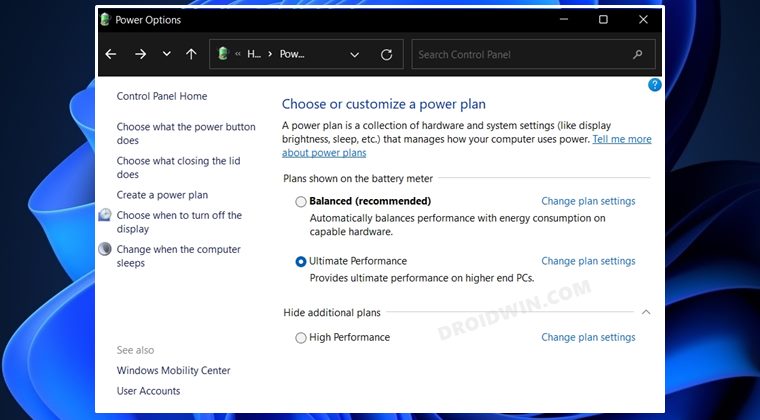
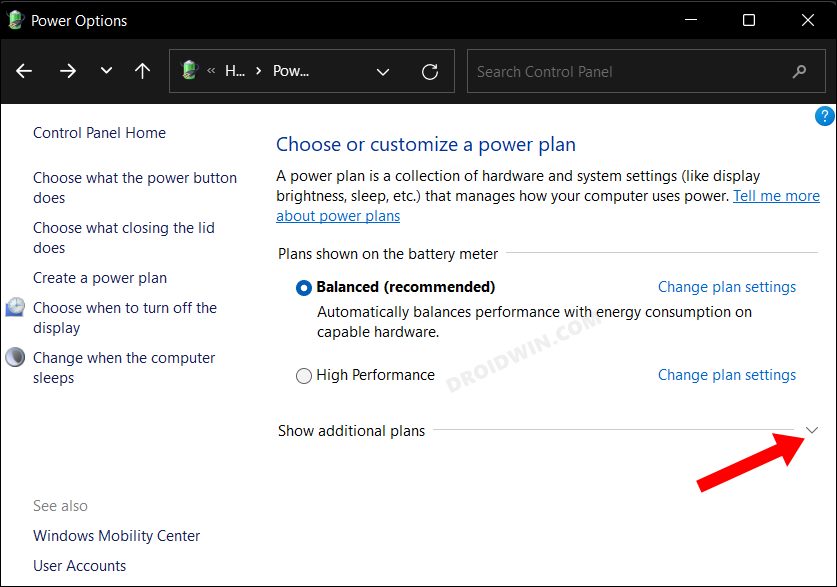
- Next up, search ‘Choose a power plan’ from the Start Menu.
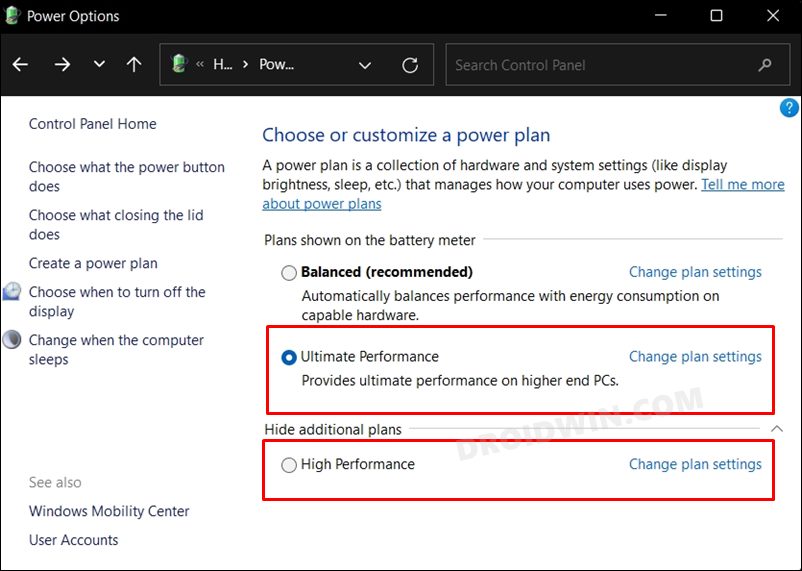
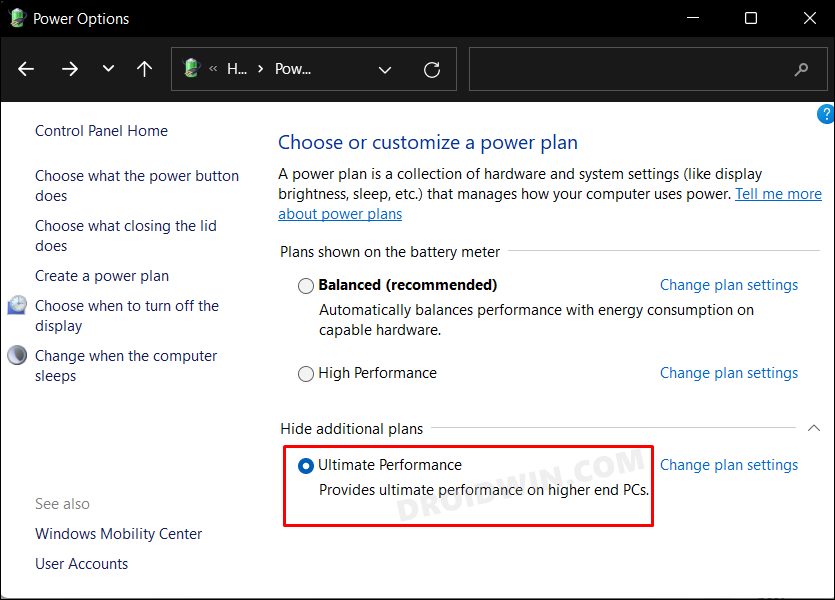
- Now expand the Show additional plans section.
- You should see the Ultimate Performance Power Plan. Select it and it would be enabled right away on your Windows 11 PC.
How to Delete High and Ultimate Power Plans
If at any point in time, you wish to delete these manually created power profiles, then you could easily do so via the below-given instructions:
- Open Control Panel from the Start Menu
- Then go to Hardware and Sound > Power Options.
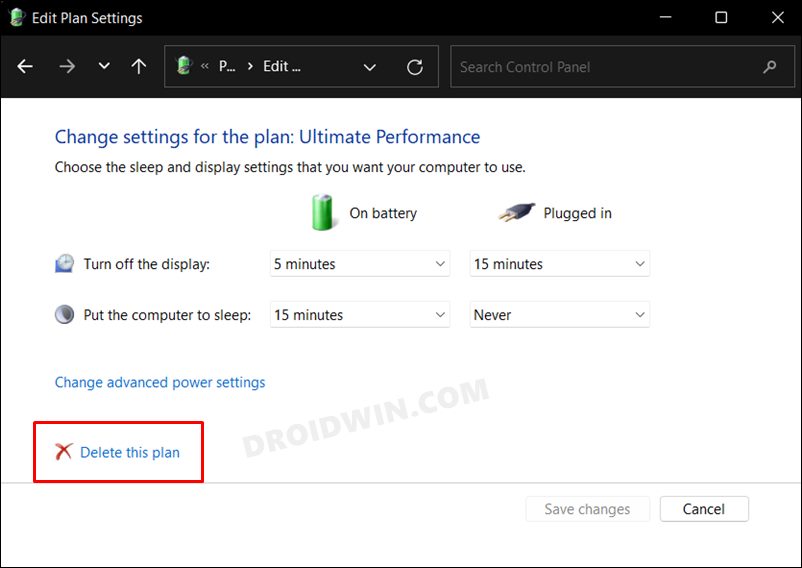
- Click on Change Plan Settings next to the plan that you wish to delete.
- Finally, click on Delete this plan. That’s it.

So with this, we round off the guide on how you could enable High and Ultimate Performance Power Plans on your Windows 11 PC. Likewise, we have also listed the steps to delete these plans. If you have any queries concerning the aforementioned steps, do let us know in the comments. We will get back to you with a solution at the earliest.