In this guide, we will show you the steps to directly save your photos to the Locked Folder in Google Photos. This photo-sharing and storage service beholds a slew of nifty features up its sleeves. Some of the noteworthy ones include the likes of creating animation, cinematic photos, collages, highlight videos, memory, creating shareable albums, and the generous 15GB free storage space.
Apart from that, it also gives you the option to protect your personal stuff under a blanket of additional security. Dubbed Locked Folder, you could move the desired images and videos to this directory which will then be hidden from the Photos tab of the app. The Locked Folder is interlinked with your device’s screen lock, so you’ll have to input it before being able to access that folder.
Moreover, these photos wouldn’t be shown in other apps as well. While that’s well and good, but manually moving media files to this location might end up taking ages and calls for quite a lot of manual effort. Well, it turns out that you could easily automate this process as well. And in this guide, we will show you how to do just that. Follow along.
Table of Contents
How to Directly Save Photos to Locked Folder in Google Photos
Do note that after carrying out the below steps, all your photos and videos will be automatically transferred to the Locked Folder until you disable this feature or manually move them out of this folder [as explained below]. So keeping that in mind, let’s get started.
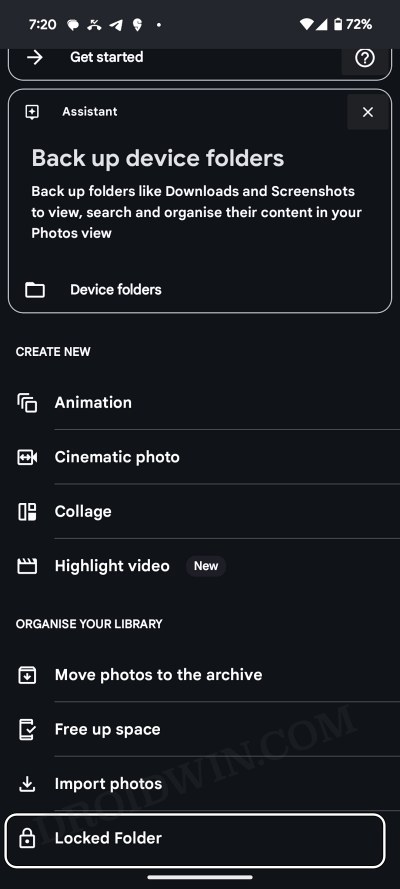
- Launch Google Photos and head over to Library > Utilities.
- Then go to Locked Folder and tap on Set up Locked Folder.

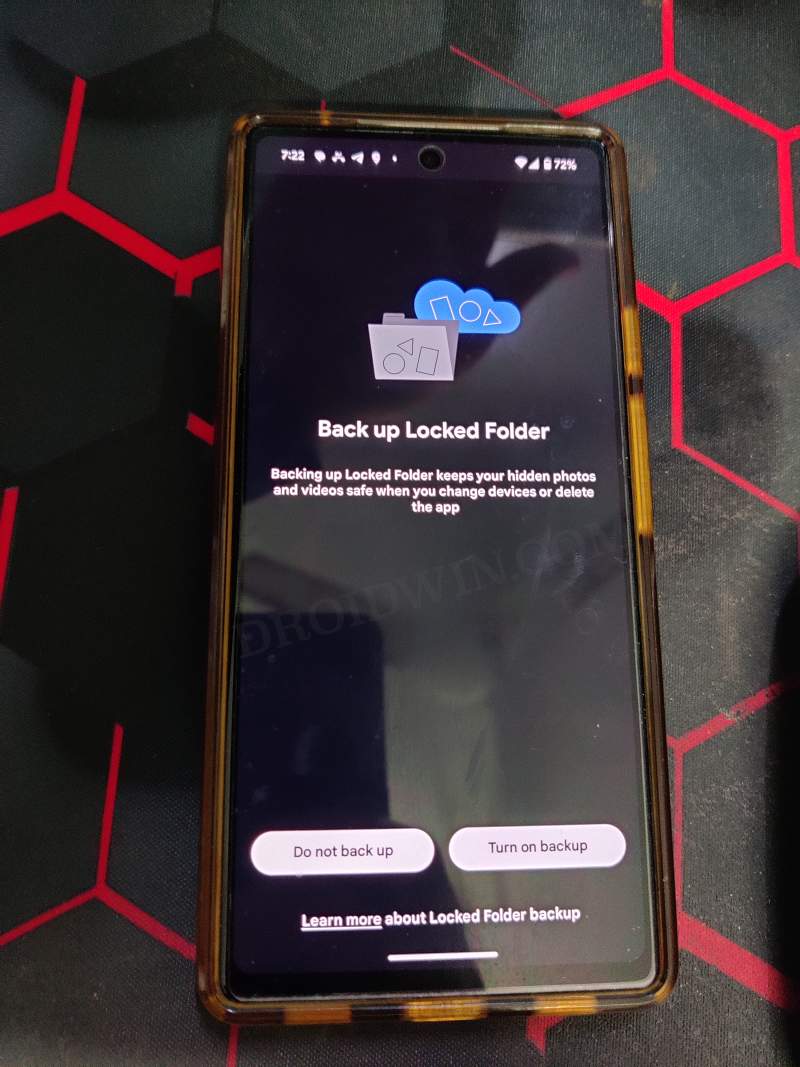
- It will ask if you want to back up this folder, reply accordingly.
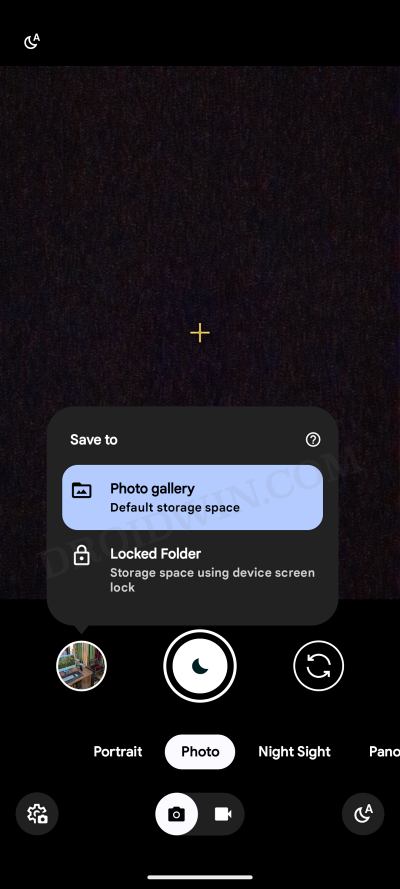
- Finally, open Camera, long press on the viewfinder, and select Locked Folder.
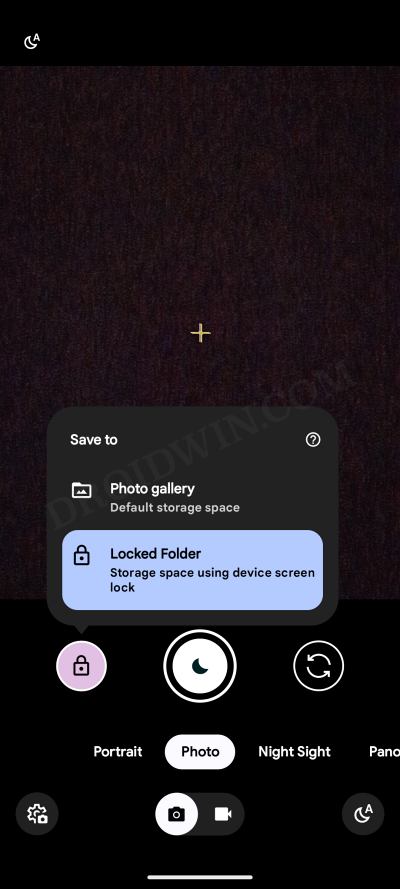
All the photos that you take and the videos you record will now be saved in the Locked Folder of Google Photos.
How to Remove Photos/Videos from Locked Folder in Google Photos
If you want to remove a particular photo and/or video from the Locked Folder and make it public, then here’s what you need to do:
- Launch Google Photos and head over to Locked Folder.
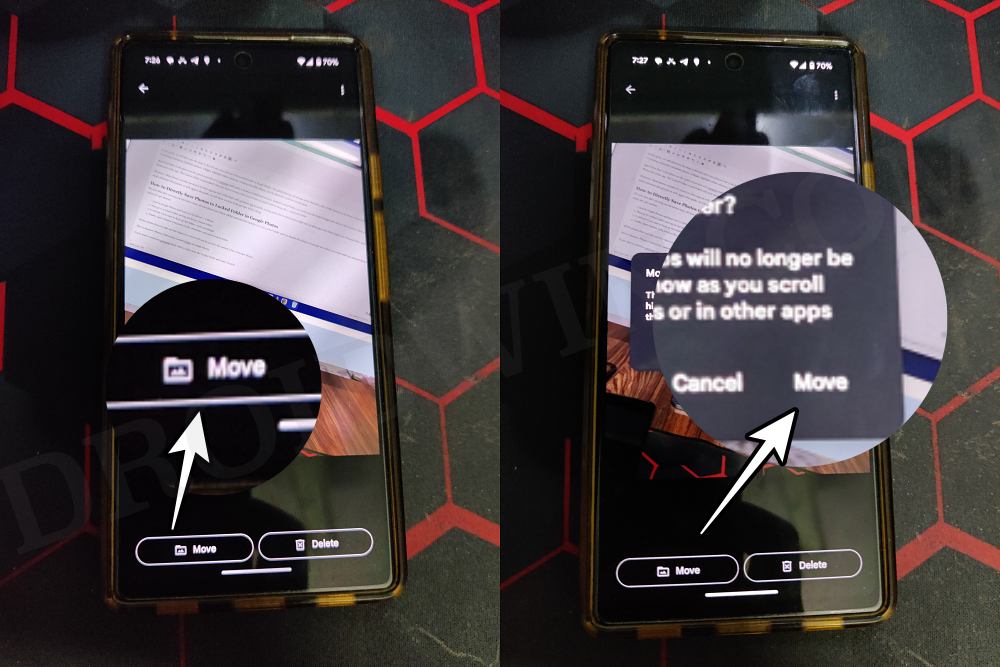
- Then open the desired photo/video and tap on Move.
- Finally, select Move and your task stands complete.
How to Undo the Changes
If you wish to revert the change, or in other words, let all the photos and videos be saved as public, then open Camera, long press on the viewfinder, and select Photo Gallery.
These were the steps to directly save your photos to the Locked Folder in Google Photos. If you have any queries concerning the aforementioned steps, do let us know in the comments. We will get back to you with a solution at the earliest.


