In this guide, we will show you the steps to use USB OTG or Pen Drive to flash files via TWRP Recovery. So many newcomers ask this question why is there a need to use a custom recovery like TWRP when our device already has the stock recovery. Well, the question on their part is completely justified. As far as the reason for the same, well there are aplenty. Just to make things clear, if you just the everyday users without any interest in the custom development, then probably you wouldn’t need TWRP Recovery.
However, if you are among the tech enthusiasts, then the first thing that you might do is to unlock the device’s bootloader. Once that is done, flashing the TWRP Recovery is counted as the prerequisites. This is due to the plethora of features that it beholds. To begin with, it allows you to create and restore Nandroid backups. Likewise, you could carry out advanced functionalities such as Fixing Recovery Bootloop, making use of TWRP File Manager, executing commands via TWRP, among others.
However, its most useful function is the ability to flash IMG and ZIP files. Most of the tweaks that we deal with either come as an image partition file (.img) or a flashable ZIP file (.zip). And TWRP provides the perfect platform to flash these files to their respective partitions. But in some instances, you might not be able to use your Internal Storage to flash a file. In that case, you could make use of some external devices. And in this guide, we will be discussing just that. Given here are the detailed steps to steps to use USB OTG or Pen Drive to flash files via TWRP Recovery.
- How to Fix Soft brick/Bootloop after installing TWRP Recovery
- Copy Move Rename Delete Files and Folders via TWRP Recovery
- How to Fix TWRP 0MB Internal Memory Issue
- How to Update TWRP Recovery on any Android Device
Table of Contents
The Need to use USB OTG or Pen Drive to Flash File via TWRP Recovery
Why would one need to use OTG Pendrive to carry out the aforementioned task? Well, the thing is in some instances, you might not be able to access your device’s phone memory. But why would that happen? This is usually the case when the data partition on your device is encrypted and TWRP isn’t able to decrypt it. As a result, the recovery will rather show 0MB in Internal Storage or might show all the files in a random string of characters. This will make it impossible to identify the type of device that you are about to flash.
As a result, one fix for the same is to keep those files in SD Card (Memory Card). While this is indeed a fix, however, not every device nowadays has a dedicated SD card slot. In other situations, TWRP is unable to mount the data partition. As a result, you wouldn’t be able to access the Internal Storage or would again get random characters in place of the file name. So in all these cases, there’s no option left but to use USB OTG or Pen Drive to flash files via TWRP Recovery. And this guide shall help you do just that. So without further ado, let’s get started.
How to Use USB OTG or Pen Drive to Flash File via TWRP Recovery
The below instructions are broken down into separate sections for ease of understanding. Make sure to follow the instructions in the exact same sequence as mentioned.
STEP 1: Transfer the File to USB OTG or Pen Drive
First and foremost, transfer the required files from your device or PC to the USB OTG/Pen Drive.
However, if your device is currently in a bootloop and you cannot access the OS, then boot your device to TWRP (instructions are given in next step) and then transfer the required files right via TWRP itself.
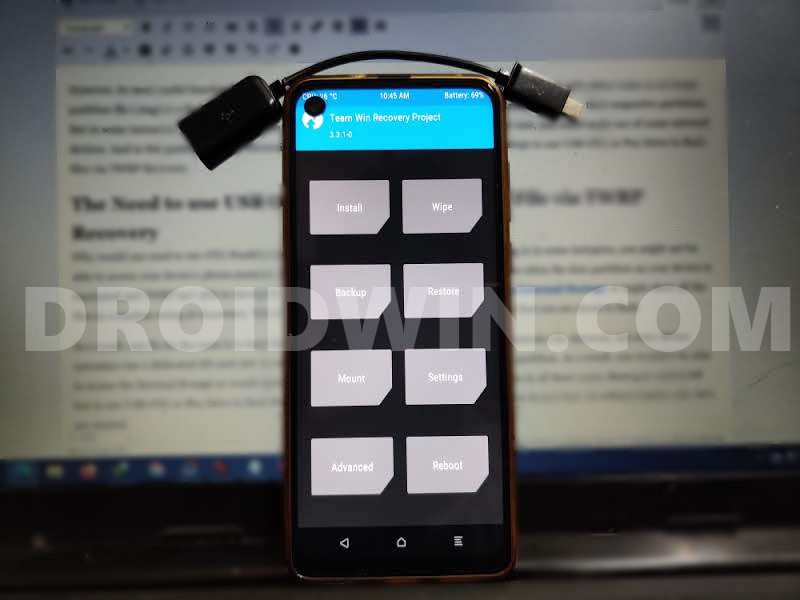
STEP 2: Boot your device to TWRP
Now it’s time to boot your device to the TWRP Recovery [Don’t Miss: TWRP: fastboot flash vs fastboot boot: Which command to use]. For that, you may take the help of our detailed guide: How to Boot into TWRP Recovery. In Short, there are three different methods to boot to TWRP:
- Using the Hardware Key combinations,
- The adb reboot recovery command,
- The adb reboot bootloader command to boot to Fastboot. Then use the Volume keys to bring up the Recovery option and hit the Power key to confirm it.
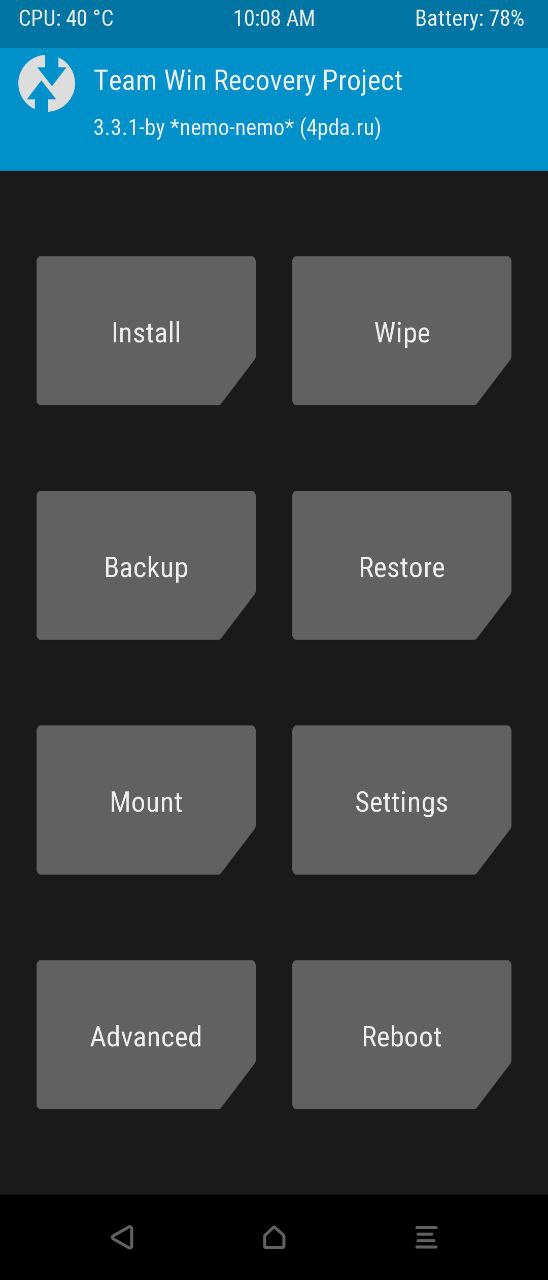
Once booted to TWRP Recovery, proceed with the below steps to flash the required files.
- How to Replace LineageOS Recovery with TWRP
- Root Android 11 via Magisk Patched boot.img (without TWRP)
- How to Root Android Devices via TWRP Recovery
- How to Pass Magisk SafetyNet on Rooted Android 11
STEP 3: Mount USB OTG or PenDrive in TWRP
- Now that your device is booted to TWRP, connect the USB OTG or the Pen Drive to your device.
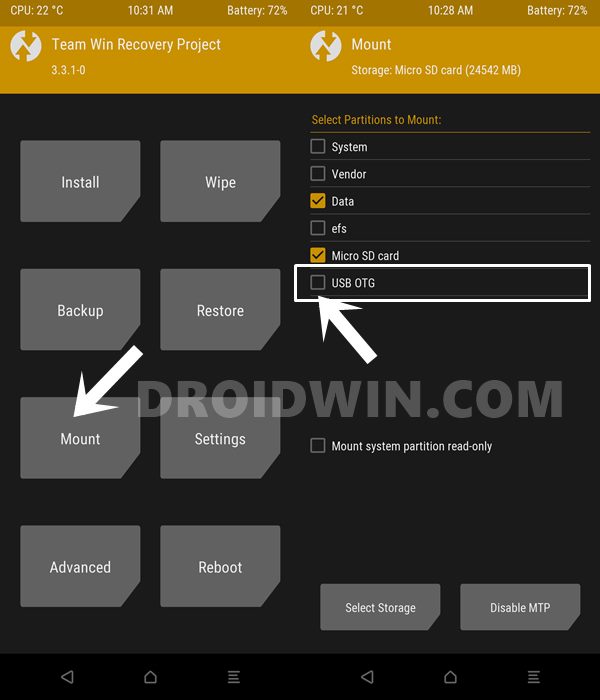
- Once connected, go to the Mount section of TWRP.
- Checkmark the USB OTG option. That’s it. You have successfully mounted the OTG/Pen Drive.
STEP 4: Flash the Required Files

- Now that TWRP Recovery is able to read the contents of USB OTG/Pen Drive, you could easily flash the desired files via it.
- So go to Install and tap on the Select Storage button situated at the bottom left.
- Then select USB OTG from the menu and hit OK.
- That’s it. TWRP will now show all the contents of the OTG.
- Just select the desired file and perform a right swipe to install it.
- When you are done with the flashing process, go to Reboot > System to boot your device to the OS.
So this was all from this guide on how to use USB OTG or Pen Drive to flash files via TWRP Recovery. If you still have any queries concerning the aforementioned steps, do let us know in the comments section below. We will get back to you with a solution at the earliest.


